Before you break ground, you should verify zoning, permits, and regulations, then assess land with a practical eye for topography, soils, drainage, and utilities. Vet contractors and design teams thoroughly, set a realistic budget with contingencies, and map a phased plan from sketch to site work. Document every decision and keep channels open for approvals. If any red flags appear—permits stalled, soil stability questioned, or utility access uncertain—you’ll want a clear path forward before you commit.
Key Takeaways
- Confirm regulatory compliance: verify zoning, permits, codes, environmental reviews, and approval timelines to align with project milestones.
- Conduct thorough land and site assessment: evaluate slope, drainage, soils, utilities, easements, flood risk, and drainage paths.
- Plan site access and temporary infrastructure: map routes, crane paths, utilities, and on-site facilities with phased coordination.
- Perform contractor and design team due diligence: check licenses, insurance, track records, budgets, and establish clear collaboration protocols.
- Develop planning, scheduling, and phased development: define phases, gate criteria, procurement lead times, and risk buffers to minimize rework.
Assess Zoning, Permits, and Regulations Before You Start
Before you start any project, confirm you understand the zoning rules, required permits, and relevant regulations. You’ll assess zoning compliance first, noting setback, height, and use restrictions that affect your design. Check local zoning maps, code amendments, and overlay districts that could shift requirements.
Next, map out permit procedures, outlining which authorities review plans, timing, and fee schedules. Prepare a clear checklist: required forms, site plans, environmental reviews, and proof of ownership. Identify exemptions or variances early to avoid delays.
Verify compliance with building, electrical, and plumbing codes, plus any safety or historic preservation rules. Document decisions in writing, keep contact points, and track submission statuses.
Land and Site Basics: What to Know Before You Buy
Before you buy, assess how well the lot fits your plan—the slope, access, and utilities matter as much as price.
Understand the zoning and permit basics early so you avoid surprises later.
Start with site-fit checks: lot shape, setbacks, drainage, and future expansion potential.
Lot Fit Considerations
How well a lot fits your design goals can make or break your project. You’ll assess topography, drainage, utilities, and access early, so later decisions stay aligned with your plan.
Consider slope and soil tests; steep grades may elevate costs and limit layout options, while poor drainage can threaten foundations. Sun exposure, wind patterns, and views influence orientation and landscape aesthetics, guiding planting and outdoor spaces.
Parking, setbacks, and future expansion slots should match your intended footprint without forcing compromises. Material choices—building materials you’ll actually use—must align with site conditions to avoid ongoing maintenance burdens.
Confirm utility proximity and drainage paths to prevent retrofits. Document constraints in a single sheet to keep contractors honest, and revisit during design iterations to preserve feasibility.
Zoning and Permits Basics
Zoning and permits shape every project from the outset, so know the rules and timelines before you buy. You’ll confirm parcel zoning, setbacks, height limits, and use classifications with the local planning department.
Verify whether variances, site plan approvals, or environmental reviews apply, and map permit milestones against your construction schedule. Understand inspection sequences and conditional approvals that can stall progress if misread.
Consider how Architectural styles influence zoning interpretations and potential design flexibility. Gather required entitlements early, then align Material selections with approved standards to avoid later redlines.
Document ownership, easements, and floodplain or critical-areas constraints that affect site feasibility. By front-loading due diligence, you reduce back-and-forth, budget surprises, and lengthy delays during build.
Assess Topography, Soils, and Drainage Early

You’ll start by evaluating the site’s topography, noting slopes, elevations, and drainage paths to guide placement and grading.
Next, you’ll evaluate soil types, depths, and drainage capacity to anticipate foundations, utilities, and landscaping needs.
Finally, you’ll identify risk factors like erosion or flood zones so you can select appropriate design strategies from the outset.
Topography Considerations Early
Topography can make or break a project, so assess the site early for elevation shifts, soil types, drainage patterns, and erosion risks to prevent costly later changes. You’ll map grade variations, identify rock outcrops, and note terrace opportunities that support efficient layouts.
Consider how slope influences access, utilities, and drainage—pinpoint potential staging areas and avoid fragile zones. Early topographic insights guide compact, efficient building footprints and drive decisions about retaining walls, cut/fill volumes, and drainage swales.
You’ll align site grade with long-term maintenance, reducing erosion and sediment concerns. As you plan, balance landscape aesthetics with practical function, shaping elevations that welcome daylight and views without compromising performance.
Also, account for wildlife habitat; preserve gentle slopes and native vegetation corridors where possible.
Soil and Drainage Assessment
Are soil conditions and drainage the linchpins of a successful build? Yes—and you’ll set your project up for reliability by evaluating topography, soils, and runoff early. You focus on precise data, act on findings, and align design with site realities.
Soil testing reveals bearing capacity, compaction, and contamination risks you must address before digging. Drainage planning prevents puddling, erosion, and basement moisture, guiding grading and waterproofing decisions.
You’ll document soil types, moisture regimes, and flood susceptibility to inform foundation choices and long‑term performance. This disciplined approach minimizes change orders, speeds permitting, and protects your investment from weather-driven setbacks.
Start strong, verify every parameter, and integrate results into the construction plan.
- Clarity through measurable data
- Early risk awareness
- Concrete, actionable decisions
- Reduced rework and delays
- Confident stewardship of site resources
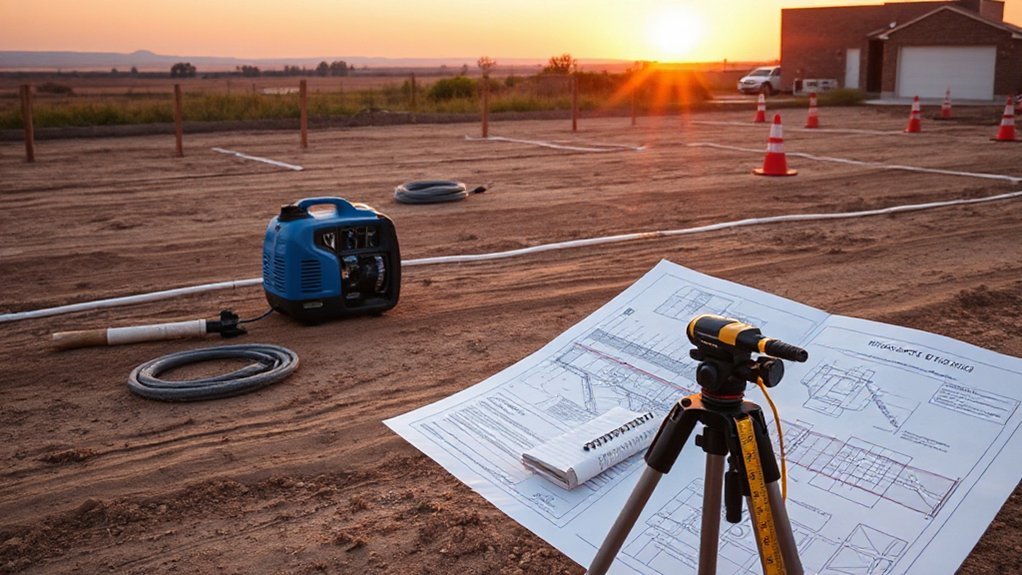
Plan Utilities, Access, and Temporary Needs
You map utility planning to the project footprint, confirming supply routes, trench depths, and potential conflicts with existing services.
Next, you define access considerations: consider delivery corridors, crane paths, and site entry points to minimize disruption.
You verify temporary facilities—power, water, sanitation, and power for equipment—so operations stay continuous without overprovisioning.
You document permit requirements, coordinate with utility providers, and establish a phased schedule that aligns with site work.
You assign responsibilities, set measurable milestones, and track deviations promptly.
This disciplined approach reduces risk, speeds permitting, and keeps construction flowing toward its milestone targets.
Build a Realistic Budget With a Solid Contingency
A realistic budget with a solid contingency anchors your project in reality: identify every cost driver early, validate assumptions with data, and embed a buffer that accommodates uncertainty without derailing milestones. You’ll map all line items, accuracy-check quantities, and prefer conservative estimates to overconfidence.
Track changes diligently, update forecasts weekly, and align spending with milestones to preserve momentum. Your contingency funds should cover unknowns without eroding essential scope, enabling informed tradeoffs rather than panic revisions.
- Clear cost drivers prevent surprises and keep you in control
- Data-driven assumptions reduce guesswork and build confidence
- A dedicated contingency fund protects milestones under pressure
- Regular forecasting reveals variances before they derail progress
- Transparent communications sustain trust with stakeholders
Select and Vet Contractors and Designers Step by Step
You’ll start with a Vetting Criteria Checklist to establish clear expectations for contractors and designers.
Then, you’ll guarantee strong Contractor-Designer Collaboration by defining roles, communication norms, and decision-makers.
Finally, you’ll follow a Due Diligence Process to verify credentials, past work, references, and legally sound agreements.
Vetting Criteria Checklist
How can you guarantee you hire the right team? You’ll use a Vetting Criteria Checklist to screen every contractor and designer before you commit.
Start with credibility: licenses, insurance, proven track records, and verifiable references.
Next, assess compatibility: communication speed, transparency in pricing, and willingness to share timelines.
Examine施工 quality: sample work, portfolios, and adherence to Building materials expectations; request detailed proposals and material specifications.
Check reliability: project case studies, on-time delivery, and change-order handling.
Finally, confirm alignment with your landscaping tips and long-term goals, ensuring you’re not compromising future upkeep.
Use a scoring rubric to compare candidates objectively, and trust your notes when decisions feel rushed.
- Clear communication that matches your pace
- Transparent pricing with detailed bids
- Consistent scheduling and accountability
- Strong references from recent projects
- Proactive problem-solving and documentary evidence
Contractor-Designer Collaboration
Selecting and vetting contractors and designers is a disciplined, step-by-step process you can trust to yield reliable partners and solid outcomes.
In this phase, you establish the collaboration framework, clarify roles, and set expectations for design collaboration and execution.
Evaluate portfolios for consistency with project goals, code compliance, and problem-solving ability under tight timelines.
Interview with a focus on communication style, responsiveness, and transparent pricing.
Verify references, licenses, and insurance, then align contract language to protect both parties.
Define decision-making authorities, approval gates, and change-order protocols to prevent disruption.
Establish regular, structured contractor communication channels, including brief daily check-ins and weekly design reviews.
Document decisions, feedback, and deviations promptly to preserve traceability and keep the project on track.
Due Diligence Process
When you begin the due diligence process, you’ll methodically identify qualified contractors and designers, verify capabilities, and assess fit against project goals. You’ll compare portfolios, check licenses, and confirm insurance, then verify references with precise questions. You’ll evaluate communication style, responsiveness, and alignment with your landscaping ideas, budget, and timeline.
You’ll document criteria, create scoring, and negotiate clear terms before any commitment. You’ll test proposals against risk, sustainability, and site constraints, ensuring feasible construction tools and workflows. You’ll guard against scope creep by defining deliverables, milestones, and warranties.
You’ll seek complementary strengths that enhance collaboration and reduce surprises.
- Transparent criteria drive confident choices
- Detailed references reveal true performance
- Clear terms prevent later disputes
- Timely communication signals reliability
- Alignment with landscaping ideas boosts cohesion
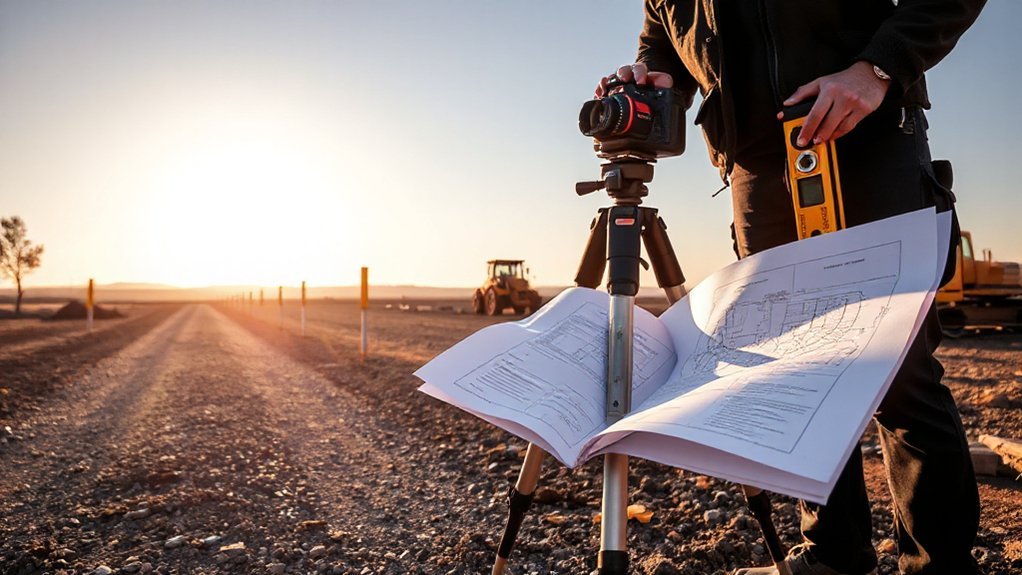
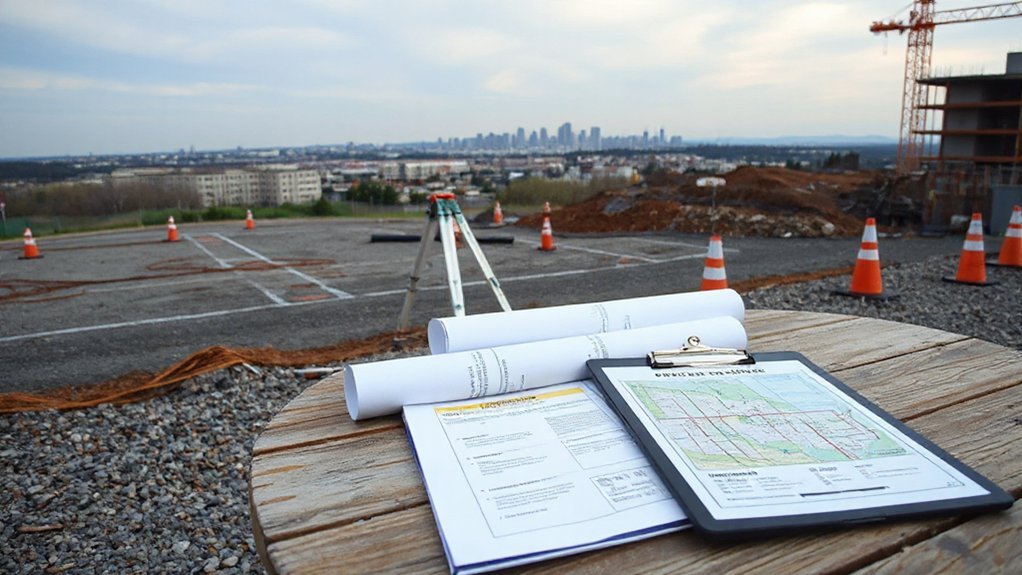
Conduct Site Surveys and Boundary Work Before Design
Before you design, conduct thorough site surveys and boundary work to establish exact conditions and constraints. You’ll perform a precise site analysis to map topography, utilities, access points, and drainage patterns, documenting elevations and soil variance.
Verify boundaries with boundary verification checks, referencing deeds, surveys, and marked corners to prevent encroachments. Cross-check parcel setbacks, easements, and right-of-way limits against your planned footprint.
Record accurate measurements in a clear, auditable format, noting discrepancies or ambiguities for resolution before design advances. Coordinate with stakeholders to confirm utility inventories, slope stability, and critical site features.
Maintain a traceable record of sources and dates, ensuring decisions reflect verified data. This disciplined groundwork reduces redesigns, speeds permitting, and supports compliant, buildable concepts.
Identify Environmental and Permitting Roadblocks
Environmental and permitting roadblocks can derail a project before you draw a line on a plan, so you must inventory regulatory hurdles early and map them to your design timeline. You’ll identify Environmental impact considerations and the Permitting process steps now, not later, to prevent delays.
Pinpoint jurisdictions, agencies, and review cycles that affect your site. Align approvals with critical milestones, budget buffers, and construction windows. Document responsible parties, required reports, and potential variances. Build a transparent path from concept to permit issuance, so decision-makers see tradeoffs clearly.
Proactive scoping reduces surprises, limits rework, and keeps the project on track.
- Clear accountability reduces confusion and accelerates progress
- Early discovery minimizes costly redesigns
- Visible timelines strengthen stakeholder confidence
- Transparent risks preserve budget integrity
- Timely permits protect your schedule
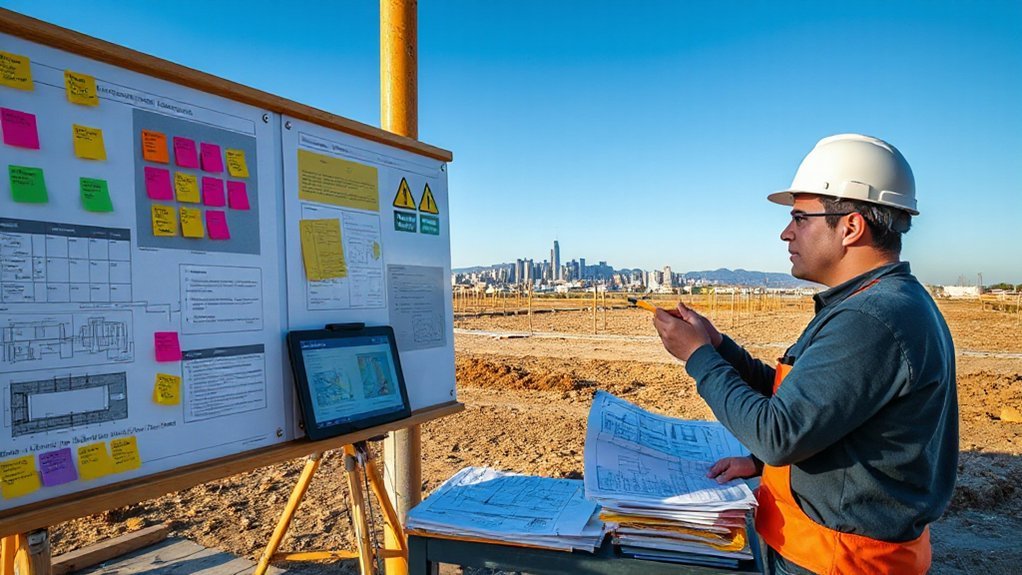
Create a Phased Plan From Sketch to Groundbreaking
Mapping the journey from sketch to groundbreaking starts with a disciplined phased plan that translates design intent into a concrete, actionable path. You map milestones, dependencies, and decision gates into clear phases: concept refinement, design lock, permitting, and mobilization.
Establish realistic construction timelines by aligning scope with resource availability, risk buffers, and critical-path tasks. Define gate criteria for each phase, so approvals aren’t surprises later. Specify who owns each deliverable, what you’ll review, and when you’ll rebaseline if scope shifts.
Balance ambitious intent with practical constraints, documenting contingencies for site conditions, weather, and subcontractor availability. Material choices drive sequencing, cost, and constructability, so verify规格, procurement lead times, and storage needs early.
A phased plan keeps teams aligned, minimizes backtracking, and accelerates groundbreaking.
Document Decisions for a Smoother Approvals Process
Document decisions clearly and promptly to smooth the approvals process. You must capture choices in a concise, auditable trail: decisions, rationale, dates, and responsible owners. This discipline reduces back-and-forth and misinterpretation, keeping your project aligned with property aesthetics and construction timelines.
Your record should enable reviewers to understand intent without guessing, speeding sign-offs and minimizing rework.
- Preserve decisions with timestamps to prove momentum and accountability
- Link each choice to concrete design metrics like property aesthetics standards
- Attach supporting documents, diagrams, and revised plans for clarity
- Note deviations early, with impact on schedule and budget
- Assign owners and deadlines, then track progress against milestones
Frequently Asked Questions
How Long Do Zoning Approvals Typically Take?
Zoning approvals typically take several weeks to a few months, depending on jurisdiction and project scope. You’ll want to plan for review cycles, potential amendments, and public comments.
You should prepare a clear site layout and prepare environmental impact assessments to streamline the process.
Expect possible delays if zoning boards request changes. By staying proactive, you’ll minimize back-and-forth and keep permits on track, reducing uncertainty for your site layout and environmental impact planning.
What Hidden Permit Fees Should I Expect?
Permit costs vary, and hidden fees can surprise you if you don’t look closely. You’ll likely face inspection fees, application taxes, plan review charges, and potential impact or connection fees you didn’t anticipate.
Budget for contingency and ask for a detailed breakdown up front. You’ll avoid last‑minute shocks by verifying all items with your permitting office, contractor, and utilities, noting any discretionary charges.
Stay precise, proactive, and meticulous to keep your project on track.
Can I Build Without a Professional Survey?
You can’t legally build without a professional survey in most places. Survey requirements vary, so you’ll need precise guidance to avoid fines or disputes. Rely on professional guidance to confirm boundaries, elevations, and setbacks before you start.
Expect inspections and accurate maps for permits. Skipping this step risks encroachment, liens, or unsafe designs. If you proceed, you’ll likely face rework and delays.
Hire a licensed surveyor, follow survey requirements, and document every decision.
How to Estimate Utility Connection Timelines?
Utility provider timelines vary, but you can estimate by adding processing, inspection, and permitting delays to the average service start date. Start by contacting your utility provider for a written estimate.
Then add 2–4 weeks for typical connection delays and potential site scheduling. Track progress weekly, confirm required meters and work orders, and stay proactive with permit status.
When delays arise, request updated timelines and push for milestone commitments to avoid surprises.
What Documents Speed up the Approvals Process?
You’ll speed approvals by organizing essential documents: site plans showing current conditions, building permits applications, and stamped structural drawings. Include utility letters, soil reports, and a detailed site remediation plan if needed.
Prepare contractor and owner affidavits, boundary surveys, and permit fee receipts to avoid delays. Keep an all-encompassing project schedule, risk register, and environmental impact statements ready.
Clear, precise submissions that demonstrate site preparation readiness and compliant building permits keep the process moving smoothly.
Conclusion
You’re laying the groundwork for success, so stay precise and proactive every step of the way. Verify zoning, permits, and environmental constraints up front, then map topography, soils, and drainage with care. Confirm utilities access and create a phased plan that aligns with your budget and timeline. Keep thorough documentation and clear communication channels to prevent delays. Think of this checklist as your steering wheel—steady hands, sharper focus, smoother approvals, and a confidently built future.