You should start with proactive fixes that prevent future repairs, choosing corrosion-resistant materials, robust sealing, and proper moisture barriers. Plan drainage and accessible layouts now, so maintenance is straightforward later. Document material compatibility and installation methods to avoid surprises. Prioritize high-quality components and easy access for inspections, then balance upfront costs with long-term gains. Get ahead with a project audit that reveals where durability pays off—and keeps hidden systems reliable for years to come.
Key Takeaways
- Prioritize proactive planning and layout optimization to minimize rework and future repair complexity through repeatable patterns and clear access paths.
- Select durable, modular, repairable materials with proven long-term performance and documented provenance to ease future maintenance.
- Implement proven sealing, drainage, and moisture-management strategies to prevent hidden damage and recurring repairs.
- Design for easy access and maintenance with labeled panels, service routes, and standardized fasteners to speed future interventions.
- Establish scheduled preventive maintenance and data-backed routines to detect trends and prevent costly repairs before failures occur.
Start With Proactive Fixes to Save Time and Money
You map timing considerations to each task, aligning schedule buffers with critical-path activities so delays don’t cascade. You audit drawings and field conditions before breaking ground, reducing rework and surprises.
You choose contractor selection criteria that emphasize communication, track record, and practical warranties, ensuring partners share your efficiency mindset.
You implement simple, repeatable checks—leak tests, air-sealing audits, and insulation inspections—so issues surface while fixes are straightforward.
You document decisions and rationale, creating a knowledge base for future projects. Your proactive stance minimizes call-backs, elevates quality, and preserves budget integrity for long-term reliability.
Choose Durable Materials for Long-Term Reliability
When you select durable materials, you set up long-term reliability from day one, prioritizing corrosion resistance, load tolerance, and maintainability.
Look for composition, coating, and joining methods that resist wear and environmental stress, so replacements aren’t needed for years.
This focused choice reduces future maintenance while keeping performance predictable and costs controlled.
Durable Material Selection
Start with material durability, verifying long-term behavior under anticipated stress, moisture, and temperature cycles. Favor options with low creep, fatigue resistance, and stable dimensions to maintain tight tolerances.
Consider corrosion resistance in aggressive environments and compatibility with fasteners and coatings to reduce galvanic risk. Document warranty profiles, supplier certifications, and batch traceability to ensure consistent quality.
Favor modular, repairable systems that simplify replacement without structural compromise. Prioritize materials that preserve structural integrity over decades, balancing cost with lifecycle performance.
Your disciplined material selection guarantees reliability, downtime, and recurring fixes.
Long-Term Reliability Focus
If you’re aiming for long-term reliability, pick materials with proven endurance under expected stresses, temperatures, and environmental conditions. You’ll prioritize durability from the outset and align choices with performance goals, reduction of maintenance, and smoother construction planning.
Emphasize proactive quality assurance to catch issues before they arise, ensuring interfaces, joints, and supports meet spec. This focus minimizes revisions and delays, delivering predictable outcomes.
- Select materials with documented field performance under anticipated loads and cycles.
- Validate compatibility across assemblies to prevent premature wear.
- Integrate durability milestones into the project schedule and QA checks.
- Favor compositions and treatments that resist environmental factors and thermal cycling.
Corrosion-Resistant Choices
Evaluate corrosion mechanisms relevant to your site—crevice, galvanic, pitting, and atmospheric attack—and select materials with compatible electrochemical behavior. Favor metals with passive films, or nonmetals inherently resistant to moisture, chlorides, and alkalis.
Incorporate protective coatings as a first line of defense, selecting systems rated for anticipated immersion, abrasion, and temperature ranges. Plan for ongoing inspection and maintenance, because even durable options benefit from timely refresh.
Embed corrosion prevention into design decisions, detailing fastener compatibility, weld methods, and drainage. Document material provenance to verify performance expectations and minimize future repairs.
Proven Sealing and Drainage That Prevent Leaks
You’ll explore proven sealing techniques and how they pair with effective drainage solutions to prevent leaks from the start.
By prioritizing precise installation, you’ll build reliability and limit future maintenance with clear leak-prevention strategies.
Let’s discuss practical methods that keep water out and systems performing now and down the line.
Proven Sealing Techniques
To prevent leaks, apply proven sealing techniques that combine durable materials with proper drainage design. You’ll value precision, selecting sealants with proven sealant longevity and integrating moisture barriers that work with framing and substrates. Focus on seamless joints, compatible primers, and cure schedules that minimize shrinkage. Test for gaps at corners, penetrations, and junctions, then verify with moisture meters after cure. Use compatible, fire-rated products where required, and document batch lot codes for traceability. Your goal is durable performance, not quick fixes.
By coordinating with drainage details, you prevent hidden failures and future calls.
1) Assess substrate compatibility and prepare surfaces thoroughly
2) Choose long-lasting sealants with moisture barrier compatibility
3) Apply with uniform bead sizes and proper tooling
4) Inspect and certify cure completion before enclosure
Effective Drainage Solutions
Need leak-free performance? You’ll implement Effective Drainage Solutions with a practical, precise mindset.
Start by prioritizing soil stabilization to reduce settlement and erosion that can reveal leaks later. Guarantee grading directs water away from foundations, patios, and low points, using target slopes and positive drainage paths.
Install strategically placed swales, perforated drainage pipes, and cleanouts for easy maintenance, then cover with discreet, durable fabrics and aggregate that won’t clog the system.
Vegetation management matters: select hardy ground cover that stabilizes soil without creating root intrusion into drainage zones, and keep mature vegetation from obstructing flow.
Regular inspections verify trench integrity, filter fabric condition, and outlet function. Document maintenance cycles to anticipate failures before they occur and sustain long‑term performance.
Leak-Prevention Strategies
What proven sealing and drainage strategies stop leaks before they start? You’re implementing techniques that halt water intrusion at the source, protecting structures and indoor humidity levels. Precision matters: sealants, flashing, and slopes work together to channel water away from vulnerable joints and surfaces, while drains handle surplus moisture before it harms finishes.
You’ll design for continuity, durability, and low maintenance, so leaks don’t become repairs later.
- Use corrosion-resistant flashing at all roof-to-wall transitions to guide water toward drainage paths.
- Apply high-performance sealants at joints, penetrations, and transitions, ensuring continuous coverage.
- Ensure proper exterior grading and gutter capacity to prevent pooling and water intrusion near foundations.
- Install dedicated vapor barriers and humidity control to stabilize indoor humidity and reduce condensation risk.
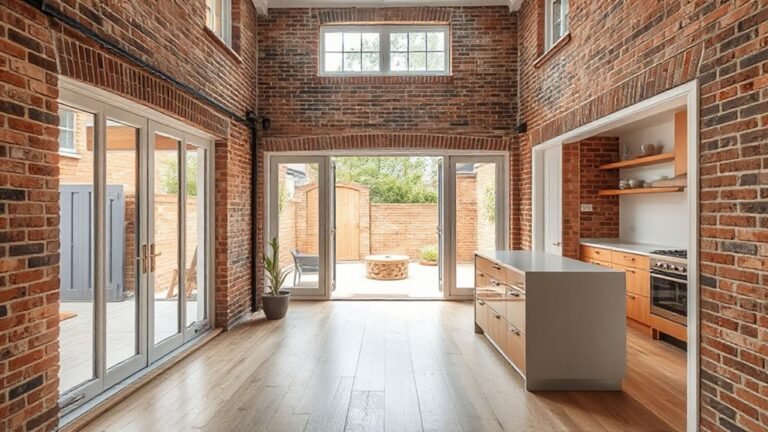
Layout Choices That Reduce Future Maintenance Needs
Good layout choices reduce future maintenance by making components predictable and easy to replace. You design with repeatable patterns, aligning plumbing, electrical, and HVAC runs to standard bays and accessible chase routes. This minimizes surprises during repairs and speeds upgrades.
Focus on layout optimization: position mechanicals for serviceability, isolate high-heat or moisture-generating systems, and leave clear access panels without obstructing sightlines. Choose wall and floor assemblies that simplify inspection and permit modular replacements, reducing corded clutter and trip hazards.
Consider aesthetic considerations as a functional constraint, ensuring surfaces and utilities align with routing, not against it. Prioritize hinge points, clean progressions, and labeled pathways so future trades follow straightforward, predictable steps rather than reinventing layouts after each fix.
Proactive Moisture Control for Healthier Interiors
Proactive moisture control starts with defining predictable humidity loads and preventing conditions that foster mold and rot. You’ll monitor indoor humidity and implement airflow strategies that keep environments stable, reducing surprises after construction.
By pairing detection with proactive mitigation, you address problems before they escalate, safeguarding health and durability.
- Set target indoor humidity ranges and verify with sensors at key zones.
- Improve ventilation schedules to match occupancy and weather shifts.
- Seal leaks and manage condensate paths to prevent hidden moisture.
- Plan drainage and vapor barriers that align with materials and climate.
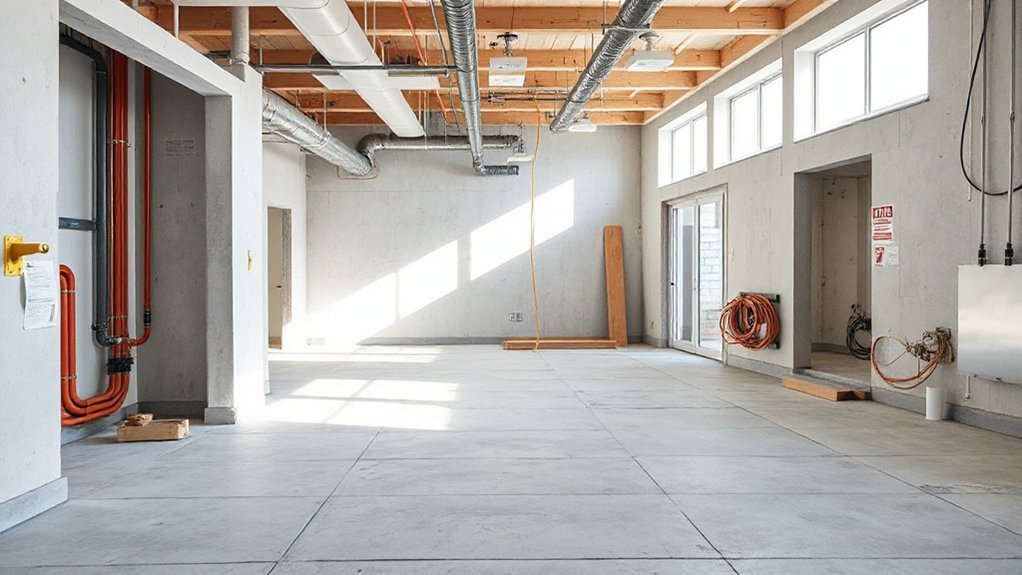
Accessible Design for Easy Upkeep of Hidden Systems
As you optimize hidden systems for reliability, design access points, panels, and service routes now so maintenance stays uncomplicated later. You’ll locate junctions, ducts, and conduits behind clean, labeled panels that close with tactile, low-effort latches.
Prioritize universal accessibility so a broader range of users can reach critical components without tools or moves, reducing callouts. Implement ergonomic design in height, reach, and visibility, placing frequently serviced items within arm’s reach and clearly marked for quick identification.
Use modular enclosures that swap out parts quickly, and align access pathways with planned finishes to avoid trip hazards. Plan for future upgrades with standardized fasteners and documented, color-coded wiring.
This forward-thinking approach minimizes disruption, streamlines upkeep, and sustains long‑term system reliability.
Preventive Maintenance Routines That Save Costs

Regular preventive maintenance prevents costly outages by scheduling targeted checks, replacements, and cleanings before failures occur. You’ll build consistent routines that catch wear early and minimize downtime, with clear checklists that align to your systems and spaces.
By integrating landscaping aesthetics and interior decor considerations, you preserve curb appeal and vibe while protecting performance. Focus on predictable intervals, documented results, and reactive paths that stay lean rather than reactive chaos.
- Create a rotating calendar for filters, seals, and aesthetic-driven components.
- Log performance metrics alongside upkeep actions to spot drift.
- Predefine cleaning scopes that protect finishes and plantings without overdoing it.
- Review supplier parts and replacement windows to optimize lifecycle costs.
Balancing Upfront Investments With Long-Term Savings
Start with a clear cost benefit analysis to quantify payback periods, operating costs, and potential price volatility. Favor components and systems with proven reliability, modularity, and easy future upgrades.
Embrace risk management by identifying failure modes early, budgeting for contingencies, and selecting options with mitigated downside. Document assumptions, sensitivities, and likely scenarios so decisions remain transparent under changing conditions.
Align choices with project goals, contractor capabilities, and maintenance schedules, ensuring that upfront commitments genuinely translate into lower total ownership costs over the lifecycle.
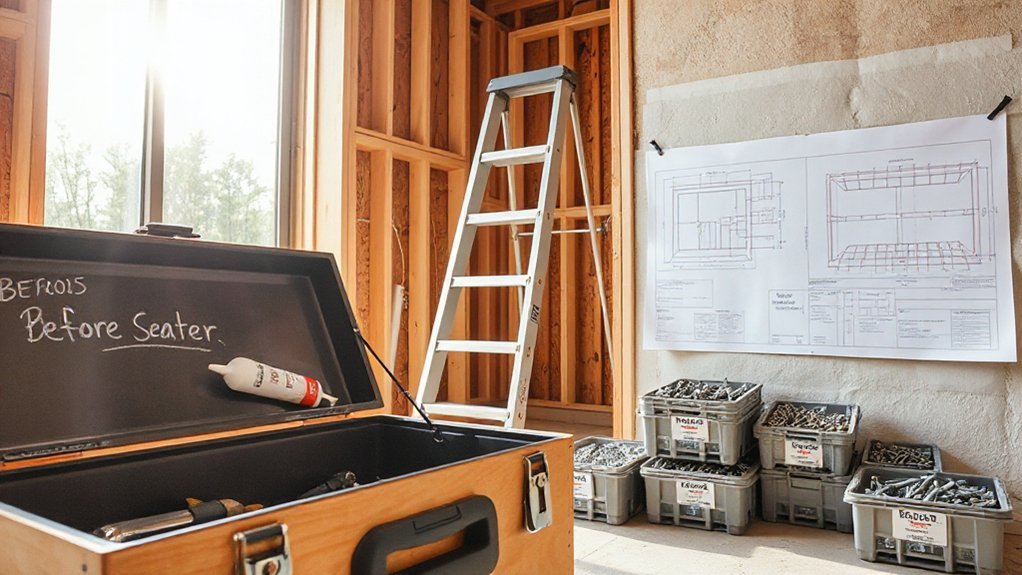
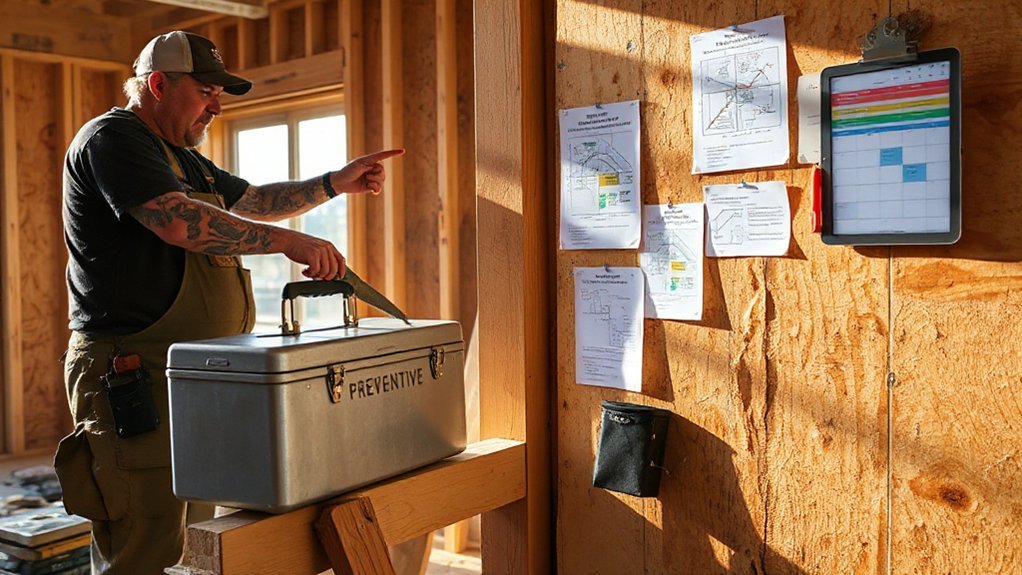
Do a Project Audit Today for Fewer Repairs Tomorrow
Audit early to cut future repairs, and start now with a focused, practical inspection that flags failure modes before they cost you downtime. You’ll gain clarity on risks, costs, and contingencies, enabling smarter project budgeting and tighter control over the schedule.
A project audit today exposes gaps, aligns stakeholders, and sharpens decision making, so you’re not surprised by surprises tomorrow. Use a structured review to document findings, assign owners, and track remediation.
- Identify high-risk components and their maintenance windows
- Validate budget assumptions against observed conditions and vendor inputs
- Align team collaboration roles to fixed-accountability outcomes
- Prioritize fixes by impact on uptime and total lifecycle cost
Frequently Asked Questions
How Often Should Preventive Fixes Be Inspected?
You should inspect preventive fixes at least annually, with quarterly checks for high-use systems. Your maintenance schedule should note each inspection, the findings, and any adjustments.
If you spot wear, corrosion, or inefficiencies, you must address them promptly to prevent future repairs.
For complex or critical elements, increase frequency to every six months.
Keep records, plan next visits, and align inspections with seasonal demand to sustain performance and extend component life.
Which Signals Indicate Upcoming Major Repairs?
Signs of upcoming major repairs show up when you notice sudden cracks, bending beams, or doors and windows that won’t stay aligned. Look for unusual noises, sagging floors, or water intrusion persisting after fixes.
You’ll detect accelerated material degradation near joints, and overall structural integrity weakening under load. Address these signals promptly; delaying can escalate costs.
Stay proactive by documenting changes, monitoring trends, and prioritizing repairs that protect structural integrity and slow material degradation.
Can Maintenance Reduce Insurance Premiums?
Your insurance premiums can drop with proactive maintenance. Think of it like a well-tuned engine: smoother days ahead.
When you perform regular upkeep, you demonstrate lower risk, which insurance providers reward with discounts. So yes, maintenance can reduce costs.
Track maintenance savings over time, document results, and present them to your insurer.
Insurance discounts follow consistent care, not luck. Stay disciplined, schedule preventive checks, and watch your premiums respond to your responsible, forward-thinking approach.
What Is the Typical ROI for Durable Materials?
The typical ROI for durable materials often exceeds 20–30% when you factor in extended material longevity and lower maintenance costs. You’ll see steady Investment returns as lifecycle costs drop and resale value rises.
Prioritize proven, weather-tested options because durability compounds over time. You’ll save more in fewer repairs and longer intervals between replacements.
Track performance, quantify savings, and compare with alternative materials to validate your Material longevity projections and guarantee positive ROI over your project horizon.
Who Should Perform a Proactive Project Audit?
Eyes like a lighthouse at dawn, you guide the way. You should perform a proactive project audit yourself, or delegate to a skilled project manager.
In this process, you’ll clarify project scope and run a thorough risk assessment, catching issues before they snowball.
You’ll document findings, set clear responsibilities, and update plans accordingly.
Conclusion
You’ll reap big savings by prioritizing proactive fixes now, not expensive repairs later. Choose durable materials, proven sealing, and smart drainage, then design for easy access and maintenance. Implement moisture controls that protect health and prevent corrosion, and schedule preventive routines you’ll actually follow. Do a project audit today for fewer repairs tomorrow. Picture your build like a well-oiled machine—think 19th-century steam engine efficiency, but with modern materials and a leak‑proof, future-ready layout. You’ve got this.