You may notice a simple coincidence: the same changes that boost safety also boost daily comfort, so you’ll get more value per dollar. Start with quick fixes you can do now—better lighting, lower thresholds, clutter-free pathways—then plan gradual upgrades like wider doors and grab bars. Think about kitchens and bathrooms next, with ergonomic counters and non-slip floors. Smart lighting and easy-access outlets can cut hazards, but you’ll want a practical budget and a trusted contractor to guide the whole journey.
Key Takeaways
- Plan for ageing in place by prioritizing safety, accessibility, and predictable costs to maintain autonomy and reduce relocation stress.
- Conduct a baseline assessment and simple fixes in every room to improve lighting, clutter reduction, and safe navigation.
- Reconfigure doors, hallways, and bathrooms with wider entrances, low thresholds, grab bars, and non-slip surfaces.
- Integrate smart lighting, reachable outlets, ergonomic kitchen adjustments, and easy-to-use hardware for daily tasks.
- Create a budgeting and maintenance schedule, plus contractor vetting, to ensure long-term safety improvements and adaptability.
Why Ageing in Place Makes Sense for You
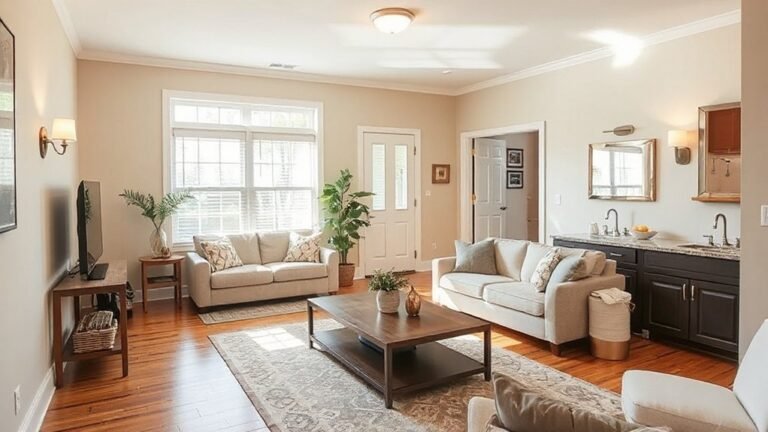
If you stay in your current home as you age, you’ll save time, money, and the stress of moving. You gain stability, familiarity, and control over your routines, which supports confidence and independence.
Aging in place isn’t about heroic changes; it’s about practical steps that protect safety and daily harmony. Prioritize predictable costs, accessible layouts, and reliable support networks so you can plan ahead rather than react to a crisis.
Future home modifications should balance function with comfort, aligning closely to your lifestyle, habits, and priorities. Consider how community support can complement your plans—neighborhood resources, vendor referrals, and in-home services that reduce disruption.
This approach makes long-term living sustainable, comfortable, and realistically affordable while preserving your autonomy.
Baseline Accessibility: Simple Fixes for Every Room
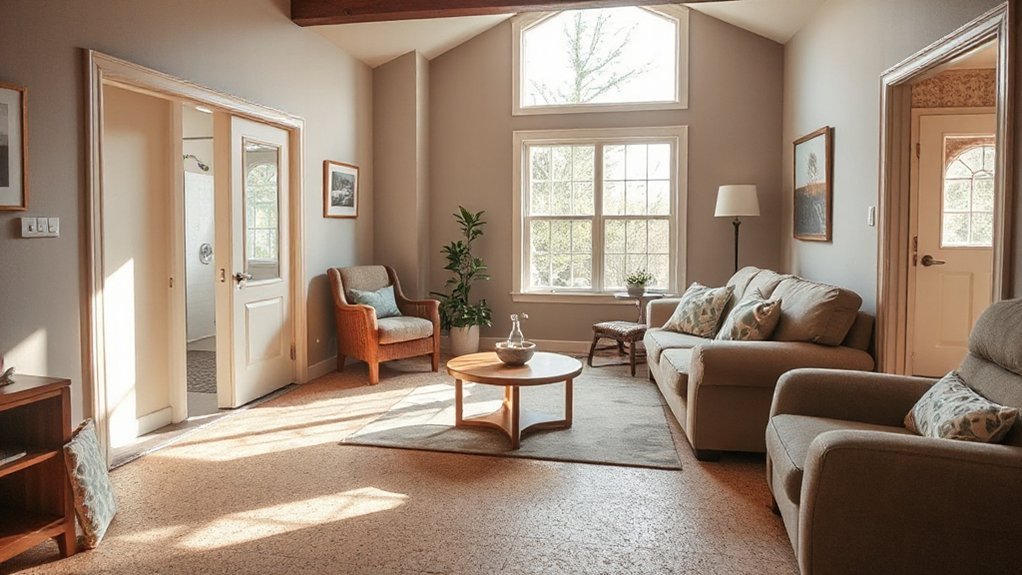
Small, practical tweaks can make every room safer and more navigable without major renovations. You start with lighting: add dimmable switches, warm bulbs, and night lighting along pathways to improve visibility.
Choose simple, non-slip floor mats near entryways and in bathrooms to reduce falls. In each room, clear clutter and keep furniture with rounded edges for safer navigation.
Improve reach: set frequently used items at waist height and within easy reach to minimize bending or stretching. Update hardware on doors and cabinets to larger, easy-grip handles for independent use.
Integrate high-contrast accents to enhance depth perception, supporting clear sightlines within your home aesthetics. In terms of interior decor, select low-maintenance textiles and sturdy, washable finishes that tolerate daily life while preserving style.
Prioritize consistent layout and unobtrusive, practical features.
Reconfiguring Doors and Hallways for Easy Navigation
To improve navigation, start by widening door openings to at least 32 inches for wheelchairs or walkers. Guarantee hallways have clear, obstacle-free paths.
Keep thresholds low or zero where possible, and align hinges and handles for easy reach from a seated position.
We’ll tailor layouts to your daily routines, prioritizing unobstructed routes between key living areas for safer, smoother everyday use.
Wider Door Openings
Start with doorway width targets of at least 32 inches clear between frames for standard wheelchairs, expanding as needed for wider clearance or future needs. Assess jambs, hinges, and essential hardware to minimize pinch points and maintain door usability.
Frame modifications may include enlarging studs, rerouting trim, and reinforcing headers to support heavier doors. Consider swing patterns—outward or sliding options can save space and limit congestion.
Plan for threshold transitions that are smooth and carry no abrupt height change. Document measurements and confirm accessibility with a professional before repainting.
Clear Pathways Design
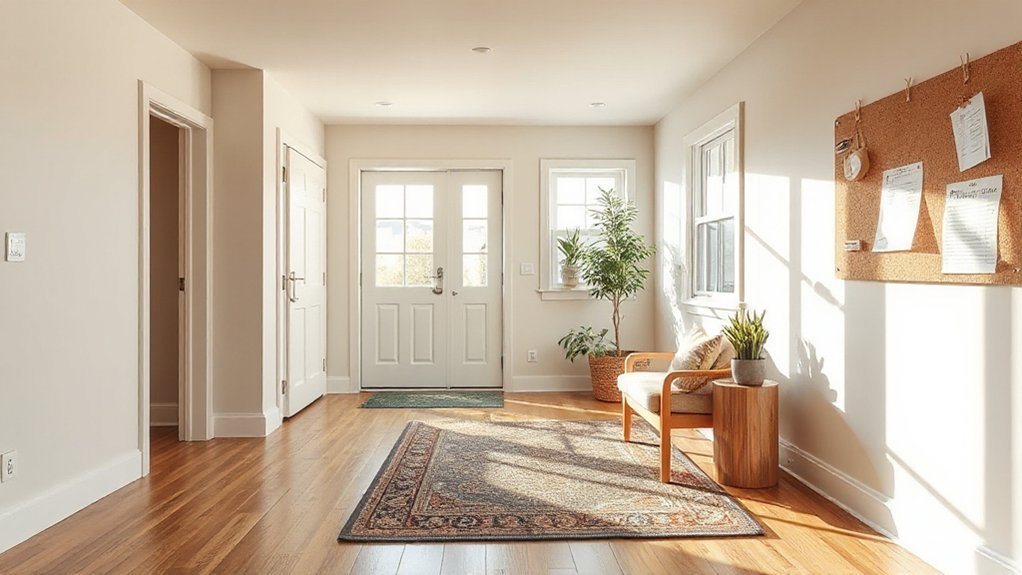
Clear pathways start with a practical layout that prioritizes easy, obstacle-free movement. You’ll reconfigure doors and hallways to minimize turns and avoid bottlenecks, ensuring every passage feels smooth. Aim for clear sightlines, straight runs, and ample turning radii so mobility devices glide without obstruction.
Track potential pathway obstruction before you install fixtures, and relocate obstacles to the periphery. Keep floors uniform and slip-resistant, with well-lit, low-contrast thresholds. Use decorative accents sparingly to guide flow without creating trips or glare.
Prioritize breadth in high-traffic zones and secure door hardware at reachable heights. Plan exits and egress routes that you can navigate confidently in all conditions.
- Wide, unbroken corridors that reduce sharp corners
- Door swings oriented for easy access
- Tactile guides and lighting cues
- Thresholds minimized or eliminated
- Decorative accents used to delineate space without hindering movement
Bathrooms That Are Safe Without a Full Remodel
If you’re aiming for a safer bathroom without a full remodel, start with small, targeted changes that improve stability and usability. Begin by evaluating the key weak spots: slippery floors, high thresholds, and hard-to-reach fixtures.
Add non-slip mats and consider grip strips inside the tub to reduce slips. Install grab bars near the toilet and shower for steadiness during transfers. For tub use, you can pursue bathtub modifications that lower barriers, such as a quick-access transfer bench or an entry-level tub cut-out if feasible.
In showers, prioritize a seat installation where space allows, plus a handheld shower head to simplify rinsing while seated. Finish with bright, glare-free lighting and clearly marked controls for quick, confident use.
Smart Lighting and Outlets to Cut Hazards
Smart lighting and outlets cut hazards by making critical areas easier to navigate and operate, especially after dark or during transfers. You’ll reduce trips and strain by selecting motion-activated, low-glare designs, and by placing outlets within easy reach. Aim for consistent color temperature and glare control to preserve night vision and reduce confusion.
- Motion sensors guiding you to paths and switches
- Dusk-to-dawn lighting along hallways for safe ambulation
- Outlet safety with tamper-resistant, reachable receptacles
- Centralized switches at entry points for quick access
- Cord management to prevent trips and pinched cords
Implement with a simple, layered approach: bright pathways, dimmed ambient glow, and plug-in safety measures. Prioritize reliability, easy maintenance, and predictable operation to support independence. smart lighting, outlet safety
Kitchen Tweaks That Support Independence
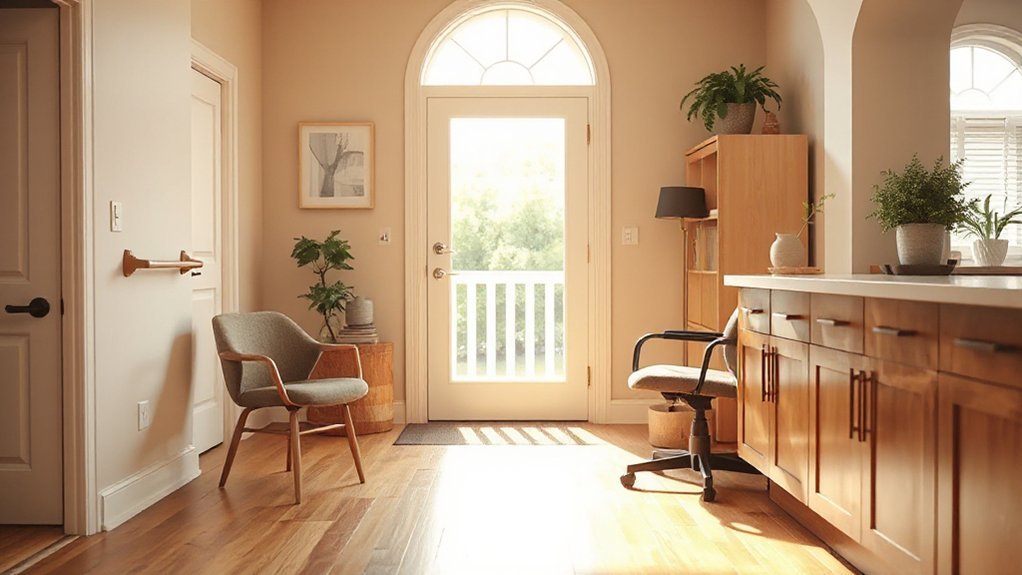
To support independence in your kitchen, prioritize accessible counter height that keeps your posture comfortable and your tasks within easy reach.
Look for easy-open cabinets and drawer latches to reduce twisting and bending, and pair them with a non-slip floor to prevent slips when you’re moving between prep and cleanup.
This setup helps you stay confident while cooking, cleaning, and staying safe throughout daily routines.
Accessible Counter Height
Accessible counter heights make everyday kitchen tasks easier and safer as you age in place. You’ll prioritize a comfortable reach, reducing strain and improving posture during prep, cleaning, and cleanup.
- Consider mid-height work surfaces that align with your elbow when standing or seated, promoting ergonomic design.
- Choose adaptive countertops that accommodate seated tasks and varied chair heights.
- Guarantee knee space beneath counters for easy added seating or a standing-to-sitting transition.
- Integrate soft-close drawers and reachable storage to minimize bending.
- Select durable, easy-clean finishes that resist spills and daily wear.
These adjustments support independence, streamline routines, and help you cook with confidence while maintaining functional flow and comfort.
Easy-Open Cabinets
If you’re aiming to keep kitchen tasks effortless, easy-open cabinets can make a noticeable difference by reducing the reach and grip force needed to access contents. Start by evaluating frequently used zones and prioritizing items you reach daily.
Choose pull-downs, touch-to-open mechanisms, or laser-cut handles that require minimal pinch strength. For upper cabinets, install spring-assisted hinges or low-profile strikers to prevent doors from sticking or slamming.
For base cabinets, consider push-to-open drawers or cabinet rollers that glide smoothly with light pressure. Organize contents so frequently used items sit within easy reach, supporting cabinet organization.
When selecting hardware upgrades, guarantee compatibility with existing boxes and doors, and opt for durable finishes that resist fingerprints and wear. Test each solution for comfort, reliability, and safety.
Non-Slip Floor Safety
Are slippery kitchen floors a safety risk you’re ready to tackle? You’ll improve stability by choosing non slip mats and textured flooring that grip underfoot. Prioritize connections between areas to reduce steps and trip points.
Install mats with low-pile backing to prevent curling, and position them where spills occur most—by the sink, stove, and fridge. Use textured flooring in key zones to add traction without looking clinical.
Confirm that the surface remains clean and dry; set a routine to wipe spills immediately. Regularly inspect edges and seams for wear, replacing damaged sections promptly.
Guarantee that lighting is even, reducing shadows that mask hazards.
- Non slip mats placed at sink, stove, and prep area
- Textured flooring in high-traffic zones
- Dry-clean or wipe spills immediately
- Check edges and seams for wear
- Even lighting to minimize glare and shadows
Easy-to-Use Tech That Boosts Daily Life
Smart, user-friendly devices can make daily routines safer and easier, so start with a small, targeted setup that you can build on. Begin with a simple voice- or app-enabled assistant to remind you of meds, meals, and appointments. Choose a compact smart speaker or display, paired with a calendar that syncs across devices.
Add Assistive devices like automatic door locks, motion lights, and easy-grip handles to reduce effort. For safety, enable Remote monitoring for sleep patterns, door activity, and fall alerts, but keep notifications reasonable to avoid overload.
Prioritize one-room testing before expanding. Guarantee devices are labeled, accessible, and sleep-friendly. Regularly review privacy settings and battery life.
Keep a written escalation plan for rapid support and maintenance needs.
Budgeting, Planning, and Maintaining Long-Term Accessibility
Begin by setting a realistic budget that reflects your home’s layout, the level of accessibility you want, and any future needs you anticipate. You’ll map costs against priorities, then track changes as plans evolve. Financial planning means building in contingencies and knowing where you’ll allocate funds first.
When selecting a contractor, prioritize experience with aging-in-place renovations and transparent timelines. Create a simple maintenance calendar so you don’t backslide after completion.
- Visualize door widths, ramp slopes, and reachable storage as you draft the budget
- Schedule periodic inspections tied to your plan
- Compare quotes with itemized line items for clarity
- Check licenses, insurance, and references during contractor selection
- Set milestones that align with your daily routines and safety goals
Frequently Asked Questions
How Do I Choose the Right Height for Grab Bars?
The right height for grab bars depends on you and the space, but a practical starting point is 34–36 inches from the floor for bathrooms, with height adjustment based on your reach and transfers.
Measure from your elbow when your arm is bent 90 degrees, then test comfort in multiple positions.
Guarantee grab bar placement supports natural progressions, and consider depth and stud support.
Confirm height adjustment works for transfers, and choose secure, compliant fasteners.
What Is the Best Flooring Option for Fall Prevention?
You step onto a softly lit, slip-free floor that gleams like morning dew, and you know you chose well. For fall prevention, pick non-slip, cushioned flooring with ample traction and seamless progressions. Consider textured tile or cork with underfoot warmth.
Pair with good lighting design—bright, glare-free pathways and night lights. In your home decor, keep rhythm and contrast high for depth, and guarantee grab bars are nearby. You’ll feel safer, steadier, and more confident as you move.
When Should I Install a Stairlift or Ramp?
Install a stairlift or ramp when accessibility needs exceed your current setup, ideally before risky moves happen. You should plan during early renovations to minimize disruption and costs.
Integrate Smart home technology and Bathroom modifications now to support safe passages.
If you frequently struggle on stairs, install a stairlift; for multi-level access with fewer stairs, opt for ramps.
Guarantee professional assessment, permits, and clear handrails, non-slip surfaces, and sturdy, level landings.
How Can I Assess Bathtub Accessibility Without a Remodel?
To assess bathtub accessibility without a remodel, focus on practical checks you can do now. Check bathroom lighting to guarantee clear visibility around the tub, especially edges and controls.
Consider temporary safety aids: non-slip mats, grab bars, and a portable shower seat option.
Evaluate shallow entry and tub height, noting if you can step over safely.
Compare Shower seat options, stability, and transfer ease, then plan simple, temporary adjustments that fit your space and budget.
What Non-Slip Solutions Protect Seniors in Wet Areas?
Non-slip solutions protect seniors in wet areas by giving you steady footing every step. Start with anti-slip bath mats, non-slip shower decals, and textured anti-skid flooring where possible.
Install grab bars near tubs, toilets, and showers, and choose floor coatings with high traction. Use bath seals and wet-area mats to reduce slips.
These tools enhance bathroom safety and support Elderly mobility, empowering you to move confidently and avoid accidents in daily routines.
Conclusion
You’ve set the stage for safety and independence, and the work is just the spark before tomorrow. Think of your home as a responsive partner—knowing your pace, scaling with every step. Tackle light, floor, and threshold tweaks first, then widen doors where needed. Add grab bars, easy-clean surfaces, and smart lighting that follows you like a calm breath. With a realistic budget and steady maintenance, your home will aging in place gracefully, reliably, and within reach of every day.