Last weekend you noticed street noise seeping through the gaps around your window. You can start with simple fixes that don’t require major construction—seal leaks, add rugs and heavy curtains, and use door sweeps to cut echoes. These steps buy you quiet fast, but they’re only the beginning. There’s a practical path to a noticeably calmer room that balances cost, time, and effectiveness, and it’s worth following to see what you can genuinely silence first.
Key Takeaways
- Seal gaps around doors, windows, outlets, and baseboards with weatherstripping, caulk, foam, and door sweeps to stop air and sound leaks.
- Add dense, layered window treatments and heavy curtains to increase mass and absorption without remodeling.
- Use door sweeps, solid hardware, and ensure snug door closures to minimize transmission paths.
- Introduce soft, absorptive surfaces: thick rugs with underlays, padded furniture, fabric wall hangings, and acoustic panels.
- Use temporary, non-structural fixes like bass traps, foam or mineral-wool panels, and draft stoppers to reduce reflections and flutter echo.
How Soundproofing Works: The Basics and Why It Matters
Soundproofing works by blocking, absorbing, or de-tuning sound so it doesn’t pass straight through walls, ceilings, and floors. You’re aiming for three core effects: barrier, absorber, and decoupler, each contributing to quieter spaces.
Barrier refers to solid, dense materials that reflect or impede sound waves, reducing transmission. Absorption uses porous or fibrous layers to trap energy, converting it to heat rather than sound. Decoupling interrupts shared vibration paths, so different structures don’t shake together.
To apply these principles, pick Soundproof materials designed for your space and goals, then install in a manner that preserves their properties. Understanding acoustic principles helps you choose solutions with predictable outcomes, rather than guessing.
Balance cost, space, and performance to achieve meaningful reductions without overbuilding.
Seal First: Easy Air Leaks to Close for Real Impact
Sealing first matters, because small leaks quietly undermine every other effort. You’ll gain immediate payoff by plugging gaps before you add mass or layers. Focus on obvious air paths and test by feeling for drafts with a candle or your hand.
- Identify gaps around windows and doors, outlets, and baseboards.
- Seal with weatherstripping, door sweeps, and foam sealant where appropriate.
- Add acoustic foam behind outlets or on problem walls to reduce flutter echo from leaks.
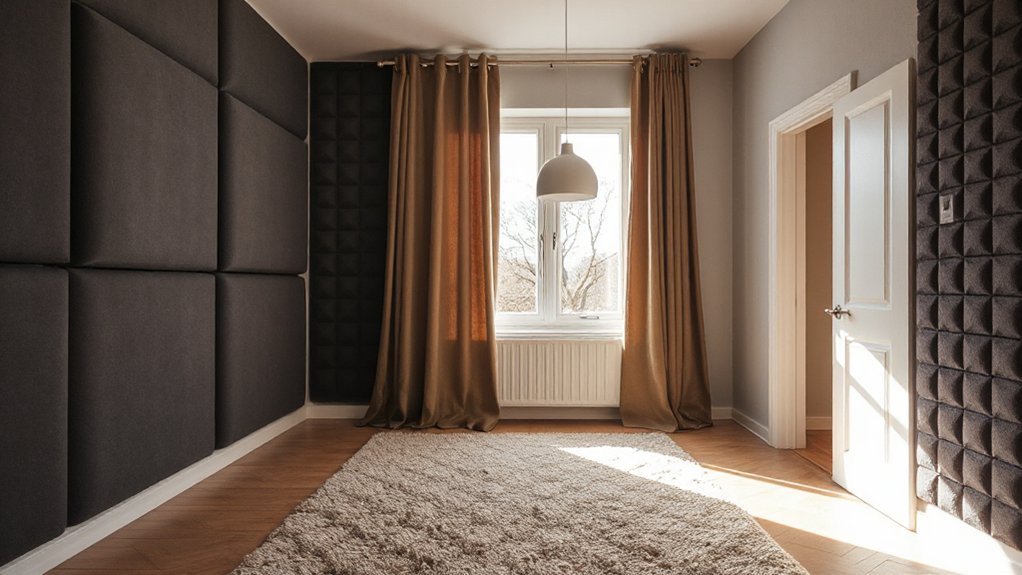
- Customize with soundproof curtains at windows to cut both infiltration and reflected sound.
Tip: combine curtains with foam for a two-layer approach, boosting privacy without heavy remodeling.
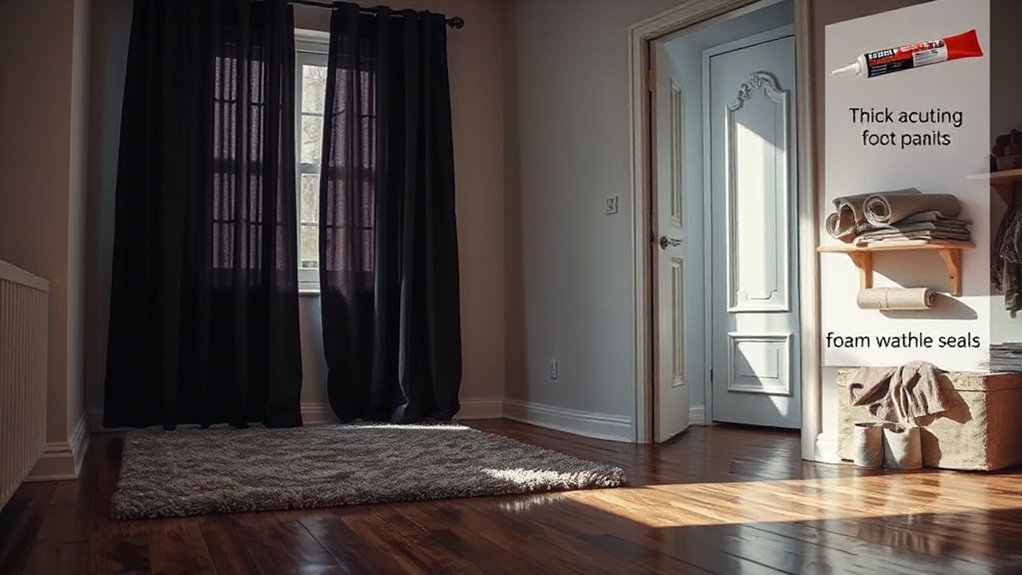
Quiet Feet and Doors: Rugs, Underlay, and Door Hardware That Help
Rugs, underlay, and door hardware are the quiet‑footwork of a solid soundproofing plan. You’ll gain meaningful reductions in footfall noise by choosing dense rugs paired with high‑quality underlay, especially over hardwood or tile.
Aim for a rug that covers high‑traffic zones and extends under doors where possible to disrupt direct sound paths. For doors, install door sweeps and weatherstripping to close gaps at the threshold and frame, preventing both airborne and impact noises from leaking through.
Look for door hardware labeled for sound control, and verify fitment is snug without binding. Combine these elements to create a layered barrier: reduce impact noises with soft surfaces, then seal with tight door components for quieter rooms.
Quiet feet benefit from deliberate, well‑matched choices.
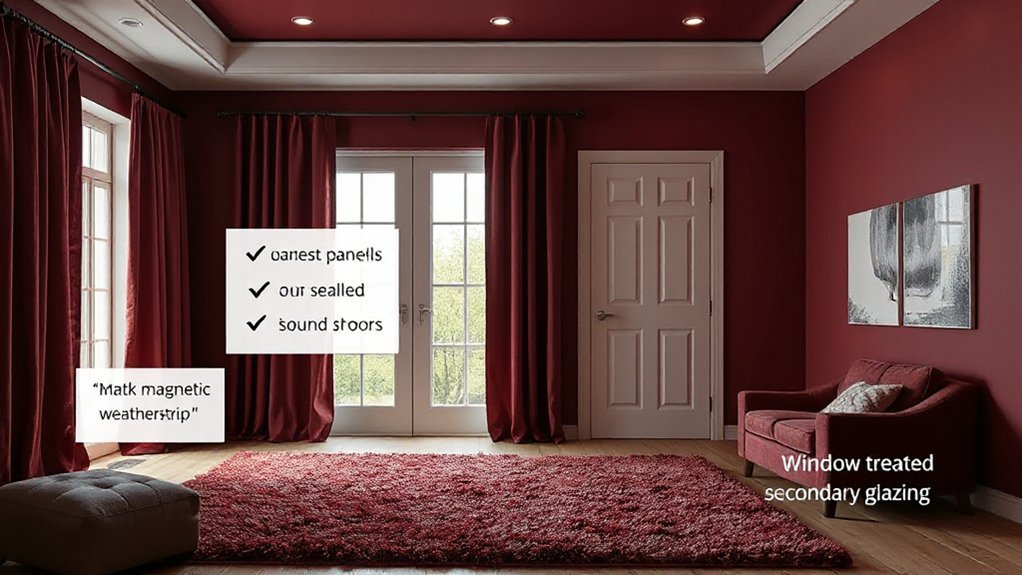
Windows and Drafts: Low-Cost Fixes That Curb Noise Transmission
Windows and drafts may be the easiest leaks to tackle first, yet they’ve got a big impact on room noise. You can curb transmission without major work by focusing on simple, practical fixes that seal gaps and dampen light contact.
1) Seal gaps around frames with weatherstripping or caulk to cut sneaky air currents and sound leaks.
2) Add decorative window treatments that layer fabric and other materials to absorb noise without blocking light.
3) Install soundproof curtains with a dense, multi-layer construction for extra mass and reduced flutter echo.
4) Use window plugs or draft stoppers for sills and cracks that invite cold air and noise indoors.
These steps deliver noticeable gains without turning your project into a renovation.
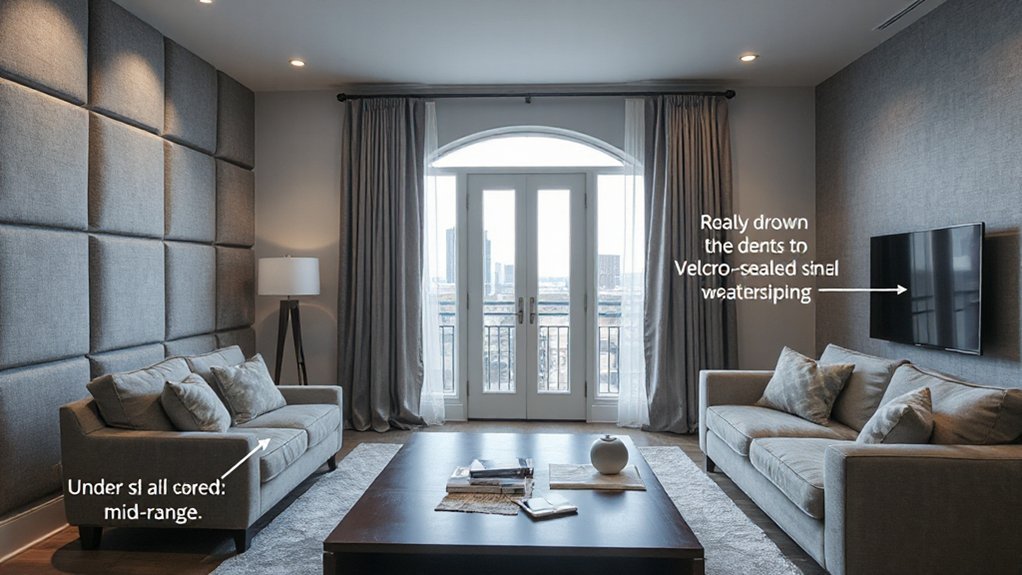
Softening Surfaces: Fabrics, Panels, and DIY Acoustic Treatments

Soft furnishings and DIY acoustic treatments can dramatically reduce echo and absorb stray noise, often with simple, budget-friendly choices. You’ll rely on both sound absorption and practical placement to make a room feel quieter.
Begin with fabric layering: drapes, tapestries, and upholstery textiles add density, breaking up reflective surfaces without heavy costs. Hang absorptive panels—acoustic foam, fiberglass, or mineral wool—behind furniture or on walls where sound rebounds most.
Use soft rugs or underlays to dampen floor reflections, especially in high-traffic areas. Cushions, throws, and padded furniture contribute incremental gains by scattering mid-to-upper frequencies. Keep mounting low-profile and removable for flexibility.
Balance aesthetics with function; prioritize surfaces that face the primary sound source. This approach yields meaningful reductions without remodeling.
Flooring Tweaks That Cut Echo Without Ripping Up the Room
Flooring can be a big echo amplifier, but you don’t need a full remodel to tame it. You’ll influence sound by choosing practical tweaks that boost floor insulation and enhance sound absorption without ripping up rooms.
- Add thick underlayment or acoustic padding under existing floor.
- Use area rugs and dense materials in key listening zones to damp reflections.
- Install felt or rubber strips at door gaps to minimize edge reflections and airflow noise.
- Choose floor-insulating mats under heavy furniture to reduce bass rattles and flutter echoes.
These steps focus on floor insulation and sound absorption, delivering noticeable gains with minimal disruption. You’ll keep surfaces intact while you quiet footfalls, clog echoes, and preserve style.
Device Placement and Room Layout to Reduce Sound Transfer
Strategically place noisy gear away from shared walls and between solid barriers to cut sound transfer from one room to another. You’ll optimize device placement by locating loud sources away from thin partitions and near sturdy surfaces, which reflect and absorb differently.
Position speakers, amplifiers, and HVAC units so their vibration paths don’t travel directly into adjacent spaces; use decoupled mounts or furniture to dampen shocks.
Arrange cables and power strips to minimize cross-talk and electromagnetic interference, keeping noisy components isolated from quiet zones.
Incorporate decorative wall art and furniture arrangement to disrupt standing waves and channel energy toward noncritical areas.
Keep furniture as buffers along likely sound paths, and use soft furnishings to absorb midrange noise without cluttering the room.
Regularly reassess positions after changes.
Choosing Affordable Acoustic Panels and Placement Strategies
To keep costs down without sacrificing performance, start with a clear plan for affordable acoustic panels and strategic placement.
- Choose affordable panels with a high noise reduction coefficient (NRC) and flat, removable covers that fit vintage decor.
- Prioritize placement at first reflection points on walls facing the sound source to maximize efficiency.
- Use a mix of thicker bass-trap panels in corners and thinner panels elsewhere to balance musical acoustics and space.
- Consider DIY fabric wraps or affordable mineral-wool panels to blend with existing decor while preserving performance.
Quick-Win DIYs: Weatherstripping, Door Sweeps, and Draft Stoppers
Weatherstripping, door sweeps, and draft stoppers are quick-win upgrades you can deploy now to cut gaps that let sound seep in. You’ll learn which materials and placements deliver real value, from sealing gaps around frames to sweeping under doors and stuffing elusive drafts.
Start with the essentials, then tailor tweaks to your room’s specific leaks for noticeable noise reduction.
Weatherstripping Essentials
Weatherstripping is a quick, low-cost way to start quieting a room. You’ll seal gaps, reduce drafts, and improve comfort without major renovations. Use this approach to complement decorative accents and lighting solutions, keeping aesthetics in mind as you optimize performance.
- Assess gaps around doors and windows, choose foam or bulb weatherstripping, and press firmly to seal without crushing.
- Install door sweeps on exterior doors to block bottom gaps while avoiding floor interference.
- Apply adhesive-backed weatherstrips to irregular frames for a snug fit and cleaner look.
- Add draft stoppers for wide or uneven gaps, prioritizing high-traffic areas to prevent air leakage.
Door Sweep Effectiveness
Door sweeps are a fast, proven way to close bottom gaps and cut drafts without heavy remodeling. When you install or adjust them, you’ll see immediate improvements in room quietness and thermal comfort. Choose a sweep that fits your door type—brush, foam, or flexible vinyl—and mount it flush against the threshold to minimize gap under the door.
For best results, pair sweeps with solid door hardware and guarantee the door closes snugly without binding. Consider adding soundproof curtains on nearby walls or windows to dampen reflected noise further.
Also optimize furniture placement to block line-of-sight paths for sound between rooms, reducing direct transmission. Keep doors well-sealed, and reassess periodically after seasonal changes.
Draft Stopper Techniques
- Weatherstripping: choose compression seals that suit your door frame, and apply top and bottom to minimize air leaks.
- Door sweeps: mount a rigid or flexible sweep to bridge the gap along the doorstep, reducing both drafts and sound transfer.
- Draft stoppers: place fabric or foam-filled tubes at the base of doors for portable, effective blockage.
- Window and threshold tweaks: add foam tape or a low-height threshold to suppress lingering drafts and vibrations.
Troubleshooting Common Problems and When to Escalate
If you notice persistent issues after your quick-wins, follow the Escalation Triggers Quick Guide to decide when to bring in a pro.
Look for persistent sound leaks, clues like no improvement after adjustments, or repeated measurements that don’t meet your target.
When you spot these, it’s time to escalate—seek expert help, document findings, and review your next steps together.
Escalation Triggers Quick Guide
Escalation triggers are your front line for resolving room soundproofing issues quickly. You’ll recognize when to escalate by measuring impact, not annoyance level, and by documenting objective signs rather than guesses.
When a fix fails to meet baseline performance, or when tests show inconsistent results, push for expert review. Keep focus on actionable steps, timelines, and defined ownership to prevent drift.
- Define the fail condition (quantify decibel change, target vs. reality, timeframe).
- Gather objective data (room dimensions, materials, prior fixes, test methods).
- Assign clear ownership (consultant, contractor, or installer, with contact points).
- Schedule a milestone review (reassess after recommended adjustment, note outcomes).
Note: consider Soundproofing myths and historical soundproofing as context, not instruction, in this stage.
Persistent Sound Leaks Clues
Persistent sound leaks aren’t random anomalies; they point to specific gaps, materials, or installation flaws that stubbornly resist quick fixes. When you chase clues, you’ll map leaks to junctions, outlets, and shared walls rather than chasing general “seems noisy” feelings.
Inspect door frames for compression, window sashes for drafts, and penetrations where wiring or pipes pass through. If you hear flutter or a hiss, test with a light press along seams; a visible gap means you’ve got work to do.
Be wary of soundproofing myths—double-stud walls aren’t always the answer, and mass alone can miss flanking paths. If leaks persist, escalate with targeted sealing or decoupling steps, rather than broad, ineffective measures that fuel noise pollution.
Plan, document, and verify improvements.
When Pro Help Needed
When should you call in a pro? You escalate when DIY fixes fail to reduce noise or when you encounter persistent, obvious leaks that aren’t solved by sealants, panels, or decoupling methods. A pro helps diagnose structural paths, assess flanking leaks, and implement compliant, durable solutions.
You’ll benefit from professional testing, tailored treatments, and faster results, with less trial and error. Consider how furniture arrangement and decorative accessories could initially help, but recognize their limits when protivents persist.
A pro can also guarantee safety and warranty coverage, preventing future cost overruns.
- Assess structural paths and identify hidden leaks
- Advise on compliant materials and installation methods
- Implement targeted, durable soundproofing with proper sealing
- Verify performance with precise, professional testing
Budget-Friendly Plan: Prioritizing Steps for the Best Value Within Your Budget
To get the most bang for your buck, start by identifying the key soundproofing gains you need and allocate your budget to the highest-impact steps first. You’ll prioritize targets with measurable returns: reduce airborne noise, seal gaps, and damp vibrations.
Begin with door and window leaks, then address wall penetrations and shared ducts if present. Use door sweeps, weatherstripping, and acoustic gaskets to block leaks before investing in heavier fixes.
Choose cost-effective treatments that offer visible results, like dense mats or mass-loaded vinyl for critical surfaces. Remember Soundproofing myths suggest expensive overhauls are required, but progress comes from smart sequencing.
Employ acoustic treatment techniques for room balance—bass traps and absorptive panels where necessary. Monitor results, adjust, and reuse components to maximize value within your budget.
Frequently Asked Questions
Can Furniture Arrangement Influence Perceived Room Quietness?
Yes, furniture arrangement can influence perceived room quietness. You’ll notice less echo and clearer sounds when you use smart furniture placement to break up standing waves.
Place upholstered seating, bookshelves, and rugs to absorb and diffuse noise. Position heavy, plush items near noise sources.
Use acoustic furniture strategically to dampen reflections. With deliberate placement, you’ll create a calmer space, improving your sense of quiet without major construction.
Do Heavy Curtains Block More Noise Than Blinds?
Yes, heavy curtains generally block more noise than blinds. The key is curtain density: denser, thicker fabric with multiple layers reduces air movement and sound transmission more effectively.
When comparing, consider blind material too—louvered or lightweight blinds let more sound through via gaps and reflective surfaces.
To maximize impact, pair heavy curtains with solid, tight-fitting blinds, seal edges, and make certain a close fit to walls. You’ll notice quieter rooms with this practical setup.
Can Plants Significantly Reduce Sound Transmission?
Plants can help a bit, but they won’t dramatically block noise. You’ll see minor reductions with plant barriers and higher foliage density, especially for high-frequency sounds and short distances.
Think of them as a soft, decorative buffer that supplements other measures. To maximize effect, place dense greenery near noise sources and use multiple layers.
Is Ceiling Insulation Worth the Cost for Soundproofing?
Yes, ceiling insulation is worth it for soundproofing in many cases. It reduces airborne noise by adding mass and decoupling paths when paired with other soundproofing techniques.
You’ll notice quieter rooms and better energy efficiency. To maximize impact, combine insulation with door seals, resilient channels, and acoustic caulk.
Choose dense mineral wool or fiberglass batts, and guarantee proper installation without gaps. Prioritize continuous coverage for the best results.
Are DIY Fixes Effective for Street Traffic Noise?
Yes, DIY fixes can help with street traffic noise, but results vary. You should start with window films and door seals to cut drafts and reduce sound leakage. Seal gaps around frames, use weatherstripping, and add heavy curtains.
Consider acoustic window inserts for higher impact. For best results, pair these with rug underlays and door sweeps. Expect noticeable improvement, though you won’t achieve studio-grade isolation without more substantial measures.
Conclusion
You’re building a quiet harbor inside your home. Think of gaps as tiny leaks in a dam; you seal them, and the noise slows to a whisper. Rugs, curtains, and panels become the net that catches echoes. A door sweep becomes a drawn curtain over a noisy street. With each practical fix, you’re stacking bricks of calm, shaping a space where sound can’t rush in. Start small, finish strong, and let silence anchor you.