Like a blueprint you’ve seen before, this renovation timeline maps your year in clear, practical steps. You’ll plan, budget, and lock in permits first, then select a contractor and finalize design details. Demolition and site prep follow, with framing and essential inspections guiding you. Rough-ins, insulation, and drywall set the pace, while finishing trades align for a smooth flow. Final touches, walkthroughs, and closeout loom ahead—each phase building toward occupancy, but a critical decision point may still hinge on what you decide next.
Key Takeaways
- Months 1–2: define scope, estimate costs with contingency, lock in approvals, finalize materials, and set contracts to prevent scope creep.
- Months 3–4: perform demolition safely, prep site, confirm framing, and schedule inspections to align with future installations.
- Months 5–6: finalize rough-ins and insulation, coordinate trades, and plan drywall prep to avoid rework and delays.
- Months 7–9: select and schedule interior finishes, align master sequence, and maintain a shared calendar for smooth communication.
- Months 10–12: complete finishing trades, conduct final inspections, and prepare closeout documents and warranties for occupancy.
Month 1: Plan, Budget, and Permits for Your Renovation Timeline
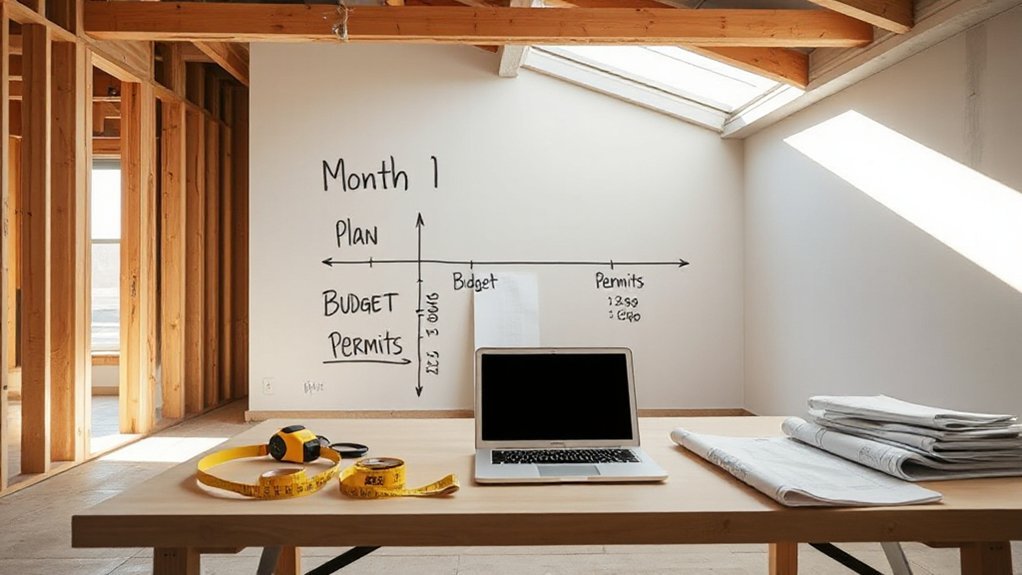
Before you pick up a hammer, map out a solid plan, set a realistic budget, and secure the necessary permits. In Month 1, you lay the groundwork that future work leans on, so be deliberate and precise.
Begin with a clear scope: define rooms, priorities, and any structural changes you expect. Next, estimate costs using current quotes and a contingency buffer; aim for 10–15% wiggle room.
Material selection matters now, because choosing finishes and fixtures early prevents backtracking later. Document decisions in a simple, organized checklist you’ll revisit weekly.
As you refine the plan, note potential Design modifications that could reduce costs or accelerate timelines without sacrificing quality.
Keep communication brief and factual with your team, and lock in approvals promptly to avoid delays. This disciplined start minimizes surprises down the line.
Month 2: Lock In Contractors and Finalize Design Details
By now, you’ve laid a solid foundation in Month 1, so you’re ready to lock in the people who’ll execute the plan and finalize the design details that will guide every next step.
In Month 2, you confirm trusted contractors, align schedules, and set clear expectations on deliverables and milestones. Prioritize documentation: bind roles, warranties, and change-order protocols into a concise contract package.
Engage in disciplined contractor negotiations to secure reliable timelines and cost controls, while preserving design intent.
For design details, finalize scope, elevations, finishes, and fixture selections, pairing them with a precise bill of materials. Establish approval gates and a design-signoff process to prevent scope creep.
With firm contracts and finalized specs, you’ll shift seamlessly into construction phases.
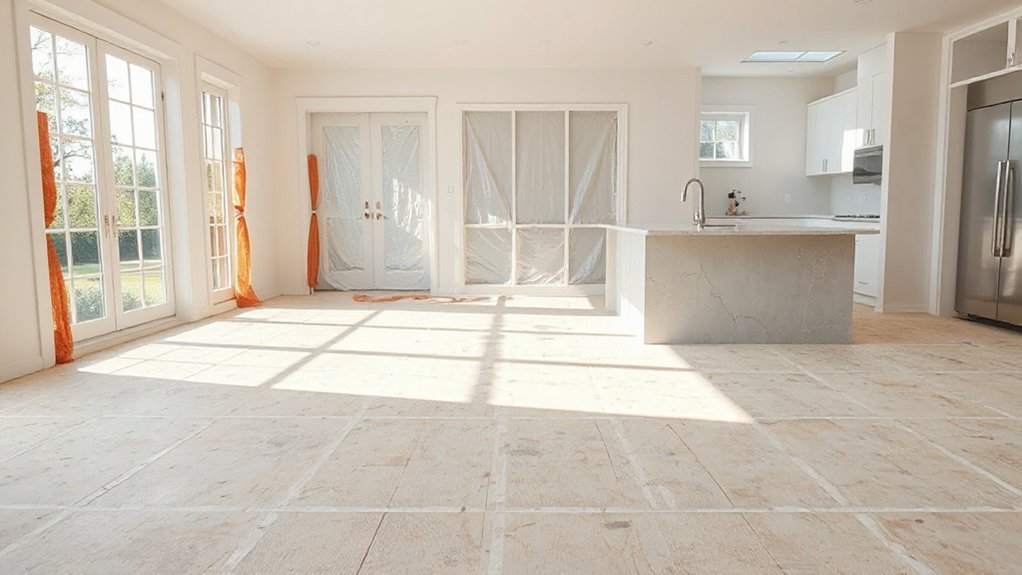
Month 3: Demolition Safety Checklist and Site-Prep Essentials
As you kick off Month 3, you’ll implement the Demolition Safety Protocols to protect workers and occupants while you establish a solid Site-Prep Essentials plan.
Start with a clear, checkable Demolition Safety Protocols list and a practical Site-Prep Essentials Checklist to control hazards, waste, and access.
Align these controls with your project schedule and site constraints to keep progress predictable and compliant.
Demolition Safety Protocols
Demolition work demands strict safety controls from day one. You’ll implement a clear protocol that minimizes risk, prioritizes crew welfare, and preserves structure where possible.
Begin with hazard identification to spot risks before tools touch material. Then lock in controls that protect everyone on site.
- Inspect and verify all safety gear before use; require hard hats, gloves, eye protection, respirators as needed, and high-visibility clothing at all times.
- Establish a documented demolition plan detailing permitted methods, exclusion zones, dust suppression, and vibration limits.
- Conduct daily briefings to review tasks, re-assess hazards, and confirm that emergency procedures and contact routes are understood by all crew.
Site-Prep Essentials Checklist
Site preparation sets the foundation for safe, efficient demolition, so start with a focused checklist that confirms access, utilities, containment, and dust controls before any work begins.
You’ll verify site access paths, gate controls, and pedestrian safety routes; confirm power, water, and gas shutoffs, plus emergency disconnects.
Establish containment: barriers, negative air systems, and debris zones to minimize dust spread.
Implement a demolition safety plan with roles, communication signals, and hazard assessments.
Schedule utility disconnections and environmental checks to prevent leaks or runoff.
Prepare for site-drainage and waste management, including temporary storage and recycling options.
Coordinate with landscaping design early to minimize impact and plan for post-demo restoration.
Consider furniture selection implications for staging areas, ensuring material segregation and protective placements.
Maintain daily checks to sustain a disciplined, compliant site.
Month 4: Framing Milestones and Required Inspections
Month 4 focuses on framing milestones and the required inspections, so you’ll lock in the structural skeleton and confirm code compliance before you proceed. You’ll verify load paths, shear walls, and wall orientations, ensuring studs, headers, and openings align with the plan.
Inspections occur at key framing moments to prevent costly rework later. Maintain a tight schedule, document issues, and address corrections promptly. Keep your crew focused on accuracy, not speed, to avoid gaps or misalignments that affect later stages like interior lighting and furniture placement.
- Confirm framing dimensions and alignment with plans, addressing any deviations before enclosing walls.
- Schedule and pass initial framing and firestop inspections, recording compliance notes.
- Coordinate with trades for rough-ins readiness, ensuring openings and chase routes won’t hinder future installations.
Month 5: Rough-Ins and Coordinating Plumbing, Electrical, and HVAC
In Month 5, you’ll align rough-ins for plumbing, electrical, and HVAC so they fit the overall layout and schedule.
Start by coordinating access points, material needs, and inspection windows to prevent backtracking.
Prioritize clear communication among trades to keep workflows synchronized and avoid costly rework.
Coordinating Rough-Ins Essentials
Coordinating rough-ins means aligning plumbing, electrical, and HVAC work so the walls and ceilings can be closed on schedule. You’ll map layouts, confirm clearances, and lock sequencing early to prevent clashes and rework. Precision now saves months later.
- Plan conduit runs, wiring routes, and vent paths with your trades, prioritizing Electrical wiring clearances and access for future maintenance.
- Confirm Structural supports and framing tolerances before any penetrations, documenting revisions to avoid weak points or code violations.
- Schedule inspections and tests for each trade in logical order, coordinating between rough-ins, fixture locations, and access panels to minimize delays.
Keep stakeholders informed, maintain contingency buffers, and record decisions for reference during finish trades.
Plumbing Electrical HVAC Sync
With rough-ins underway, you’ll synchronize Plumbing, Electrical, and HVAC so wall and ceiling closures stay on schedule.
At Month 5, you coordinate routing, sleeves, and access points to minimize rework. Map each trade’s rough-in plan to your architectural layout, confirming that pipe runs, conduit paths, and ductwork won’t conflict with future finishes.
Prioritize critical path tasks: water supply, waste lines, electrical feeders, and HVAC trunks. Use a single coordination drawing to flag clashes and resolve them before walls close up.
Schedule inspections in logical sequence to prevent delays. Build in smart home considerations early—placed outlets, network runs, and thermostat locations should align with design intent.
Focus on energy efficiency through efficient routing, sealing, and component selection to reduce later retrofits.
Month 6: Insulation Choices, Drywall Prep, and Early Finishing Decisions
Month 6 focuses on choosing insulation, prepping the drywall, and making early finishing decisions that shape comfort and savings. You’ll lock in thermal insulation choices that balance cost, performance, and climate.
Plan drywall installation timing to minimize callbacks and maximize wall integrity. Early decisions here steer energy use, acoustics, and finish quality later.
- Select insulation type and thickness based on R-values, moisture control, and retrofit feasibility.
- Schedule drywall installation steps, including wall prep, joint compound, and drying windows, to prevent rework.
- Choose early finishes (paint, textures, and surfaces) that align with budgets, schedules, and long-term maintenance.
Focus on accuracy, material compatibility, and predictable timelines to avoid surprises as you move toward the next phase.
Months 7–9: Finishing Trades and How to Schedule Them for a Smooth Build
As you wrap insulation, drywall, and early finishes, you’ll shift focus to finishing trades and how to schedule them for a smooth build. In this window, coordinate painters, tilers, installers, and trim carpenters to minimize overlap and delays. Create a master sequence that prioritizes interior finishes logically, aligning plaster, caulking, and paint with dry times and site access.
Lock in material selections early and confirm supplier lead times to prevent backorders that stall crews. Use a denser calendar for rooms with multiple trades, and share a single project calendar with all teams to avoid miscommunications.
Track progress daily, flag issues immediately, and adjust sequences before bottlenecks form. This phase hinges on timely decisions about interior finishes and material selections to sustain momentum.
Months 10–12: Final Touches, Walkthroughs, and Closeout Tips
Months 10–12 focus on final touches, walkthroughs, and closeout tips to lock in quality and guarantee a smooth handoff. You’ll confirm finishes, verify measurements, and guarantee all systems operate as intended.
Plan final purchases, align interior design decisions with budget, and finalize furniture selection to match the layout. Conduct a thorough inspection, document issues, and require timely corrections before closeout.
1) Create a punch list and track resolution, prioritizing safety, function, and aesthetics.
2) Schedule a formal walkthrough with contractor, designer, and client to review every room, including final touches and furniture placement.
3) Prepare closeout documents, warranties, manuals, and care guides for the new space, facilitating a seamless transition into occupancy.
Frequently Asked Questions
What Hidden Costs Commonly Appear After Permits Are Issued?
Hidden costs after permits pop up as you proceed. Permit delays can push timelines and add storage or labor costs. Hidden fees often appear for plan redraws, inspection rescheduling, and utility hookups you hadn’t budgeted.
You’ll encounter extra fees for field engineering, unexpected code upgrades, and material testing. To stay ahead, build a contingency, track every permit-related expense, and ask for itemized estimates.
Stay proactive: document changes, confirm approvals, and negotiate timelines to minimize impact.
How to Verify Contractor Licenses and Past Project Quality?
You verify contractor licenses by checking active status with the state licensing board and requesting proof of insurance.
Evaluate their Project history by reviewing past work, current client references, and any complaint records.
Confirm credentials, licenses, and bonding are current, and visit two recent sites if possible.
Ask for a detailed scope, timeline, and change-order policy.
Document approvals, verify permits align with work, and compare bids to ensure consistent, quality outcomes.
What Are Inspection Wait Times During Peak Seasons?
Inspection delays are common during peak seasons, with wait times spiking when calendars flip and crews bolt. You’ll face longer queues amid seasonal fluctuations, then quicker turns as the lull returns.
You plan around backups, not guesses: book inspections early, confirm slots, and have everything accessible.
You’ll feel the contrast between busy weeks and quiet ones, and adjust expectations accordingly, staying proactive, precise, and strategic to keep your project moving despite the delays.
How to Handle Scope Changes Without Derailing Timeline?
You handle scope changes with scope flexibility and strict change management. You identify impacts early, log every request, and evaluate cost, schedule, and quality trade-offs before approvals.
You lock down a formal change control process, assign a decision maker, and set revised milestones immediately when changes arise. You build contingency buffers, communicate transparently, and prioritize high-value items.
You resist casual edits, ensuring every change earns time and budget adjustments to protect the timeline.
What Maintenance Prepping Is Needed After Project Completion?
Maintenance prepping after completion includes creating a clear checklist for ongoing care. You’ll schedule seasonal inspections, promptly seal gaps, and swap worn hardware.
You’ll implement consistent cleaning, corrosion checks, and moisture control to prevent problems. Material selection matters here, ensuring compatible finishes for future touch-ups.
Follow safety precautions during any DIY touches, wear PPE, and document all maintenance.
This strategic plan keeps your project pristine, protecting value while minimizing future surprises.
Conclusion
In just 12 months, you’ll transform a blueprint into a livable masterpiece—faster than you thought possible, if you stay relentlessly on schedule. Plan meticulously, choose trusted pros, and decision fast, because delays become dragons you’ll slay with checklists and clear communication. Each milestone compounds certainty: framing stands, systems align, finishes dazzle. Keep inspections brisk, approvals swift, and approvals even swifter. Do the work, own the clock, and savor a space that feels like it appeared by magic—only it didn’t. You earned it.