A well-planned split-level renovation spreads work across clear phases, starting with a baseline assessment and goal mapping, then prioritizing daily-use zones like kitchens, baths, and entry paths. Plan a phased timeline aligned with permits, inspections, and supplier lead times, and build three budget tiers: Quick Wins, Core Upgrades, and Contingencies. Schedule structural and foundational work first, then finishes and smart-home features in stages. If you keep going, you’ll gain deeper guidance on managing risk and pace.
Assess Your Split-Level Baseline and Goals
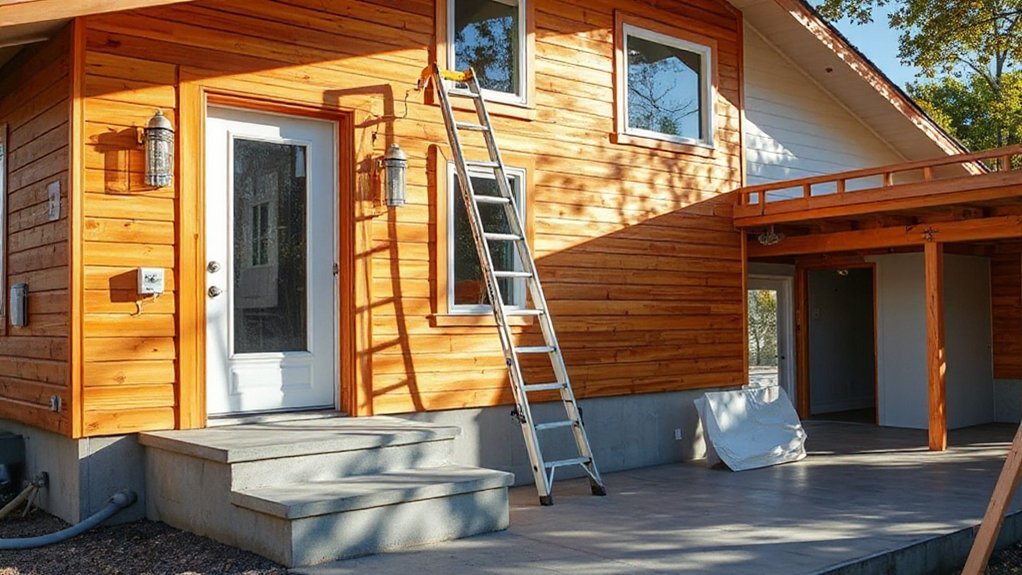
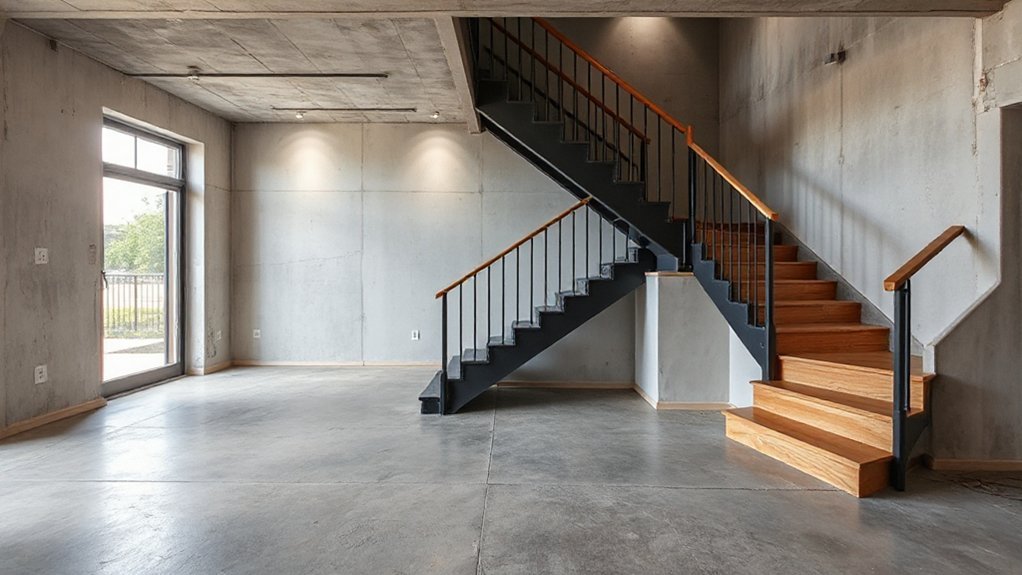
Assess your current split-level baseline by cataloging existing layout constraints, structural conditions, and utility placements. You’ll map spatial relationships, note ceiling heights, stairs, and load paths, then compare against your target program.
Document exterior exposure, daylight access, and potential expansion footprints to guide design decisions.
Evaluate exterior paint compatibility with anticipated finishes and climate, ensuring color and coating choices align with future rehab work.
Assess landscaping design implications for drainage, grading, and access routes to mechanicals without compromising sightlines or grading stability.
Catalog existing mechanicals, electrical panels, and plumbing routes, identifying constraints for relocation or replacement.
Establish metrics for performance, safety, and code compliance, then set prioritization thresholds.
Use these findings to shape phased goals, budget envelopes, and risk registers for the renovation timeline.
Map the Flow: Prioritize Rooms by Daily Impact
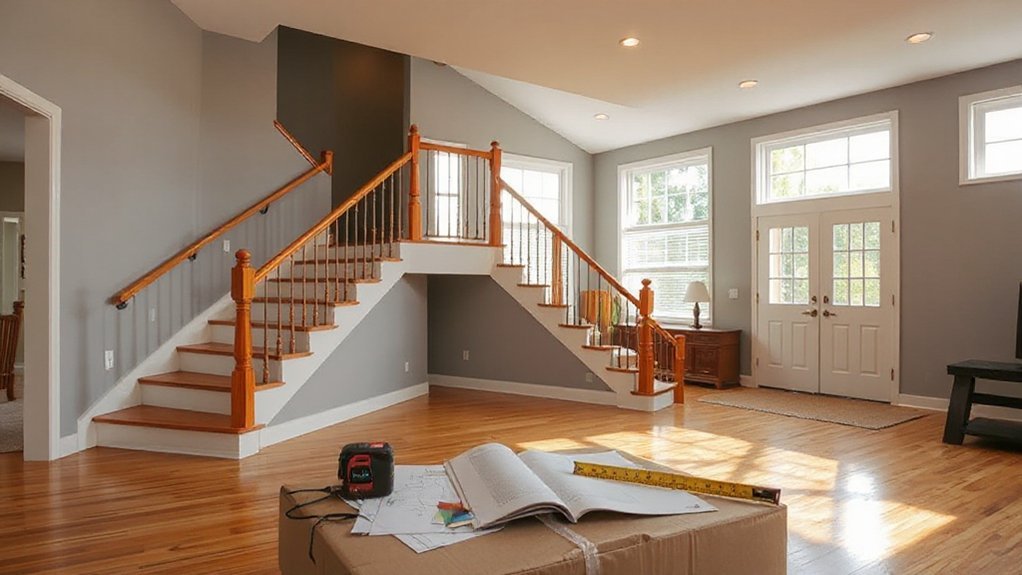
To map the flow, identify which spaces you’ll use daily and rank them by how often you interact with them. You’ll base decisions on access, comfort, and function, then chart a prioritized sequence for updates.
Begin with high-impact zones: kitchens, baths, primary living areas, and circulation paths that you traverse every day. Quantify each room’s daily touchpoints: entry, prep, cleanup, storage, and retreat moments.
Use this ranking to time trades, utility upgrades, and material deliveries to minimize disruption. Consider how exterior landscaping affects daily routines—entryways, drive paths, and seasonal maintenance—so external work aligns with interior use.
Tie interior decor choices to flow: ensure finishes, acoustics, and lighting support frequent activities without overhauling later. This method preserves momentum and clarity across renovations.
Plan a Phased Timeline That Fits Construction Realities
Begin with demolition and rough-ins during shoulder seasons, then enclosure and mechanical rough-out, followed by interior finishes. You sequence tasks to maximize crew productivity while preserving access for trades and material delivery windows.
Design aesthetics and material selection steer finish schedules, not the other way around, preventing rework as shipments arrive. Schedule inspections and testing at logical milestones, ensuring approvals don’t stall downstream work.
Maintain a living master calendar, update weekly, and align procurement with forecasted lead times to avoid gaps in critical path activities. This approach minimizes downtime while maintaining quality, scope, and risk control.
Create Budget Tiers: Quick Wins, Core Upgrades, Contingencies
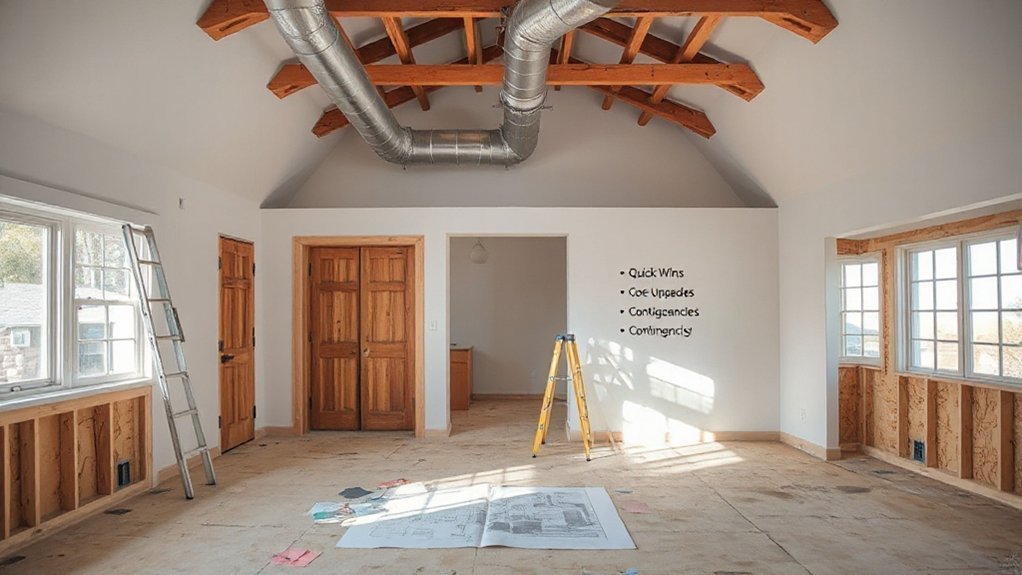
Start by defining three budget tiers: Quick Wins, Core Upgrades, and Contingencies. You’ll allocate capital across the most impactful, lowest-risk items first, then scale to essentials, with a safety cushion for unknowns. This structure keeps cash flow predictable while you modernize a split-level home.
Focus areas like interior lighting and landscaping design drive perceived value and energy efficiency without delaying the broader schedule.
- Quick Wins: install efficient fixtures and accent lighting to immediately lift ambiance and reduce operating costs.
- Core Upgrades: prioritize structural, mechanical, and electrical improvements that enable safer, more durable living spaces.
- Contingencies: reserve 10–15% of project costs to absorb price volatility and unforeseen site conditions.
This approach safeguards your budget while keeping interior lighting and landscaping design aligned with the remodel goals.
Schedule Structural and Foundational Work in Phases
You’ll structure structural and foundational work as phases, with clear Phase 1, Phase 2, and Phase 3 milestones aligned to access, permit, and inspection windows.
Plan the sequence around phase-based scheduling, ensuring each step—framing, underpinning, utilities—flows into the next with minimal disruption.
Track foundational milestones on a timeline that ties to site constraints, weather windows, and crew availability to keep the project on schedule.
Phase-Based Scheduling
- Phase kickoff meetings lock scope, constraints, and approvals, then translate them into actionable baselines.
- Access planning maps crane, path, and storage needs to minimize rework and congestion.
- Sequential handoffs guarantee interior lighting and decorative accents are staged for seamless progression between structural milestones.
Sequenced Structural Work
Each phase locks in dependencies, inspection windows, and material lead times, so crews don’t clash and safety is preserved. You track critical-path items, coordinate with utilities, and stage components to prevent rework. While you optimize the sequence, you still reference interior decor and landscaping plans to guarantee the structure accommodates later finishes and site changes.
You document phase boundaries, acceptance criteria, and contingency buffers, maintaining rigorous communication with trades to sustain steady progress through the build.
Foundational Milestones Timeline
A foundational milestones timeline schedules structural and foundational work in clearly defined phases, aligning long-lead items with inspections and permit windows to minimize delays. You’ll map sequence, deadlines, and dependencies, ensuring soil tests, foundation pours, and framing occur within off-peak windows to keep crews productive.
By tying milestones to permit approvals, you reduce hold times and maintain momentum toward interior decor goals while preserving structural integrity and safety. Consider how garden landscaping phases integrate with exterior work, and how early utility rough-ins support later finishes without backtracking.
- Visualize the site as it shifts from soil prep to framing, then to closeout, with clear checkpoints at each phase.
- Align inspections with material deliveries so you minimize idle days.
- Coordinate interior decor milestones alongside structural closures to sustain momentum.
Insulate and Seal First for Energy and Comfort
Insulating and sealing first pays off immediately in energy savings and comfort. You’ll tighten the building envelope before trades arrive, reducing heat transfer through walls, roof, and basement.
Prioritize high-performance insulation in exterior walls, attic, crawl spaces, and rim joists, focusing on continuous coverage and minimal gaps.
Seal air leaks with well-sealed seams, treated foam, and spray methods where appropriate, targeting penetrations around pipes, ducts, and electrical boxes.
Install moisture barriers where needed to prevent condensation and maintain insulation effectiveness.
Combined with proper ventilation, you’ll limit drafts and improve indoor air quality.
Plan for creative lighting and outdoor landscaping considerations to align with tighter envelopes, ensuring fixtures, ducts, and wiring don’t compromise seals.
This approach streamlines later upgrades and supports reliable comfort throughout seasons.
Review and Upgrade the Electrical System for Modern Living
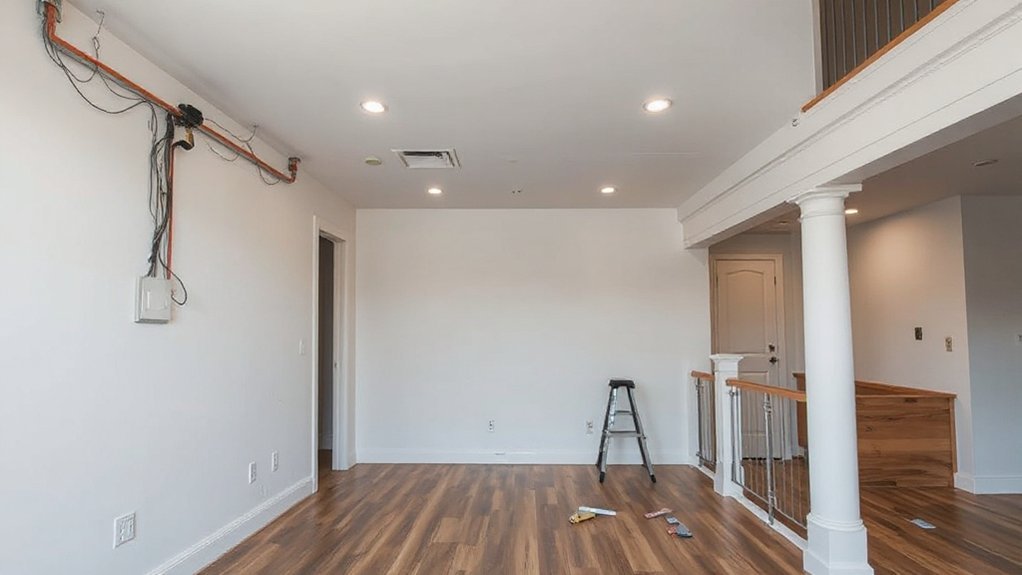
Upgrading the electrical system is essential for modern living, especially after tightening the building envelope. You’ll verify capacity, plan for future loads, and guarantee code compliance while minimizing disruption. Prioritize safety, accessibility, and reliability through precise upgrades rather than quick fixes.
- Assess service capacity and upgrade panels if needed, so you can add equipment without overloading circuits.
- Install smart meters and subpanels to monitor usage, integration with solar, and demand response for efficiency.
- Replace aging circuit breakers with modern, arc-fault and ground-fault protected devices to reduce fire risk and improve protection.
These steps create a resilient electrical backbone that supports entertainment systems, HVAC, charging stations, and smart home integrations, enabling reliable performance throughout the remodel.
Relocate Plumbing and Improve Water Efficiency
Relocating plumbing and boosting water efficiency follows the electrical upgrades by addressing how water flows and is consumed after tightening the building envelope. You relocate supply and return lines to optimize layout, minimize trenching, and reduce heat loss from exposed runs.
You’ll reconfigure bathrooms and kitchens to consolidate wet zones, enabling safer, more accessible maintenance and future upgrades. You implement pressure-balanced fixtures and consider alternative cold-water supplies to curb waste.
You assess existing waste stacks for proper venting and reroute as needed to improve drainage and avoid siphonage.
You emphasize Water conservation through low-flow plumbing fixtures, aerated faucets, and efficient toilets, selecting models with verified performance.
You document changes, guarantee code compliance, and schedule pressure tests to verify leak-free operation post-move.
Upgrade Heating, Cooling, and Ventilation for Efficiency
To maximize efficiency, upgrade the home’s heating, cooling, and ventilation by selecting high-performance equipment and optimizing system layouts now. You’ll gain tighter control, lower energy use, and improved indoor comfort through intelligent zoning and sizing.
Focus on efficient heat pumps, high-SEER AC units, and balanced ventilation to reduce waste and draft. Smart thermostats integrate with ventilation systems to modulate airflow based on occupancy, humidity, and outdoor conditions, eliminating overconditioning.
Prioritize duct sealing and minimal terminal losses to sustain steady temperatures without bulk energy spikes.
- Install smart thermostats that learn patterns and coordinate with zoning for precise comfort.
- Implement balanced ventilation systems with monitored air exchange and filtration.
- Stage equipment for seasonal transitions, ensuring proper airflow and heat rejection.
Choose Durable Finishes for Sound, Light, and Comfort
You’ll balance durable surface choices, acoustic flooring options, and light-reflective materials to optimize sound, comfort, and energy use.
Start by selecting hard-wearing finishes and resilient underlayment to reduce noise transfer and maintenance. Then pair these with floorings that dampen impact while remaining easy to clean.
Finally, prioritize light-reflective surfaces to enhance brightness without increasing heat gain, aligning materials with the room’s function and flow.
Durable Surface Choices
- Plant-based finishes with low VOCs emulate natural warmth and reduce odor transfer between floors.
- Engineered surfaces combine resilience and easy cleaning for stairs, landings, and hallways.
- Reclaimed or repurposed panels provide rugged longevity while preserving a minimalist, modern aesthetic.
Acoustic Flooring Options
Prioritize sound insulation properties in the core and underlayment, targeting low transmission paths at stair runs and room junctions. Evaluate unified products that combine rigid, durable surfaces with resilient layers to reduce impact sound, footfall, and airborne noise.
For flooring installation, choose systems designed for multi-story scenarios, including acoustic underlays, floating or nail-down assemblies, and concealed fasteners that limit noise transmission. Consider vibration damping and edge isolation to prevent sound bridges around perimeter walls and transitions.
Document performance ratings and installation tolerances to ensure consistent outcomes across the entire split-level footprint.
Light-Reflective Materials
Light-reflective finishes enhance room brightness while preserving durability, comfort, and acoustic performance in a split-level layout. You select materials that combine high reflectance with resilience, ensuring long-term minimize maintenance.
Prioritize sustainable materials that resist scuffing and fading, while supporting your environmental goals. Opt for coatings and paints with low VOCs to maintain air quality, and pair with durable decorative accents that reinforce light diffusion without harsh glare.
In practice, choose finishes that balance gloss and texture to avoid echo in stair zones and foyer, while improving perceived space.
- Bright walls paired with satin or low-gloss trims for controlled reflection
- Light-toned flooring with reinforced wear layers and subtle texture
- Reflective tiles or panels behind seating for enhanced depth
This approach delivers energy efficiency, comfort, and cohesive aesthetics.
Demolition Before Drywall: Nail the Sequence
Demolition before drywall sets the critical sequence for a clean, durable renovation. You stage demolition to expose structural elements, utilities, and framing without compromising new finishes.
Start with safe removal of existing fixtures, then disconnect and cap electrical, plumbing, and HVAC lines to prevent damage and contamination.
Preserve framing where possible; label and photograph before disposal to aid drywall and insulation teams.
Remove exterior siding in controlled sections to access sheathing, moisture barriers, and flashing without rework.
Drywall is your final interior surface, so plan openings for wiring, outlets, and lighting fixtures early.
Coordinate with interior lighting and exterior siding decisions to avoid rework.
Keep dust containment intact, seal work areas, and verify load paths before wall reconstruction.
This sequencing minimizes rework and accelerates finish timelines.
Budget for Hidden Split-Level Challenges
Hidden cost variances can surprise your budget as framing fees shift with unexpected constraints. You’ll want to anticipate access challenges and permission hurdles that quietly raise costs beyond the initial estimate.
Prepare for accessory structural risks by identifying escalation paths early and tying them to contingency reserves.
Hidden Cost Variances
1) Unexpected material degradation revealed behind finishes
2) Unforeseen wiring or plumbing complexities requiring rework
3) Access limitations forcing temporary workarounds and longer durations
Unexpected Framing Fees
Budgets must accommodate unplanned rewrites of wall layouts, header supports, and fire-rated assemblies, all driven by structure above and below the finish line. Track timelines against the realities of supply-frequency delays and trade coordination, not optimistic estimates.
When inspections reveal concealed members or nonstandard connections, document changes immediately to avoid scope creep. Communicate with the project manager to rebaseline milestones and procurement orders, ensuring you don’t compound delays.
Expect Unexpected delays that ripple into sequencing, allocations, and permit readiness, and build contingency into your framing schedule to preserve overall project velocity.
Accessory Structural Risks
- Foundation shifts beneath stairwells that ripple into wall offsets
- Hidden beam deflection revealing after drywall goes up
- Subfloor planks showing wear or moisture affects above-grade adjustments
Navigate Permits, Codes, and Approvals
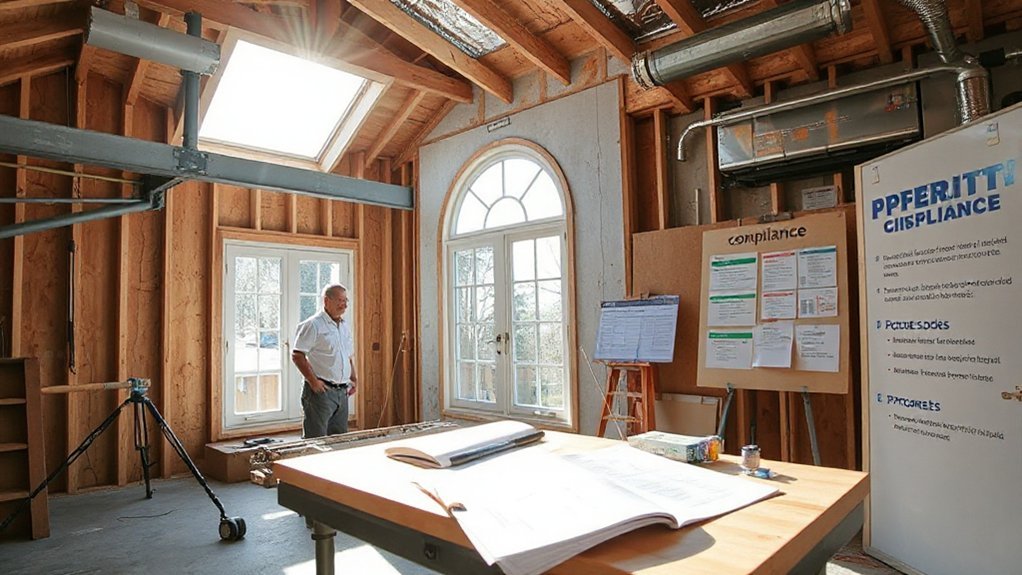
Charting permits, codes, and approvals begins with a clear plan: identify which authorities oversee your project, compile the required documents, and set realistic timelines. You’ll map local building departments, planning boards, and utility agencies, then confirm permit types (construction, electrical, plumbing, mechanical) and associated fees.
Prepare structural calculations, energy compliance, and site plans, ensuring alignment with setback and zoning rules. Submit applications with drawings, specifications, and contractor details, and track review milestones to anticipate delays.
Maintain proactive communication with officials, respond to comments swiftly, and revise plans as needed. Landscaping design and interior decoration decisions shouldn’t trigger additional approvals beyond scope, but document changes that affect access, egress, or safety.
Finally, build contingency buffers into your schedule for inspections and re‑ submissions.
Plan Smart Home Features in Phases Without Overwhelm
To avoid overwhelm, plan smart home features in phased, measurable steps tied to your renovation milestones. You’ll gain clarity by linking capabilities to budget, wiring, and room use, then validating performance before expanding.
- Smart lighting becomes a core phase: dimming schemes, occupancy sensors, and scene controls map to daily routines.
- Home automation layers in later stages: centralized hubs, routine triggers, and voice control integrate without overloading electrical loads.
- phased testing ensures reliability: simulate schedules, verify latency, and assess remote access before adding new devices.
This approach preserves focus, reduces risk, and keeps your split-level modernization technically sound. Prioritize scalable infrastructure, documented requirements, and vendor interoperability to sustain future upgrades without rework.
Timeline Milestones: What to Expect in Each Phase
Phasing your renovation sets clear benchmarks you can track against, starting with a realistic schedule that aligns with your smart features plan. In this phase, you’ll map milestones by trade and sequence, guarantee dependencies are understood before work begins.
Exterior paint planning occurs after structural updates and moisture management, with color sampling and site prep completed prior to gun-in weather windows. You’ll confirm permit readiness, then initiate framing, rough-ins, and insulation in tight, logical blocks.
Drywall, finishes, and fixture installs follow, each with quality checks and commissioning moments. Landscaping design is coordinated to minimize soil disruption and assure drainage is resolved before final grading.
Regular on-site reviews keep pace, address bottlenecks, and preserve the overall timeline, reducing change orders and preserving budget integrity.
Build Risk Buffers to Stay on Track
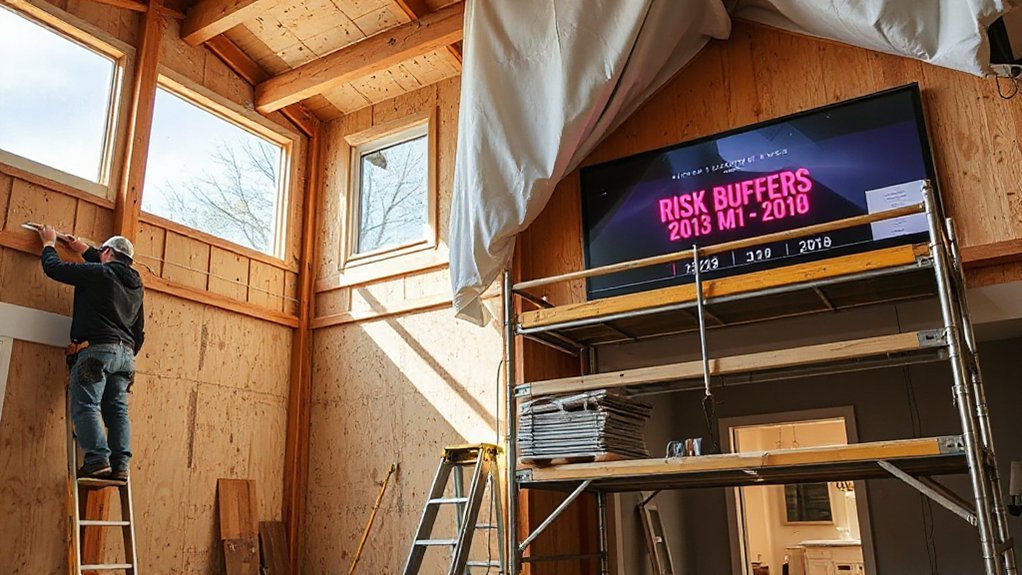
You’ll build risk buffers into your schedule and budget to absorb surprises without derailing progress.
Establish clear contingency plans, assign responsibilities, and rehearse triggers for decision-making so you can act quickly when risks materialize.
Maintain defined stakeholder communication roles to keep everyone aligned and informed through change events.
Build Risk Buffers
- Picture a two‑week cushion between demolition and framing, absorbing weather delays and equipment hiccups.
- Visualize a material buffer stocked near the site, countering shortages and delivery jams before they stall progress.
- Imagine a staged sequence with parallel tasks and built‑in overlaps, preserving pace when one area slows.
In practice, you convert risk into schedule realism, balancing cost with certainty. Unexpected delays and material shortages become manageable contingencies, not project brakes.
Schedule Contingency Planning
Each buffer links to a trigger: if a supplier slips by two days, you reassign tasks or adjust sequencing without collapsing the whole timeline. You document buffers in the master schedule, assign owners, and establish escalation paths to prevent cascades.
To keep momentum, you reserve a contingency corridor for trades overlap, site access, and site cleanup, reducing downtime. You also plan for design refinements affecting scope, such as interior decor decisions and garden landscaping changes, by isolating impact and updating timelines promptly.
This disciplined approach preserves schedule integrity and improves decision speed under pressure.
Stakeholder Communication Roles
- Stakeholder roles: Project lead, contractor liaison, and client representative coordinate updates, verify buffer status, and authorize corrective actions.
- Communication strategies: Daily briefings, risk dashboards, and event-driven alerts keep everyone informed and ready to adjust.
- Buffer management: Early warning signals, predefined trigger points, and documented recovery plans guide rapid containment and realignment actions.
Frequently Asked Questions
How Long Does Each Renovation Phase Typically Take?
You’ll typically allocate 2–4 weeks for planning and permits, 6–12 weeks for interior design and material selection, and 8–16 weeks for construction phases, adjusting for scope. You’ll review progress, ensuring interior design aligns with chosen materials.
What Costs Surprise Homeowners Most in Split-Level Projects?
Bursting like a red flag, you’ll see budget overruns and contractor delays surprise you most in split-level projects. You’ll tighten budgets, monitor milestones, and communicate daily to minimize cost overruns and counter contractor delays effectively.
Can We Live in the Home During Renovations?
Yes, you can live in it during renovations if you plan carefully. Prioritize furniture placement to keep pathways clear, and implement noise management measures, like scheduling heavy work during daytime and using sound-dampening barriers to minimize disruption.
How Do We Handle Unusual Structural Issues Discovered Mid-Project?
You handle unusual structural issues by conducting immediate structural inspections and documenting unforeseen challenges, then coordinate with your contractor to adjust plans, budget, and timelines while implementing appropriate remediation, code-compliant repairs, and risk mitigation strategies.
What Permits Are Essential for Split-Level Upgrades?
About 75% of projects hinge on permits. You need essential permits for split-level upgrades: zoning regulations and building codes approvals, plus applicable electrical, plumbing, and structural permits, ensuring compliance, inspections, and safe, legally sound renovations for your home.
Conclusion
You’ll finish faster than a lightning bolt, if you stick to the plan. Your split-level won’t just look modern—it’ll feel engineered by time itself, with every room whispering efficiency and every corridor humming like a turbine. Stay on schedule, budget bravely, and test each phase—don’t skip the permits or foundations. With disciplined sequencing and smart phased upgrades, you’ll unlock a transformed home that’s as resilient as it is stunning, and you’ll brag about the timeline you conquered.