You’ll start with a baseline and clear scope before dates, then map room priorities, dependencies, and permits. Define a design brief that links each room to a timetable, and plan for buffers to cover delays. Demolition, site prep, and utility coordination set the frame, followed by a controlled drying‑in phase. Finish weeks sequence cabinetry, tiling, and paint without clashes, while tracking room‑to‑room dependencies and milestones. If you keep moving through these steps, you’ll gain access to more practical guidance.
Set a Baseline: What a Realistic Multi‑Room Renovation Timeline Looks Like
A realistic multi-room renovation timeline starts with a clear baseline: define scope, sequence, and constraints before you commit to dates. You’ll map each room’s priority, identify dependencies, and note any fixed events that shape access or material availability.
Then, you establish a practical sequence: demolition, framing or repair, systems updates, finishes, and final detailing. You’ll estimate durations using conservative buffers for trades, permitting, and delivery delays, and you’ll document milestones to track progress.
When planning finishes, consider color schemes early yet keep final selections flexible to avoid rework. You’ll also plan furniture placement as a separate task that can run parallel to finishing touches, preventing clashes with built-ins or hardware.
This baseline keeps decisions grounded, measurable, and adaptable while you manage risk and schedule.
Define Scope and Success Metrics Before You Start
Before you start, lock in how you’ll measure success and what’s included in scope. You’ll define objectives that align with your budget, timeline, and quality standards, then list in-scope work and explicit exclusions.
Establish measurable success metrics—functional performance, finish quality, and user satisfaction—so progress is verifiable at each milestone.
Clarify design aesthetics guidelines early, including color palettes, textures, and lighting intent, to prevent drift later.
Break the project into phases with clear deliverables, owner decisions, and approval points.
Specify material sourcing constraints: preferred suppliers, lead times, and warranty expectations, so procurement doesn’t derail timelines.
Document dependencies, assumptions, and risk mitigations, then obtain sign‑off from stakeholders.
With scope and metrics defined, you’ll navigate decisions confidently and stay aligned throughout the renovation.
Permits and Approvals: When and How to Secure Them
Permits and approvals are your safety net and schedule safeguard: secure them early and track deadlines closely. You’ll navigate the permit process by identifying required permits, assembling documents, and submitting applications on a realistic timeline. Track review buffers, respond promptly to requests, and confirm permit approval procedures to avoid delays that ripple through your schedule.
- Map required permits and responsible agencies, then set target submission dates aligned with project milestones.
- Prepare a concise packet: forms, diagrams, contractor details, and energy or safety compliance evidence, then monitor status regularly.
- Establish a contingency plan for re-submittals, inspections, and potential scope tweaks, including rollback options if approvals lag.
Architecture and Design: Turning Vision Into a Time-Based Plan

With permits in place and a clear project scope, you translate your vision into a concrete, schedulable design approach. You establish a precise design brief, detailing spatial relationships, materials, finishes, and budget constraints to avoid scope creep.
You map each room’s function to a timetable, aligning design decisions with construction phasing. You prioritize historic preservation where relevant, cataloging existing elements to guide reversible, compatible updates.
You integrate interior lighting plans that meet mood, task, and energy goals, coordinating fixtures, controls, and daylight strategies with the overall schedule. You review compliance, accessibility, and safety early, preventing rework.
You create measurable milestones, assign responsibilities, and set review points to maintain momentum. You finalize documentation for approvals and contractor guidance, ensuring clarity and accountability throughout the process.
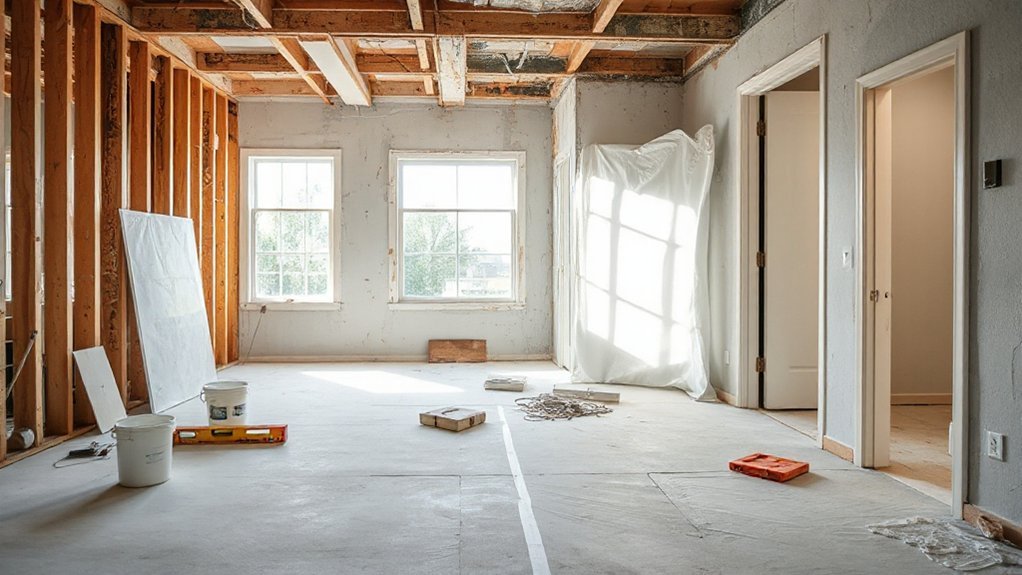
Demolition and Site Prep: What to Expect and Typical Durations
Demolition kicks off the on-site work after you’ve finalised the design and secured approvals, and it sets the pace for everything that follows. You’ll outline the scope, confirm utility shutoffs, and protect non‑target areas with clear containment.
Demolition planning keeps waste streams predictable and minimizes disruption to adjacent spaces. Site safety becomes your top priority, with PPE, dust control, and fall protection integrated into every step.
- Establish containment and protection measures, then verify utilities and waste routes.
- Schedule removals by area to limit dust, noise, and access conflicts.
- Inspect for hazards, document conditions, and update the plan as work progresses.
Rough‑In Phase: Framing, Plumbing, and Electrical Milestones
During the Rough-In Phase, you’ll establish the structural framework and install core systems—framing, plumbing, and electrical—so everything else can follow safely and efficiently. You focus on concrete milestones: framing completion, rough plumbing runs, and electrical gang boxes in wall cavities.
Track door and window rough openings, verify level planes, and verify square corners before insulation. Design considerations guide layout decisions for future fixtures, outlets, and access panels, reducing rework later.
Material selection matters here: choose studs, fasteners, piping, and conductor types that meet code, anticipated loads, and moisture exposure. Precision matters; measure twice, cut once, and document deviations.
Communicate changes to the team promptly to maintain schedule integrity. Finalize inspections-ready conditions, with clean, labeled trenches, neatly terminated cables, and secured plumbing, ready for the next phase.
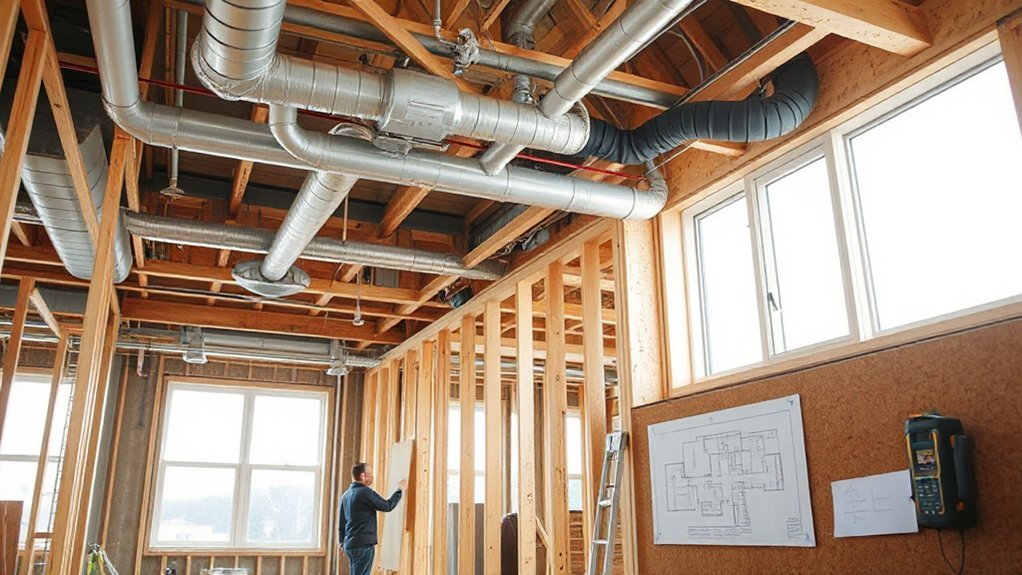
Systems Coordination Across Rooms: Coordinating Structure, HVAC, and Utilities
You’ll map structural sequencing, HVAC pathways, and utilities routes to prevent clashes before they happen.
By aligning the order of framing, duct runs, and service drops, you reduce rework and keep milestones on track.
Start with a coordinated plan that shows where each system enters, how they traverse spaces, and how they finish without conflicts.
Coordinating Structural Sequencing
- Establish a unified sequence chart that ties framing milestones to trade prerequisites and inspection windows.
- Schedule core trades early, confirming material sourcing and shipment timelines to avoid delays.
- Maintain open contractor communication, documenting decisions and changes to keep crews coordinated and accountable.
HVAC Pathway Alignment
Efficient HVAC path alignment starts with mapping how ducts, plenums, and equipment will traverse each room while coordinating with structural clearances and utility routes. You’ll identify major trunk lines, determine peak airflow needs, and flag potential conflicts early.
Then you align ductwork layout with wall and ceiling framer plans, ensuring adequate clearance for doors, furniture, and future maintenance. Use a stepwise approach: document room-by-room routes, verify ceiling heights, and integrate mechanical room location with access paths.
Prioritize short, direct runs, minimized bends, and shared plenums where feasible to boost HVAC efficiency. Communicate constraints to the design team and revise layouts as structure evolves.
The result is predictable performance, fewer retrofits, and cleaner, well-coordinated air distribution.
Utilities Integration Timing
Coordinating structure, HVAC, and utilities requires a clear, time-based plan that aligns room-by-room installations with the overall project schedule. You’ll map utility routes early, confirming where outlets, circuits, and water feeds converge to minimize rework later.
Align trades by prioritizing rough-ins before finishes, so utility upgrades occur without delaying finish carpentry. Establish milestones for inspections, pressure tests, and air-sealing checks to prevent scheduling gaps.
Document dependencies and critical path tasks, then monitor progress weekly to catch deviations before they cascade.
- Create a master sequence that links structural openings, HVAC risers, and service drops.
- Allocate dedicated windows for utility upgrades to reduce scheduling overlaps.
- Review and adjust the plan after each phase to maintain momentum and accuracy.
Drying In: Wall, Floor, and Ceiling Timelines Explained
Drying in is the critical first phase of a multi-room interior renovation, because proper moisture control determines how quickly you can proceed with walls, floors, and ceilings. In this stage, you implement a disciplined sequence: seal openings, optimize airflow, and manage heat and humidity to prevent wall framing and subfloor warping.
You’ll rely on practical Drying techniques such as targeted dehumidification, temporary ventilation, and selective enclosure to establish stable conditions before finishes. Track progress with clear milestones and objective criteria, not guesses.
Moisture monitoring guides every decision—measure representative surfaces, compare readings against material specifications, and adjust controls as needed. Document equipment run times, recovery rates, and transfer changes to the next phase, ensuring predictable timelines and minimizing rework.
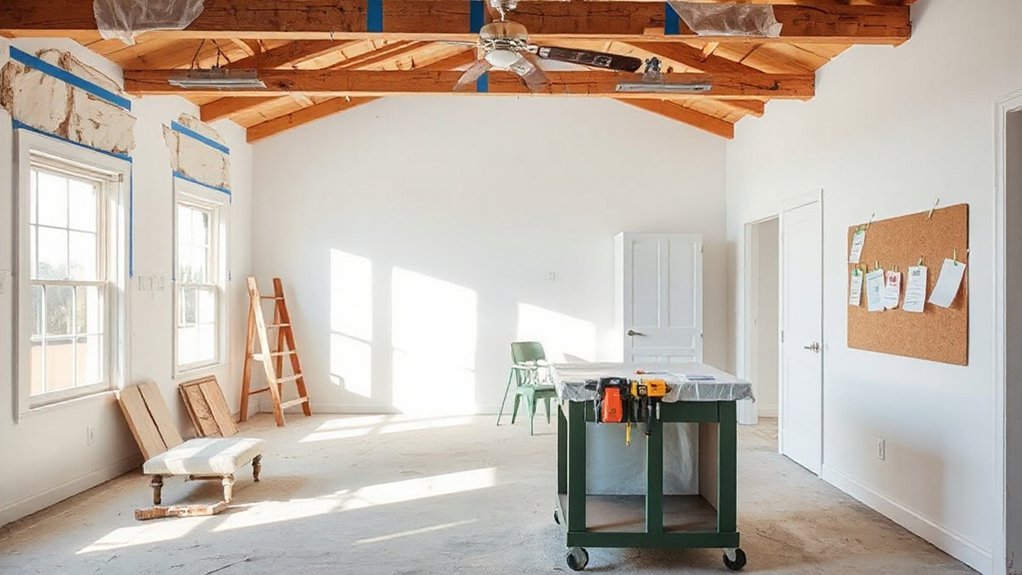
Finish‑Week Playbook: Cabinetry, Fixtures, Tiling, and Paint
In this finish week, you’ll align cabinetry installation timing with your fixture placement strategy to prevent clashes and backtracking.
Plan tiling and paint sequencing so tiles cure before adjacent finishes and paint coats, reducing touch-ups.
Cabinetry Installation Timeline
When cabinetry installation begins, you’ll follow a clearly defined sequence to minimize delays: bring in the cabinets, verify measurements, level and anchor base units, then install the upper cabinets, doors, and hardware.
You’ll manage each step with focus on cabinetry design and material sourcing to guarantee fit and finish meet spec. Precision and timing matter: misaligned faces slow progress and ripple into adjacent trades.
- Prepare and verify panel dimensions, shim as needed, and confirm plumb/level before fastening.
- Mount base units, install supports, then hang uppers and align with doors, adjusting for gaps.
- Attach hardware, test opens, and clean surfaces to prevent debris from affecting finishes.
This timeline preserves accuracy, minimizes rework, and supports a smooth finish.
Fixture Placement Strategy
Fixture placement starts once cabinetry is in place, so you’ll verify all mounting planes and work out a coordinated path for fixtures, tiling, and paint. You approach fixture placement with a clear sequence: confirm electrical points, align outlets and switches to cabinetry, and map lighting design to task zones.
Measure ceiling heights, wall depths, and cabinet returns to prevent clashes with crown moldings or profiles. Specify fixture types, clearance, and mounting hardware, then document wiring diagrams and load considerations. Prioritize accessibility and maintenance access for future servicing.
Coordinate with lighting design to balance ambient, task, and accent layers. Schedule fixture installs before final trim and paint, ensuring clean progression and consistent finishes. This disciplined approach minimizes rework and aligns fixtures with overall design intent.
Tiling and Paint Sequencing
- Prepare and protect: clean, prime, and mask, ensuring clean progressions between tiles and walls.
- Tile first, then paint: install tile, grout, and seal before any wall finishes for clean lines.
- Finish with touch-ups: inspect joints, recoat where needed, and confirm color consistency across surfaces.
Managing Room-To-Room Dependencies and Sequencing

Coordinating the order of work across rooms hinges on clear dependencies and a realistic schedule. You map tasks so that each room’s requirements align with the next phase, preventing clashes and downtime.
Begin with foundational steps that activate subsequent trades, then sequence finish work to minimize rework. You’ll prefer parallel activity when possible, but you’ll secure critical path items to keep momentum.
Track room-specific constraints, such as dry times, access, and material readiness, and adjust the sequence as conditions change.
Creative design informs early decisions while you confirm feasibility before procurement. Material sourcing plays a decisive role in timing; guarantee deliveries align with staged work windows to avoid storage bottlenecks.
Document changes promptly, communicate shifts, and monitor progress against the schedule to sustain steady flow.
Budget, Risk, and Contingency: Keeping the Timeline on Track
Budget, risk, and contingency are essential levers for keeping a multi-room renovation on schedule. You’ll align cost management with concrete milestones, so funding gaps don’t stall progress. Track expenses daily, compare against a defined budget, and flag variances before they cascade.
Risk mitigation requires early visibility into dependencies, subcontractor reliability, and material lead times, with ready alternatives in place.
1) Establish a contingency framework that matches project complexity and uncertainty, and refresh it monthly.
2) Implement proactive cost management by locking in quotes, batching orders, and using a rolling forecast to anticipate overruns.
3) Create a risk register with owners, triggers, and response plans, reviewing it at each milestone to prevent delays.
Frequently Asked Questions
How Long Does Design Concept to Final Approval Take?
Design iteration typically takes 2–4 weeks, depending on scope, feedback rounds, and client decisions. You’ll finalize design concepts, then proceed to material selection, revisions, and final approvals as you tighten specifications and timelines for construction.
What Are Typical Downtime Impacts for Inhabited Homes?
Downtime for an inhabited home typically ranges from days to weeks, depending on scope. You’ll face furniture rearrangement, noise management, and occasional utility pauses. Plan ahead, communicate schedules, protect valuables, and schedule noisy tasks during off-peak hours.
How to Handle Delays From Supply Chain Issues?
Delays from supply chain issues happen; you should act now with contingency planning. Track orders, lock critical materials, and adjust milestones. Supply chain disruptions require flexible buffers, proactive communications, and documented alternatives to keep projects on track.
Which Trades Can Run Concurrently Without Conflicts?
You should coordinate trades that don’t share spaces or induce dust, like electricians before drywallers, plumbers after framing, and finish carpenters later to avoid conflicts. Prioritize trade coordination and conflict mitigation to keep workflows efficient and safe.
How to Reset Timeline After Scope Changes?
When scope changes, you reset by recording scope adjustments, then perform timeline recalibration. You identify affected tasks, re-sequence priorities, update dependencies, adjust durations, and communicate new milestones, ensuring buffers remain, and progress dashboards reflect the revised plan.
Conclusion
You’ll finish with confidence, not chaos. Consider timelines a careful map, not a fantasy. Expect small delays, assign buffers, and keep communication crisp. When plans shift, adjust scope rather than quality. Track permits, trades, and approvals like clockwork, then celebrate steady progress. Anticipate snug corners and quiet rooms, but don’t abandon momentum. Your project will finish closer to target than you feared, with fewer sleepless nights and more satisfying, durable results.