Upgrading roof insulation can considerably boost your EPC rating by cutting heat loss and energy demand. You’ll see tighter temperature control, reduced heating costs, and better moisture management when you choose the right materials and installation methods. From rigid foam boards to spray foams, the approach matters for airtightness and long-term performance. Start with the key trade-offs for attic/loft versus flat roofs, then weigh cost vs. savings to determine your practical path forward.
Key Takeaways
- Upgrading roof insulation reduces heat loss, lowers energy consumption, and improves EPC ratings by tightening the building envelope.
- Choose attic/loft or flat roof options based on structure, climate, ventilation, and moisture control needs.
- Use high-R insulation materials and appropriate assemblies (rigid boards/mineral wool for pitched; spray foam/boards for flat) with proper vapor barriers.
- Seal air leaks around vents, hatches, and joints and ensure continuous insulation to maximize EPC gains.
- Plan a step-by-step upgrade with budgeting, monitoring, and compliance milestones to achieve measurable EPC improvements.
How Roof Insulation Boosts Your EPC Rating
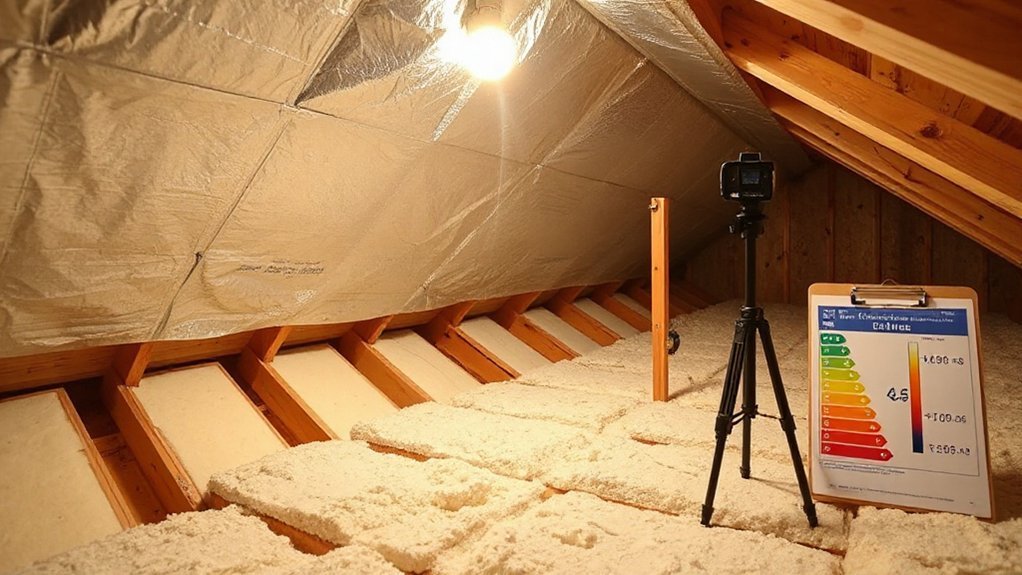
Roof insulation directly affects your EPC rating by reducing heat loss, which lowers energy consumption and greenhouse gas emissions. You’ll see a measurable impact when you compare pre- and post-upgrade performance, as heat transfer diminishes through walls, ceilings, and floors.
Roof insulation improves the building envelope’s thermal resistance, guaranteeing energy efficiency and stabilizing indoor temperatures. This reduces demand on heating systems, which translates to lower fuel use and fewer emissions per year.
In practice, select appropriate insulation thickness, material type, and installation details to meet local standards and target EPC bands. Make certain continuous coverage without gaps and seal penetrations to prevent thermal bridges.
Regular inspections verify material performance, detect moisture issues, and maintain long-term energy efficiency benefits.
Attic/LofT vs Flat Roof: Choosing the Right Approach
Choosing between an attic/Loft insulation approach and a flat roof strategy depends on structural suitability, climate, and renovation goals. Each option offers distinct retrofit implications for thermal performance, moisture management, and future access.
You assess roof structure, insulation depth limits, and potential for ventilation ducting to avoid condensate pockets. Attic/Loft approaches typically allow easier air sealing, controllable ventilation considerations, and retrofits that preserve headroom, but may require access hatches and casualty-free zones above turbines or vents.
Flat roofs demand careful detailing to minimize thermal bridging and standing moisture, with robust membrane protection and subsurface drainage.
Regardless of path, emphasize moisture prevention through vapor barriers and proper sealing at eaves, collars, and penetrations, aligning with long-term EPC goals.
Prioritize compatible materials, ventilation strategy, and maintenance access for durable performance.
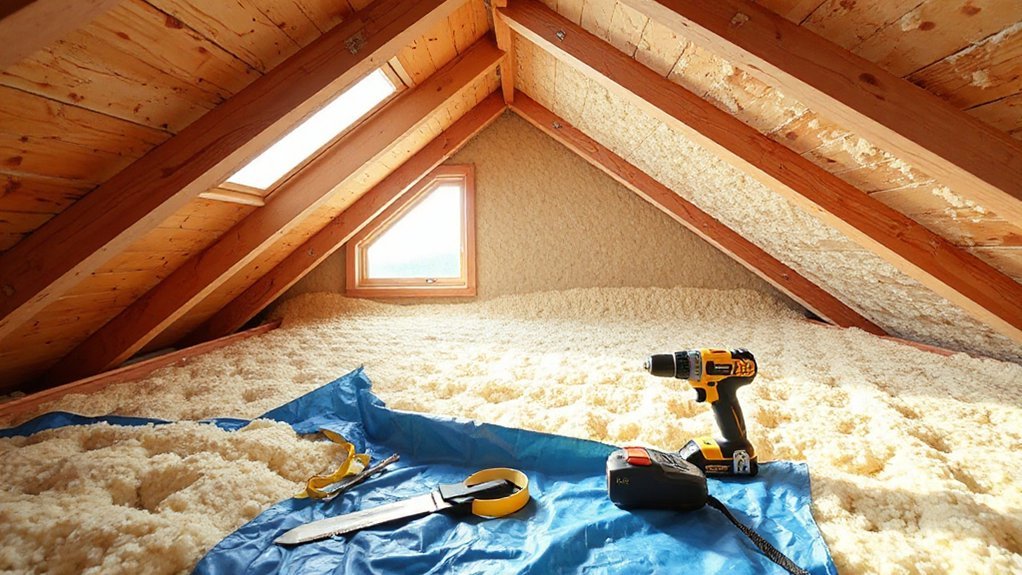
Practical Upgrades and Price Ranges for Roof Insulation
Moving from the general approach to practical implementation, you’ll want clear, cost-conscious options that fit your roof type and goals. Practical upgrades begin with a materials assessment: pick insulation materials with high R-values per thickness to suit available space, budget, and climate.
For pitched roofs, consider rigid foam boards or mineral wool between rafters, plus a continuous layer to minimize thermal bridges.
For flat roofs, spray foams or multi-layered board assemblies provide better line-by-line performance.
Use ventilation techniques to prevent condensation; balance soffit and ridge flows to maintain air exchange without sacrificing insulation.
Price ranges vary by material and installation, from DIY-friendly batt solutions to professional spray foams.
Always verify compatibility with existing membranes and confirm warranty terms with the installer.
Quick Wins and Long-Term Energy Savings
Quick wins kick in once you seal obvious air leaks and tighten the envelope: identify and fix gaps around vents, chimneys, attic hatches, and junctions where wind-driven infiltration lowers effective R-values. You’ll notice improved comfort and reduced cooling and heating loads, while long-term savings accrue through reduced heat losses and smarter system sizing.
Focus on materials and methods that support thermal mass effects and compatible solar integration, ensuring slight annealing of temperature swings without adding moisture risk. Target continuous insulating layers, airtight interfaces, and mineral wool or closed-cell options where appropriate.
- Seal and insulate at penetrations to minimize convection paths and preserve thermal mass benefits.
- Align insulation strategy with solar-ready components for balanced heat gains and storage.
- Plan for long-term performance monitoring and system efficiency tracking.
Plan Your Upgrade: A Step-by-Step Decision Guide
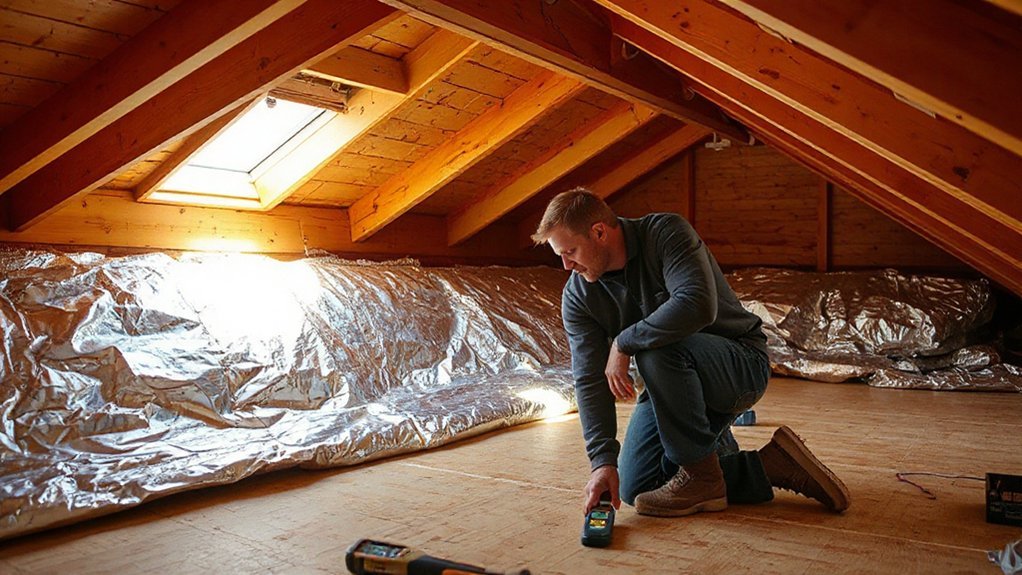
Begin your upgrade by clarifying goals, constraints, and timing, then map them to a practical, step-by-step plan. You’ll evaluate current insulation, identify thermal bridging hotspots, and prioritize improvements that yield measurable EPC gains.
Define budget, feasible retrofit windows, and required permits, then sequence tasks to minimize disruption.
Next, select materials and methods aligned with building geometry and ventilation strategies; consider roof deck access, vapor control, and air-tightness targets.
Establish decision criteria for insulation depth, board vs. cavity fill, and attachment systems, plus compatibility with existing roof coverings.
Develop a cost–benefit model to forecast payback and performance.
Create a monitoring plan with post-install tests for thermal performance and air leakage.
Document risks, substitutes, and inspection milestones to guarantee durable, compliant results.
Frequently Asked Questions
How Long Does It Take to See EPC Improvements After Insulation Upgrades?
You’ll typically see EPC improvements within days to weeks after upgrades, depending on weather and behavior changes. Thermal bridging reductions and increased insulation thickness lower heat loss promptly, but full energy model gains may settle over a full heating season.
Expect faster heating and overnight comfort once insulation thickness is optimized. In practice, you’ll notice staged improvements as tests verify reduced U-values and reduced draft paths, with continued gains as you maintain efficient operation.
Will Roof Insulation Affect Loft Space Ventilation and Moisture Risk?
Insulate properly, and yes, roof insulation can affect loft ventilation and moisture risk. If you seal too tightly without vents, you may trap humidity, increasing condensation and damp.
Make certain adequate Roof ventilation paths and air gaps remain for moisture control. You’ll want a balanced approach: keep insulation continuous but preserve soffit and ridge vent flow, install breathable membranes where appropriate, and monitor indoor humidity to prevent mold and timber decay.
Which Insulation Materials Offer the Best Return on Investment?
You should run a cost benefit analysis to compare insulation materials, as some offer higher payback through energy savings. Rigid foam boards and mineral wool typically deliver strong thermal performance, while cellulose can be cheaper upfront.
Consider installation costs, airtightness, and insulation lifespan; higher performance products often justify initial expense with lower operating costs.
Over time, materials with longer lifespans reduce replacement cycles, improving ROI and long-term energy efficiency.
Can I Upgrade Without Removing Existing Attic Insulation?
Asking the right question, you can upgrade without removing existing attic insulation. You’ll work within attic clearance limits and add insulation layering carefully, ensuring ventilation isn’t blocked.
Use compatible materials, seal gaps, and top up where needed, staying below the joists to avoid compressing the existing insulation. Verify access to rafters and avoid moisture traps.
This approach improves R-values while preserving the current insulation, yielding a practical, cost-efficient EPC-friendly upgrade.
Are There Grants or Subsidies Available for Roof Insulation Projects?
Yes, there are government incentives and funding opportunities for roof insulation projects. You should check local and national schemes, including eligibility criteria, application deadlines, and required documentation.
You’ll typically find grants, subsidies, or low-interest loans aimed at improving energy efficiency. To maximize your chances, gather energy audit results, project specs, and quotes.
Government incentives may vary by region and eligibility, so verify current programs before starting work and align your upgrade with approved standards.
Conclusion
Upgrading roof insulation lowers heat loss, boosts your EPC rating, and trims energy bills. Choose between attic/loft or flat roof based on structure, then select rigid foam or spray systems for best airtightness and moisture control. Budget for installation, materials, and potential ventilation adjustments. Plan a phased upgrade to minimize disruption and maximize quick wins. Remember, a well-insulated roof is a continuous barrier—like a medieval moat, only much drier and far more energy-efficient. Proceed with precise, data-driven decisions.