Side return kitchen extensions offer a practical way to expand space with careful attention to costs, structure, and glazing performance. You’ll balance high-performance glazing, insulated doors, and durable, budget-conscious materials to maximize light without compromising thermal efficiency. Planning binary tradeoffs—open layouts versus privacy, finish timing versus core fittings—keeps complexity manageable. The design concepts work together to deliver a seamless, energy-efficient upgrade, but subtle choices in thresholds and gardens can shift outcomes in ways you’ll want to explore further.
Key Takeaways
- Side return extensions can raise overall project costs due to structural work, high-performance glazing, and integration of services like HVAC and insulation.
- Focus on cost-effective design: optimize space with open layouts, garden-facing materials, and energy-efficient doors and windows.
- Use high-performance glazing and doors to improve efficiency while controlling long-term running costs.
- Plan phased budgeting: core structure and services first, finishes and bespoke glazing later to manage cash flow.
- Prioritize practical design ideas: maximize daylight, maintain privacy, and incorporate built-in storage to reduce interior fit-out costs.
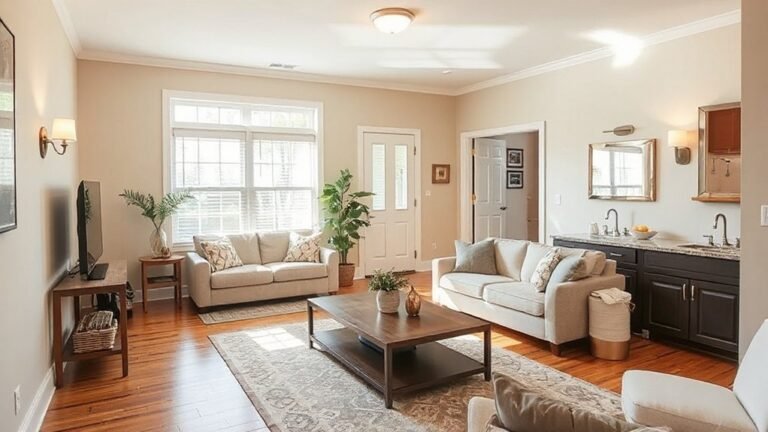
What a Side Return Kitchen Extension Delivers
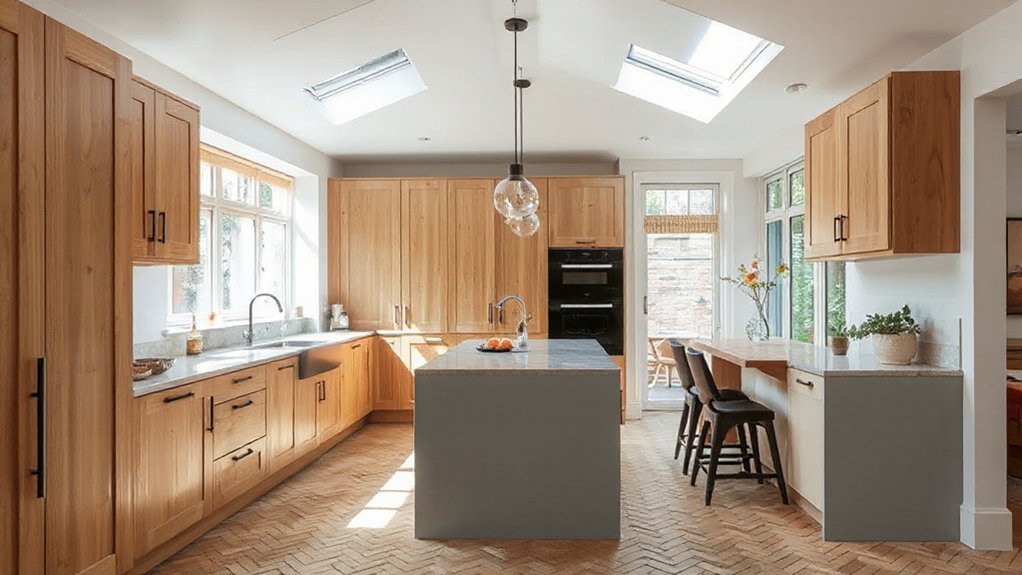
A side return kitchen extension adds a practical, light-filled corridor that immediately expands usable space. You gain an enhanced pedestrian flow between cooking and dining zones, reducing bottlenecks and improving daily routines.
Structurally, the extension introduces consistent ceiling heights and solid daylighting through aligned fenestration, improving ambiance without sacrificing thermal performance.
From an architectural styles perspective, the design accommodates careful detailing that respects existing fabric while signaling modern utility. If you’re considering historical preservation, you’ll want materials, finishes, and forms that defer to the original character, then integrate contemporary performance upgrades.
The resulting footprint typically supports built-in storage, an extended work triangle, and improved ventilation.
What a Side Return Extension Costs
In a side return extension, total costs hinge on scale, materials, and finishes, with core drivers including structural work, insulation, glazing, and services. You’ll encounter a clear tiering of expense: foundation and structure, primary shell, and building services integration, each impacting overall price.
Material choices—from timber to steel and glass—drive both upfront and long-term costs, while insulation and airtightness influence ongoing energy use. Design versatility affects cost variance; more complex layouts, bespoke glazing, and acoustic treatments elevate price but offer enhanced functionality.
Expect cost comparison to reveal trade-offs between build quality and budget. Accurate budgeting requires detailing wall assemblies, roof types, and service routes upfront, then aligning them with performance goals.
Trade-off decisions should prioritize durable, low-maintenance finishes for predictable lifecycle costs.
Budget Step by Step: Core Fittings First, Finishes Later
Start with the core fittings to establish a solid, testable structure before any finishes, because this sequence defines space, services, and performance. You set the skeleton: structural supports, plumbing, electrical routes, and HVAC ductwork, ensuring load paths and accessibility are verifiable.
Prioritize integrated services in a single, coherent layout to minimize future disruption. Once the framework is solid, specify finishes later to control costs and avoid rework.
Develop a budget-by-system approach: concentrate on essential components first, then refinements. Plan appliance placement and mechanical clearances now to prevent reselection penalties.
Establish color schemes at the finish stage with confidence, not risk. Document tolerances, overlaps, and access panels for maintenance.
Maintain strict adherence to codes and performance targets, validating each step with measurements, tests, and client sign-off.
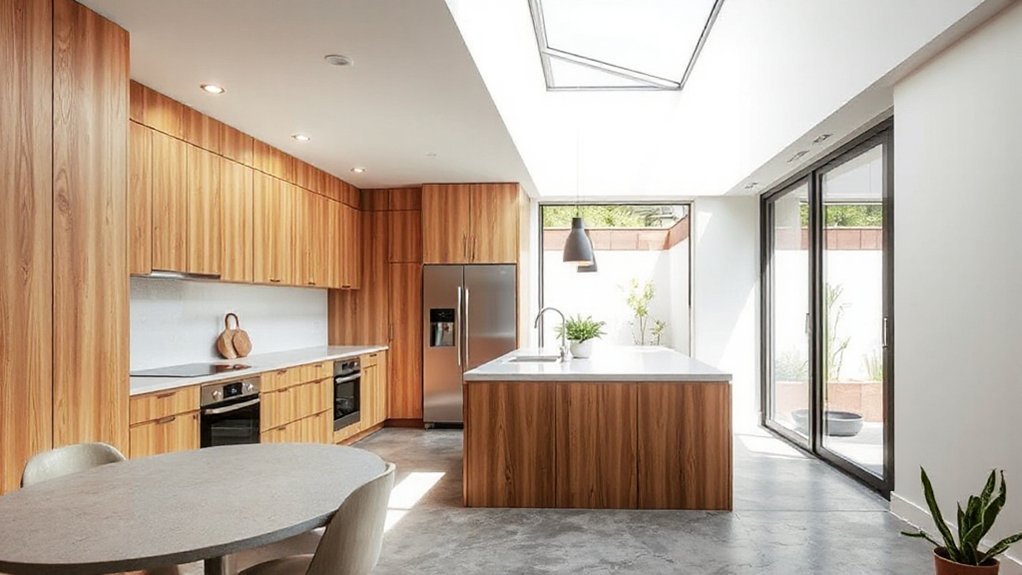
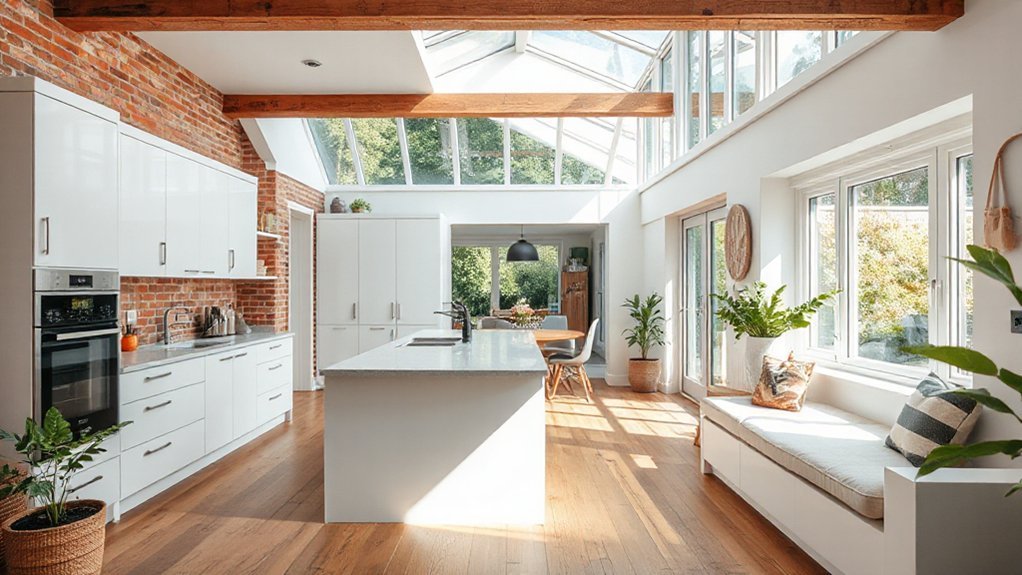
Maximize Light With Open Layouts and Glass Walls
Maximizing light begins with open layouts and glass walls that extend the living space beyond traditional confines. You design to minimize barrier walls, aligning zones for seamless daylight distribution and improved circulation.
Prioritize floor-to-ceiling glazing where structure permits, paired with strategic transom or sidelite provisions to maintain structural integrity while maximizing natural sunlight. Use clear-span spans or slim, engineered frames to reduce column intrusion, preserving interior openness.
Consider roof geometry that enables double-height areas or clerestory windows to admit higher-angle light without glare. Finish selections should reflect lightness: matte whites, cool neutrals, and low-reflectance surfaces that prevent hotspots.
Integrate shading devices and operable panels to control brightness, preserving comfort throughout the day while maintaining interior openness.
Smart Storage Solutions for Tiny Kitchens
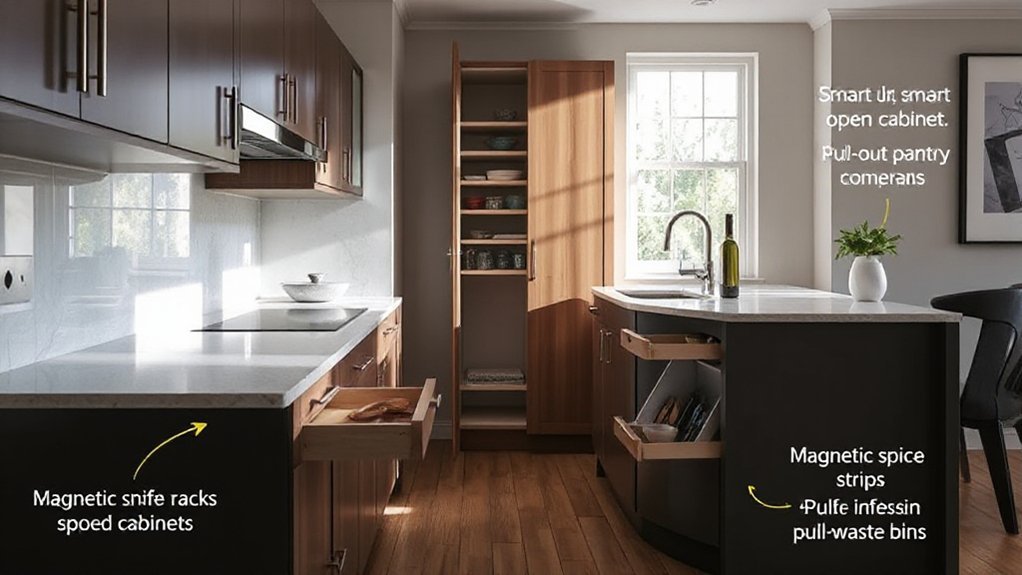
When space is at a premium, smart storage for tiny kitchens hinges on maximizing usable volume with purpose-built solutions and modular integration. You configure wall and cabinet assemblies to create continuous lines of vertical storage, reducing dead zones and enabling rapid access to essentials.
Prioritize hidden compartments within worktops, toe-kick drawers, and appliance bays to reclaim surface area without enlarging footprints. Implement tall, slim cabinets with adjustable shelves to adapt to varying items, and use pull-out pantries that emerge from within deep cabinetry.
Integrate mechanical organizers for utensils, lids, and accessories to minimize clutter. Favor mono-material, high-density finishes to enhance durability and simplify maintenance.
Verify cabinet clearances against door swing and hardware; precision tolerances assure reliable, gap-free operation across iterations.
Time-Saving Construction Techniques
Establish a core frame sequence early: foundations, structure, roof, and enclosure before interior trades. Prefabricated elements, where compatible with local codes, reduce on-site mockups and weather delays.
Maintain strict material batching and progressive inspection checkpoints to catch errors before installation. Coordinate utility risers and waste management to minimize rework and site disruption.
Guarantee you secure construction permits before any structural work progresses, and align contractor selection with proven track records in similar extensions.
Favor tight contract milestones, transparent progress reporting, and rapid decision cycles to sustain momentum without compromising safety or quality.
Durable Materials That Age Well
Prioritize corrosion-resistant alloys, rust resistant surfaces, and stabilized composites to minimize maintenance cycles. For structural components, opt for mill-ready steels or treated timbers with low shrinkage coefficients, ensuring dimensional stability over decades.
In finishes, choose non-porous, easy-to-clean options that resist staining and chemical attack, yet tolerate routine sanitization. Countertop performance matters: scratch proof countertops paired with a protective sealant reduce surface degradation from utensils and acids.
Exterior cladding should be panelized for thermal expansion and UV resistance. Document installation tolerances and warranty terms to sustain performance through value-driven remodeling.
Lighting and Climate Control for Year-Round Comfort
Lighting and climate control systems in a side return kitchen extension must provide consistent comfort with efficient energy use. You implement ambient lighting layered for task, accent, and general illumination, ensuring uniform brightness across work zones without glare. Use programmable controls to modulate luminance by time of day and occupancy, reducing waste.
For climate, define discrete climate zones: primary living, cooking area, and peripheral spaces, each with independent setpoints and rapid response heating or cooling. High-performance envelopes minimize heat loss, while mechanical ventilation maintains indoor air quality with energy recovery.
Select efficient equipment with verified ratings, and integrate scheduling to align with occupancy patterns. Regular commissioning verifies sensor calibration, airflow balance, and glazing performance, ensuring stable temperatures and minimal energy penalties throughout the year.
Case Study: Side Return Kitchen Makeover
A side return kitchen makeover demonstrates how strategic layout, structural adjustments, and high-performance enclosures combine to maximize usable area without compromising energy efficiency.
In this case study, you observe how a narrow side extension redefines circulation, placing primary work zones along a linear axis to minimize corridor losses and optimize natural light.
Structural adaptations, such as reinforced floor slabs and discreet lintels, support a seamless connection between existing and new volumes while preserving ceiling height.
High-performance glazing, insulated doors, and continuous thermal breaks constrain heat transfer and reduce drafts.
Garden integration informs material palettes, exterior-to-interior thresholds, and views, creating a cohesive urban landscape.
Privacy considerations, addressed through receptor placement and selective screening, maintain domestic boundaries without compromising daylight or ventilation.
Plan Your Timeline and Avoid Delays
Planning your timeline from the outset sets realistic delivery milestones and helps prevent schedule slippage. You’ll align sequence steps, permit windows, and material lead times into a single critical-path plan.
Begin with a clear project start date, then map phases: design finalization, permit submission, demolition, structural work, enclosure, utilities, finishes, and snagging. Build in buffers only where data supports them, and document assumptions for every milestone.
Construction permits timelines vary by jurisdiction; track approvals diligently to avoid cascading delays. Contractor selection should precede procurement to secure accurate lead times and subcontractor availability.
Establish weekly progress reviews, updated Gantt visuals, and change-control protocols to minimize scope creep. Maintain transparent communication with stakeholders to preserve schedule integrity and budget adherence throughout, from permit filing to project handover.
Frequently Asked Questions
Can a Side Return Kitchen Extension Add Resale Value?
Yes, a side return kitchen extension can boost resale value. You’ll enhance interior layout by creating a brighter, open flow that buyers expect, improving how spaces relate and function.
Guarantee material durability for long-term appeal and minimal maintenance, which appeals to value-focused buyers. You’ll also benefit from improved natural light and efficient use of space.
Focus on timeless finishes and robust joinery to sustain interior layout quality and overall resale perception.
Do Planners Require Planning Permission for Side Returns?
Yes, planning permission is often required for side return extensions, though it depends on size, impact, and local rules. If you’re within permitted development, you may proceed without full permission, but planners still check design compatibility.
You’ll want to map Design flexibility and Structural considerations carefully, because each option affects scope, egress, and load paths. Coincidence: your need for ventilation aligns with approvals’ emphasis on safety.
In practice, consult your authority early to confirm requirements.
How Long Does a Side Return Project Typically Take?
A side return project typically takes several weeks to a few months, depending on design complexity and approvals.
You should plan for site surveys, design iterations, and structural work to align with your budget and timeline.
Budget planning informs material choices, while design flexibility allows adjustments as trades calibrate sequences.
You’ll want a clear Gantt and contingency fund for weather or permit delays.
Coordinate permits early to minimize hold-ups and keep the project progressing methodically.
Are There Tax Incentives for Kitchen Extensions?
Yes, there are tax incentives, though you’ll want to keep expectations in check. You can often claim tax rebates or benefit from government grants tied to energy efficiency, renovation improvements, or regional incentives.
You’re advised to verify eligibility, deadlines, and required documentation with HMRC or your local authority. The rules change, so consult a qualified adviser.
You’ll maximize potential savings by budgeting for compliant U-values, efficient heating, and proper insulation alongside your kitchen extension plans.
What Are the Most Cost-Effective Finishes to Use?
You’ll find the most cost-effective finishes are budget-friendly options like laminate, vinyl, and porcelain or ceramic tiles, paired with durable paints.
Prioritize finishing materials that resist moisture and wear, such as resin-bonded countertops and solid surface laminates.
Avoid high-end woods or rare stone for pace and longevity.
Choose matte rather than gloss to hide imperfections.
Plan with standard sizes, allow for simple installation, and balance aesthetics with durability when selecting finishing materials.
Conclusion
A side return kitchen extension delivers extended space, natural light, and improved flow, all while staying budget-conscious. To address cost anxieties, prioritize core fittings first and complete finishes later, ensuring functional space early and flexible later. Expect durable, low-maintenance materials and high-performance glazing that aging well. If privacy worries arise, strategic screens and defined layouts preserve solitude without sacrificing openness. Plan meticulously, avoid delays, and you’ll gain a seamless, stylish kitchen that adds real value.