Winter Prep 2025 boils down to proactive sealing, insulation, and system care. Start by identifying and sealing drafts around windows, doors, and penetrations, upgrade attic and rim-joist insulation, and consider energy-efficient doors and windows. Service your heating system, clear gutters, protect pipes, and verify detectors and alarms are up to date. Create a practical maintenance calendar and plan your budget, including professional help when needed. Stay ahead now, because smarter prep pays off when storms approach and opportunities arise.
Assess Your Home’s Winter Readiness
Evaluating your home’s winter readiness starts with a clear snapshot of current conditions: check insulation in the attic and walls, inspect windows and doors for drafts, and test your heating system to confirm it runs efficiently. You approach this with deliberate, measured steps that reveal gaps before pressure rises.
Prioritize concrete findings over guesswork, then document results for quick reference. In parallel, assess home security during colder months—deadbolts, sensors, and exterior lighting—to deter intrusion when you’re away or indoors.
Consider emergency preparedness as a companion check: supply kits, sump pumps, and thermostat backups in case of outages. The aim is a precise action plan that enhances safety, comfort, and resilience, guiding proactive upgrades rather than reactive fixes.
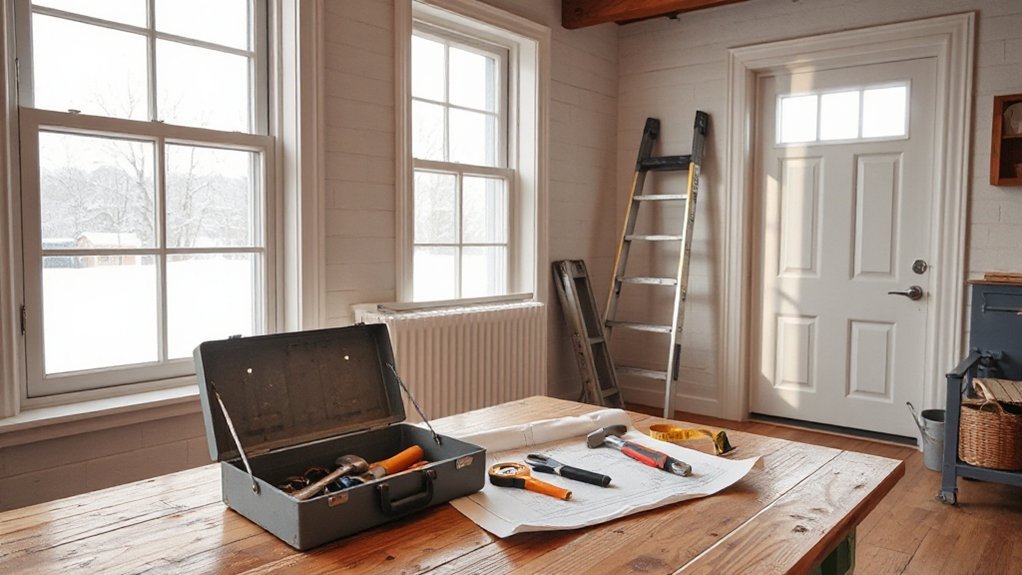
Seal Drafts and Improve Insulation for Comfort
You can seal drafts effectively by identifying the main air leaks and addressing them with targeted fixes.
Boost insulation easily with simple upgrades and smart layering that keep heat in without adding clutter.
This creates a clearer path to consistent winter comfort and lower energy use.
Seal Drafts Effectively
If you notice chilly drafts in your home, sealing leaks and boosting insulation can dramatically improve comfort and cut energy bills. You’ll target problem spots with precision, preventing air infiltration and reducing wasted heat. Focused sealing stops drafts at doors, windows, and outlets, creating a tighter shell around living spaces.
- Inspect for gaps around window frames, door jambs, and utility penetrations; apply appropriate sealant or weatherstripping.
- Use caulk on stationary joints and foam for larger gaps, ensuring a snug fit without overfilling.
- Add door sweeps and weatherstripping to reduce air movement at thresholds, maintaining consistent interior temperatures.
Results come quickly: steadier temps, lower bills, and a calmer, draft-free environment.
Boost Insulation Easily
Even with drafts sealed, you can boost insulation quickly by layering simple upgrades that stop heat loss at the source. Start with attic ventilation checks to ensure intake and exhaust balance; sealed, unobstructed vents prevent moisture buildup and keep insulation effective.
Next, inspect wall insulation in accessible cavities, reseal gaps around outlets, and add batt or blown-in material where needed to maintain continuous coverage. Prioritize air sealing at junctions—around chimneys, pipes, and recessed lighting—before adding additional insulation layers.
Choose appropriate R-values for your climate and layout, then install accordingly, avoiding compressing existing material. Cap unused attic hatchways and seal knee walls to prevent cold drafts.
Finally, verify overall airtightness with a simple dwelling pressure test to confirm improved comfort and reduced energy use.
Optimize Winter Comfort
Drafty rooms and chilly mornings don’t have to define winter. You can optimize comfort by sealing drafts and boosting insulation where it counts, then enjoying steady warmth without spikes in heating.
Focus on targeting leaks around doors, windows, outlets, and attic hatches, and verify your insulation levels meet current R-values for your climate.
- Seal gaps with weatherstripping and caulk, then add door sweeps to eliminate crawl-space drafts.
- Upgrade attic and rim-joist insulation, and consider stiffening cavity insulation where accessibility permits.
- Schedule fireplace maintenance to ensure efficient burning and reduced indoor air leakage.
With tighter envelopes, you’ll notice calmer rooms, plus calmer décor choices—winter décor ideas become cozier, not louder.
You’ll feel the difference in comfort and utility bills.
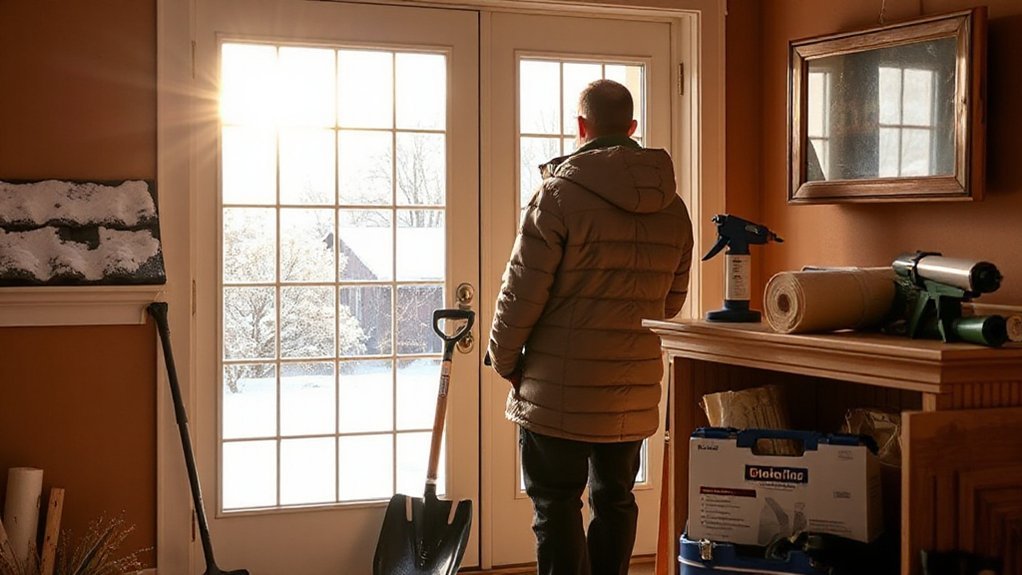
Inspect and Protect Pipes to Prevent Freezing
You can start with simple Freeze-Prevention Techniques to keep pipes steady when temperatures drop.
Inspect Pipe Insulation now to spot gaps, wear, or bypasses that invite freezing.
Protect Outdoor Faucets by shutting them off and draining lines, so a rush of cold doesn’t threaten your system.
Freeze-Prevention Techniques
Inspecting and protecting your pipes is essential as temperatures drop: if you catch small issues now, you’ll prevent costly freezes later. You’ll implement direct actions that reduce risk and keep your system reliable.
1) Inspect for hidden leaks and insulation gaps, repairing promptly to maintain steady heat and minimize exposure risk.
2) Seal vulnerable entries—basements, crawlspaces, and exterior walls—with weatherproof materials, so cold air can’t chase warmth away.
3) Prepare preventive measures after a freeze: drain taps, keep a slow drip on occasion, and test thermostats to sustain consistent temperatures.
Note: use frost resistant plants around exterior fixtures and consider winter proof paint on exposed pipes to improve protection. This focused approach yields resilient plumbing with minimal disruption.
Inspect Pipe Insulation
Have you checked your pipe insulation lately? Start with a quick scan of exposed pipes in unheated spaces. Look for gaps, cracks, or crushed foam, and replace damaged sections promptly. Make certain all joints are snug and sealed with compatible tape or wrap; loose material loses effectiveness as temperatures drop.
Prioritize pipes near exterior walls, crawl spaces, garages, and basements, where cold settles. Measure typical heat loss and compare to insulation thickness recommendations; upgrade to thicker or closed-cell material if you notice chill near the pipe.
After wrapping, gently press the insulation to prevent compression that reduces coverage. Label repairs for winter plumbing maintenance records and plan a test run by running water on a small faucet to verify steady flow.
This proactive inspection minimizes freeze risk and supports reliable winter performance.
Protect Outdoor Faucets
As winter approaches, protect outdoor faucets by taking a proactive, layered approach that blocks freezing cold before it can take hold. You’ll seal exposure, drain lines, and insulate to deter frost. This is faucet winterization in action, reducing risk of burst pipes and costly damage. Focus on outdoor spigot protection to create a dependable barrier against shifting temperatures.
- Inspect and close interior shutoffs, then drain exterior lines to remove standing water.
- Apply foam insulation covers or sleeves to exposed spigots and pipes, sealing gaps against drafts.
- Use heat tape or a small, continuous temperature monitor to maintain a safe cushion around vulnerable areas.
With these steps, you preserve function, protect assets, and simplify spring startup.
Service Your Heating System for Efficiency
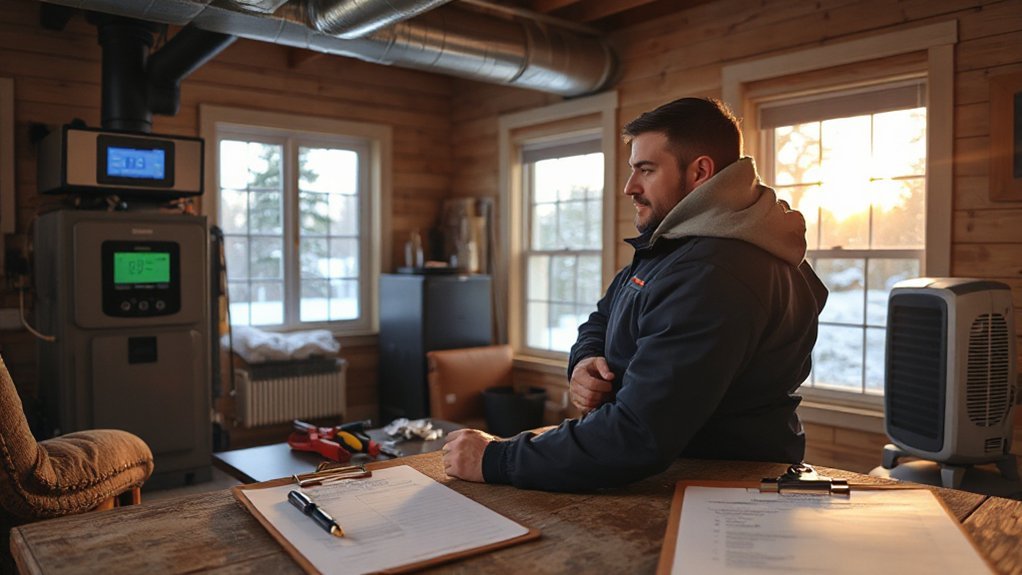
Regular maintenance keeps your furnace or heat pump running efficiently and safely, so start now by scheduling a professional tune-up and performing a quick at-home check. You’ll replace filters, listen for odd noises, and confirm airflow is unobstructed.
During the visit, ask for a system performance report and an efficiency baseline.
Outside, verify outdoor unit clearance and clear snow buildup that can block intake or exhaust.
Inside, assure ductwork is sealed where needed to prevent heat loss.
Consider heating system upgrades if your equipment struggles to meet demand.
Reassess thermostat placement and exposure to sun or drafts.
After service, recalibrate settings for comfort and cost savings, and schedule the next check window.
Thermostat calibration improves accuracy, saves energy, and extends equipment life.
Clean and Maintain Gutters and Roof Edges
Gutters and roof edges need proactive care to protect your home from water damage this winter. You’ll tackle debris and wear now to prevent leaks, ice dams, and structural strain later. Focus on gutter cleaning and roof edge maintenance with deliberate, efficient actions.
- Clear gutters of leaves and sludge, then flush with water to guarantee free flow.
- Inspect joints, hangers, and flashing; tighten, reseal, or replace as needed.
- Trim overhanging branches and check roof edge fascia for cracks or sagging.
Maintain a routine: after heavy storms, recheck and remove new buildup. Use a sturdy ladder, safety gear, and extendable tools for safer access.
Consistently cleaning and inspecting preserves drainage efficiency and protects roofing substrates.
Upgrade Doors and Windows for Better Energy Retention
Upgrading doors and windows is a practical, high-impact move for better energy retention. You’ll tighten gaps, improve insulation, and reduce drafts by selecting high-performance units with weatherstripping, low U-values, and proper sealing.
Start with doors: install solid cores or steel framing, add side- and top-molding, and pair with multi-point locking for robust door security.
For windows, prioritize double- or triple-pane glass, low-emissivity coatings, and upgraded seals to minimize heat transfer. Consider appropriate sizing and proper installation to prevent air leaks and moisture intrusion.
Match style with window aesthetics while respecting energy ratings. If replacement isn’t feasible, retrofit with insulated inserts, weatherstripping, and smart drafts blockers.
Create a Practical Winter Maintenance Calendar
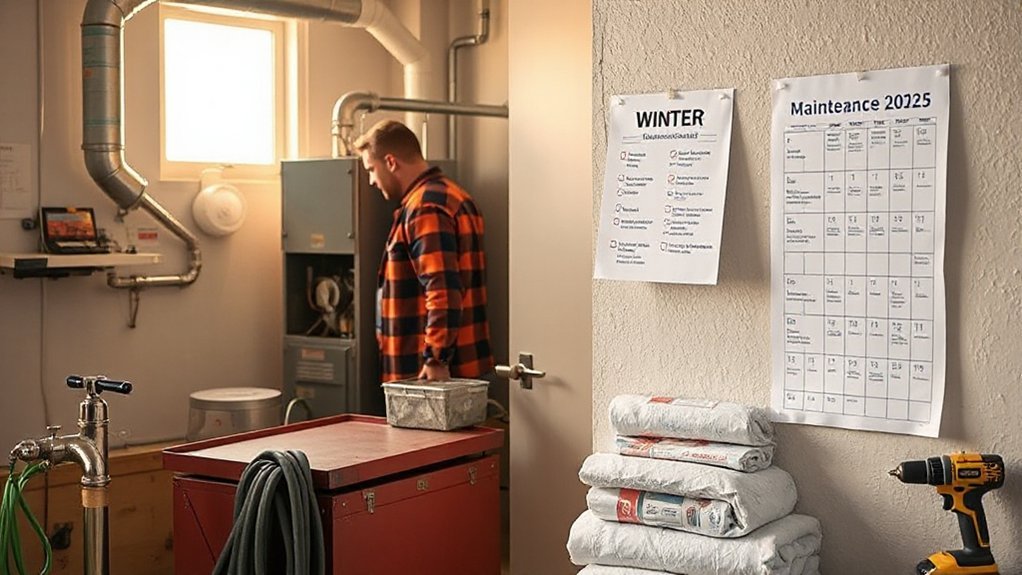
With doors and windows upgraded for tighter seals, you can lock in energy savings by laying out a practical winter maintenance calendar that keeps your home performing at its best.
- Create monthly check-ins for insulation, weatherstripping, and thermostat settings to minimize heat loss.
- Schedule outdoor tasks like Snow removal and roof snow management, aligning with storms and safety margins.
- Plan holiday decor setup and storage windows, ensuring cords, lights, and decorations don’t affect access, airflow, or emergency egress.
This calendar is a living tool: update it after storms, and before heavy use days. It keeps you proactive, not reactive, and preserves comfort while protecting systems and budgets all season.
Safety Checks: Carbon Monoxide Detectors and Fire Prevention
Safety checks are crucial because carbon monoxide (CO) is odorless and deadly, so you should verify detectors and implement fire prevention measures before cold-season risks rise.
You inspect all levels for CO alarms, replacing batteries, testing with fresh function, and confirming units are properly labeled and placed near sleeping areas.
You review alarm systems for interconnectivity and ensure they’re tied to a central alert in your home.
You also assess smoke alarms, spacing, and condition, replacing units older than ten years.
You establish emergency kits with flashlights, batteries, water, a whistle, and copies of vital documents.
You create a simple home plan, practice escapes, and maintain clear egress.
These steps reduce risk and strengthen overall safety.
Budgeting for Winter Fixes and When to Hire a Pro
Budgeting for winter fixes requires a clear plan: estimate costs, prioritize safety-critical repairs, and set aside funds before weather turns. You’ll map expenses, distinguish must-do from nice-to-do, and lock in a realistic contingency. Then, decide when to hire a pro to protect health, safety, and long-term value.
- Assess costs for insulation, weatherproofing, and boiler service, then total a base estimate.
- Allocate a reserve for emergencies and unplanned repairs, aiming for 10–15% of projected costs.
- Confirm contractor selection criteria—licensing, references, and warranties—before committing.
This approach blends Financial planning with practical timelines, so you don’t rush decisions. When in doubt, trust a qualified pro for critical systems, and document all agreements to avoid surprises.
Frequently Asked Questions
How Do I Prioritize Winter Home Fixes on a Tight Budget?
Prioritize insulation, seal gaps, and fix leaks first; then tackle budget-friendly upgrades like a programmable thermostat and energy-efficient weatherstripping. Allocate funds to essential Seasonal maintenance tips, schedule tasks by impact, and defer nonessential projects until funds recover.
What’s a Quick DIY Test for Air Leaks Besides a Smoke Pencil?
Seal the leak with a quick test: feel for drafts, then caulk gaps and install door draft stoppers. You’ll hear the rhythm tighten, like a heartbeat. You’ve got precision, clarity, vision powering your careful air-tight seal.
How Often Should I Replace HVAC Filters in Winter?
You should replace HVAC filters every 1 to 3 months in winter, depending on usage and filter type. For ideal HVAC maintenance, track the filter lifespan and adjust changes as needed to maintain efficiency and indoor air quality.
Which Signs Indicate Professional Pipe Repair Is Needed?
A single leak is catastrophic: you need professional pipe repair signs when you notice Pipe corrosion or Leaking joints. If you observe sudden moisture, reduced water pressure, or mold, call a licensed plumber promptly for assessment.
When Is It Better to Replace Rather Than Repair a Roof Edge?
When your roof edge shows widespread damage, decay, or sagging, it’s better to replace rather than repair. Opt for edge replacement to prevent leaks, ensuring roof maintenance and long-term durability, rather than patching fragile sections.
Conclusion
As winter tightens its grip, you’ve laid the groundwork: doors snug, pipes protected, heat humming, gutters clear. Picture a quiet fortress, candlelight flickering behind frost-kissed windows, a kept-in warmth that feels like a promise kept to tomorrow. You’ve aligned the essentials, mapped the season, and steadied the house against biting drafts and surprise leaks. With disciplined steps and a proactive eye, you create comfort you can count on—long after the first snow, long before the last thaw.