
Planning permission depends on what you’re changing. You’ll distinguish between full planning and Permitted Development (PD) rights, noting PD has limits by location, size, and design. Extensions, loft conversions, and use changes may need consent, while lifts in certain areas or non‑permitted elevations might not. Start with early pre‑application advice, check your Local Planning Authority rules, and map exemptions against heritage and zoning constraints. If you stay within limits, you’ll streamline approval, but get ready for potential challenges—more specifics await as you proceed.
Do I Need Planning Permission or a Building Notice? A Quick Guide
If you’re planning home improvements in the UK, you don’t always need a full planning permission. You’ll often decide between planning permission and a building notice based on scope, scale, and impact.
A building notice speeds things up for certain alterations, but you must use a structural engineer for major work and expect less flexibility in design changes.
For more extensive projects, you’ll need full planning permission, which involves local authority checks, possible consultations, and a clear timetable.
Always consider historic preservation when you design and modify properties, since some features may require consent.
Also weigh green building practices, as energy-efficient upgrades can influence permissions and approvals.
In uncertain cases, consult planning guidance or a planning consultant early.
What Counts as Development for UK Homes
Understanding what counts as development is key to knowing whether you’ll need planning permission for UK homes. In practice, development covers changes that alter a building’s appearance, scale, or use. Extensions, loft conversions, or adding a new structure typically count, as do significant alterations to a property’s footprint.
Practical thresholds matter: substantial changes in floor area, volume, or height often trigger notification. Covert improvements rarely count unless they modify appearance or use.
Internal refurbishments usually don’t require permission unless they affect structural elements, load-bearing walls, or altered external features.
When planning, consider design aesthetics—will visuals change noticeably from the street? Think about material sourcing and how new materials impact the fabric of the building and surrounding area.
If in doubt, consult planning guidelines before committing to work.
Planning Rights: What Is Permitted Development (PD) and What Isn’t
Planning rights, or Permitted Development (PD), are rules that let you carry out certain changes without full planning permission. PD isn’t a free-for-all; it’s limited by location, size, and design. If your proposal exceeds limits or sits in a protected area, you’ll need full planning consent.
You should check whether your project falls inside PD categories before you begin. PD often covers modest extensions, loft conversions, and some outbuildings, but with strict height, depth, and materials rules.
Historic preservation matters: in conservation areas or listed contexts, PD may be restricted or extra permissions required. Environmental impact considerations can also limit PD use, especially if your plans affect trees, flooding, or wildlife routes.
Always confirm PD eligibility with your local planning authority to avoid delays.
Do Extensions Fall Under PD? Quick Checks
Extensions can fall under Permitted Development, but it depends on several limits. You’ll want to check size, location, and builder details before assuming PD covers your project.
In general, a single-storey rear extension may qualify, but there are caps on depth (often around 3–4 meters for detached, less for semi-detached) and total building height.
If you live in a conservation area, AONB, or on designated land, PD rights can change or vanish, so verify with planning guidance.
The project’s materials and design should avoid fridge-quiet surprises; use garden landscaping to integrate new space, and plan interior decor that aligns with current rules.
When in doubt, consult planning guidance and, if necessary, a professional to confirm PD applicability.
Loft Conversions: When PD Applies and When You’ll Need Permission
Loft conversions sit at the edge of what you can do under Permitted Development, with thresholds influencing what counts as PD and what doesn’t. You’ll need to know the loft-specific exclusions and what triggers full planning permission, so your design decisions don’t trip compliance.
We’ll map out the key points—permitted development thresholds, loft conversion exclusions, and planning permission triggers—so you can plan with confidence.
Permitted Development Thresholds
Permitted development rules define when you can convert a loft without planning permission. Thresholds for PD depend on roof space, eaves height, and original building size, so you’ll need to measure carefully and compare with the limits set for your area.
In practice, many conversions stay within PD if you’re not extending beyond the existing roof plane, you don’t exceed volumetric caps, and you keep front and rear elevations within prescribed boundaries.
If you’re close to limits, you should assess whether a planning application is safer than risking a refusal and potential alteration orders.
Always check Construction regulations and Building codes to guarantee your design complies with safety, ventilation, and fire standards.
When in doubt, consult your local planning authority.
Loft Conversion Exclusions
Fortunately, not every loft change requires planning permission. Loft conversion exclusions apply when alterations stay within existing forms and site boundaries, meaning you can add or modify space without triggering permission in some cases.
Typical exclusions include interior reconfigurations, adding lightweight fixtures, and limited increases in height that don’t affect the envelope. You still must consider building regulations, as these focus on safety rather than consent.
Pay attention to insulation and ventilation, since loft insulation and attic ventilation must meet current standards even if you’re not seeking planning consent.
External changes that alter the roofline, dormers, or eaves usually fall outside the exclusions and require permission. Always verify with your local authority if you’re unsure about whether your specific alteration is permitted.
Planning Permission Triggers
When planning a loft conversion, not every change slips under the radar. Planning permission triggers depend on what you alter and where it sits.
If you extend above the existing roof space, add dormers, or increase eaves and overall height, you’ll likely cross into permitted development limits, and you may still need consent. PD can apply in stages, but notable exceptions exist for changes affecting historic preservation status or listed structures.
You’ll want to check local planning constraints and seek pre-application advice to confirm whether your project stays within PD or requires full planning permission.
Land ownership and boundaries matter too; if multiple owners or communal access are involved, approvals may be stricter. Always verify with the planning authority before you start.
Garage and Outbuilding Rules: PD Limits and Pitfalls
Garage and outbuildings are governed by PD limits you must know before you start. I’ll flag common size constraints, what counts toward the cap, and where you’ll hit pitfalls in permitting.
This sets the stage for clearer decisions and fewer delays.
PD Limits Explained
If you’re planning a garage or outbuilding, you should know what counts as permitted development (PD) and where the limits bite. PD limits set how far you can push size, height, and location without planning permission.
For many homes, single-storey ancillary buildings must stay within a 2.0–4.0 metre rear extension setback and stay under a height limit; check your local guidance, as rules vary by council and district.
Uses, conversions, and the installation of linkages to existing structures can trigger extra checks.
Building codes provide the technical baseline you’ll need to meet, while property boundaries determine where you can place foundations and walls.
Always verify via the planning portal before you proceed to avoid costly revisions.
Outbuilding Size Constraints
- Check your property’s default PD allowances for non-detached outbuildings, including height caps and eaves limits.
- Confirm setbacks from the boundary, protect mature trees, and plan fencing that won’t complicate approvals.
- Account for future visibility, access, and potential need for permitted development changes before finalising the design.
Common Permitting Pitfalls
Managing garage and outbuilding permits can trip you up if you miss the PD limits and common pitfalls: knowing the height, footprint, and proximity rules helps you avoid costly redesigns or refusals later.
In this section, you’ll pinpoint key PD constraints that frequently derail plans, such as eaves height, garden frontage, and distance from boundaries.
You’ll also watch for exemptions and how listed or historically sensitive sites influence decisions.
Be mindful of environmental impact assessments where required, and how drainage, shading, and site disturbance intersect with permit outcomes.
Historical preservation requirements can trigger additional approvals, so you must align design choices with conserving heritage features.
Changing the Use of a Building: Key Questions
Before you start changing a building’s use, you need to ask the right questions about planning permission, building regulations, and practical implications. Changing use triggers additional checks beyond aesthetics or layout, so you’ll want clarity on eligibility, timeframes, and costs.
You’ll also need to understand how Building permits and Zoning regulations apply to your project, plus any change‑of‑use restrictions that could affect viability.
- What evidence is needed to prove compliance with zoning regulations and permitted uses for your site?
- Which building regulations apply to the new use, and will you require energy or accessibility upgrades?
- What’re the potential delays, costs, and documentation needed to secure planning permission?
The Local Planning Authority: What They Do and How to Engage
Your Local Planning Authority is your first stop for permissions, guidance, and clarity on what’s allowed where you live. They handle planning policies, assess proposals, and guarantee developments fit the area’s needs.
To engage effectively, know who to contact, prepare clear plans, and ask targeted questions about timelines, requirements, and possible constraints.
Local Authority Roles
Local planning authorities, known as the Local Planning Authority (LPA), are your main point of contact for planning decisions. You’ll interact with them to understand approvals, constraints, and timelines. They interpret national policy locally, assess impacts, and issue decisions that shape your renovation.
You should know how they balance property taxes, building codes, and community needs. Clear communication speeds approvals and reduces delays.
- Determine which LPA governs your project and review its local planning policies.
- Prepare concise proposals that address building codes compliance and potential impacts on neighbours.
- Track timelines, provide requested information promptly, and respond to consultations to maintain momentum.
Engaging With Planners
Begin with a clear brief: outline objectives, site context, and anticipated impacts on neighbors and the street scene.
Seek pre-application advice to test ideas early, saving time and avoiding design missteps.
Communicate how your plan supports community engagement, addressing concerns openly and documenting responses.
Be prepared for potential conditions related to design, materials, or protective measures.
If your project touches historic preservation, explain how you’ll respect heritage values and integrate appropriate cues.
Maintain records, respond promptly, and follow up to keep approvals moving smoothly.
Planning Portals and Guidance You Should Know
1) Access the planning portal relevant to your area and check the case type you’ll submit, plus typical decision times.
2) Review guidance on permitted development vs. full planning, including common restrictions and common mistakes to avoid.
3) Look for local supplementary guidance, pre-application advice, and contact details for planning officers to accelerate approvals.
Check Your Site: Zoning, Restrictions, and Search Checks
Before you engage any designer or submit plans, you must check your site’s zoning and any restrictions that could affect your project; this helps prevent costly redesigns later.
You’ll also run targeted searches to confirm planning constraints, local policy overlays, and any conservation or listed-building considerations. Start with the local planning authority’s zoning map and the council’s planning portal to identify setbacks, permitted development rights, and potential restrictions.
Conduct boundary surveys to verify property limits, rights of access, and adjacent use implications. Check for Site clearance requirements and any current levies or conditions attached to your parcel.
Document findings and flag any changes needed before design work begins. Clear, accurate information now reduces risk and speeds your application process.
A Practical Pre-Application: Why Start Early and How
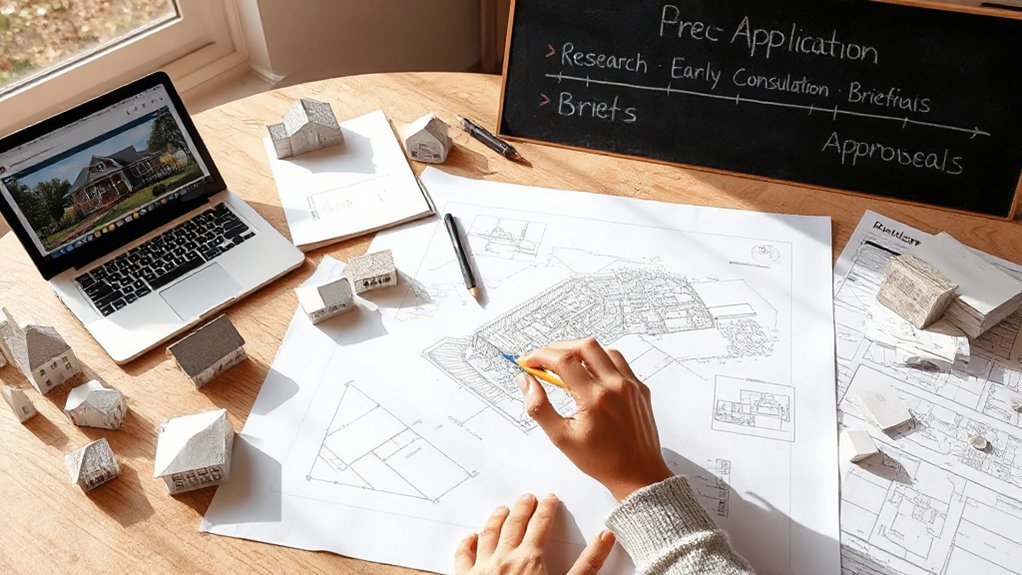
Getting a head start on a pre-application saves time, reduces risk, and smooths the path to approval. A practical pre-application clarifies requirements, aligns expectations, and helps you map the process against Building codes and any constraints from Historical sites.
You’ll gain early feedback from planners, identify potential design issues, and refine your proposal before formal submission.
- Gather a concise project brief: scope, site constraints, and objectives.
- Seek early dialogue: ask about conflicting codes, heritage considerations, and discretionary permissions.
- Document assumptions and evidence: historical site notes, existing drawings, and planning history for reference.
This proactive approach prevents last‑minute changes, shortens review cycles, and improves the likelihood of a smoother approval process.
Exemptions You Should Know (and When They Don’t Apply)
Exemptions can save you time and money, but you’ll want to know the exact criteria and boundaries first.
We’ll cover what counts as a permit exemption, when those exemptions actually apply, and where they fail.
You’ll also get practical tips for applying them correctly in real projects.
Permit Exemption Criteria
Permit exemptions define which small or straightforward changes don’t need planning permission, but they aren’t universal. You’ll assess whether your project fits, considering constraints that can alter eligibility. Key elements include site size, location, and potential effects on surrounding areas, with historical restrictions and heritage impacts guiding decisions.
- Verify if the change is minor, within existing footprints, and not altering primary elevations.
- Check if the work affects listed buildings, conservation areas, or green belts, where stricter rules apply.
- Confirm you won’t remove or extend protected features or external materials without approvals.
When Exemptions Fail
Even when exemptions cover many small tweaks, some changes still require planning permission after all. You’ll discover that exemptions don’t guarantee freedom from oversight.
When a project touches historical restrictions, or pushes the boundaries of permitted development, you must check carefully. Exemptions can fail if your alteration affects the building’s character, scope, or the locality’s conservation rules, or if it alters non-permitted elevations, floors, or uses.
If you’re unsure, treat changes as potentially needing consent and verify with your local planning authority. Remember that permitted development rights are time-limited and context-specific; a previous approval doesn’t guarantee future permission.
In doubt, seek early advice, document your plans, and expect scrutiny to protect heritage, streetscape, and compliance.
Practical Application Tips
Here’s how to apply exemptions in practice: start by mapping your project against the rules to see which exemptions might apply, then test them against real-world constraints like heritage protections, local policies, and the building’s character.
You compare options quickly, focusing on what truly matters for your design aesthetics and material selection. If an exemption seems promising, probe its limits and confirm it won’t trigger additional scrutiny or conditions.
- Evaluate exemptions against the property’s setting and local planning guidelines to avoid overreach.
- Check for heritage or conservation constraints that could negate a seemingly applicable exemption.
- Document decisions clearly, noting why an exemption works or doesn’t, and how it affects finishes and materials.
Design Matters: Demolitions, Materials, and Aesthetics That Influence Consent
When planning renovations, design choices around demolitions, materials, and aesthetics can make or break your planning consent. You weigh impacts on streetscape, neighbors, and the local authority’s guidelines, so choose purposefully.
Demolitions should be justified, minimal, and sympathetic to the building’s character; avoid sweeping removals that erode significance.
Materials matter too: select options that balance durability with proportion and visual harmony. Consider rooflines, cills, and fenestration to respect the historic context, especially if the site sits in a conservation area or near listed structures.
In many schemes, you’ll blend Historical styles with Modern materials to achieve a contemporary function without compromising heritage values.
Clear documentation, precise detailing, and a coherent design narrative streamline consent and support final approval.
Environment and Sustainability Considerations in Planning

You’ll want to start with sustainable material choices and energy efficiency measures as core planning considerations.
Opt for low‑impact, durable materials and structural choices that reduce long-term emissions and maintenance needs.
Prioritise energy efficiency early—think insulation, efficient systems, and smart design—to strengthen consent potential and long-term performance.
Sustainable Material Choices
Choosing sustainable materials for your renovation minimizes environmental impact, supports healthier indoor air, and can reduce long-term costs. By prioritizing recycled, reclaimed, and low-embodied-energy options, you’ll boost your project’s resilience and align with planning considerations.
- Eco friendly materials: select products with verified environmental credentials and low emissions.
- Renewable resources: prefer sustainably harvested timber, cork, bamboo, and other fast-regenerating options.
- Low-embodied-energy choices: source locally produced blocks, bricks, tiles, and finishes to cut transport impacts and waste.
Careful material selection informs planning decisions and helps you meet sustainability expectations without complicating approvals. Avoid over-embellishment; document certifications and supplier provenance to support siting, waste management, and lifecycle considerations.
Energy Efficiency Measures
Improving energy efficiency should follow from mindful material choices by prioritizing insulation, airtightness, and efficient systems. You’ll pursue practical upgrades that reduce heat loss and utility demand while aligning with planning guidance.
Begin with insulation upgrades to minimize thermal bridges and drafts, then tighten the building envelope through high-performance seals and windows. Consider renewables where viable, such as solar, heat pumps, or other approved renewable energy options that fit your site and budget.
Guarantee your plans reflect accurate U-values, ventilation strategies, and system controls to maintain comfort without waste. Document energy performance considerations in your planning submission, demonstrating long-term savings and resilience.
Prioritise scalable improvements that can tolerate future technology updates while meeting planning condition requirements and energy targets.
How Material Changes Affect Permission Decisions
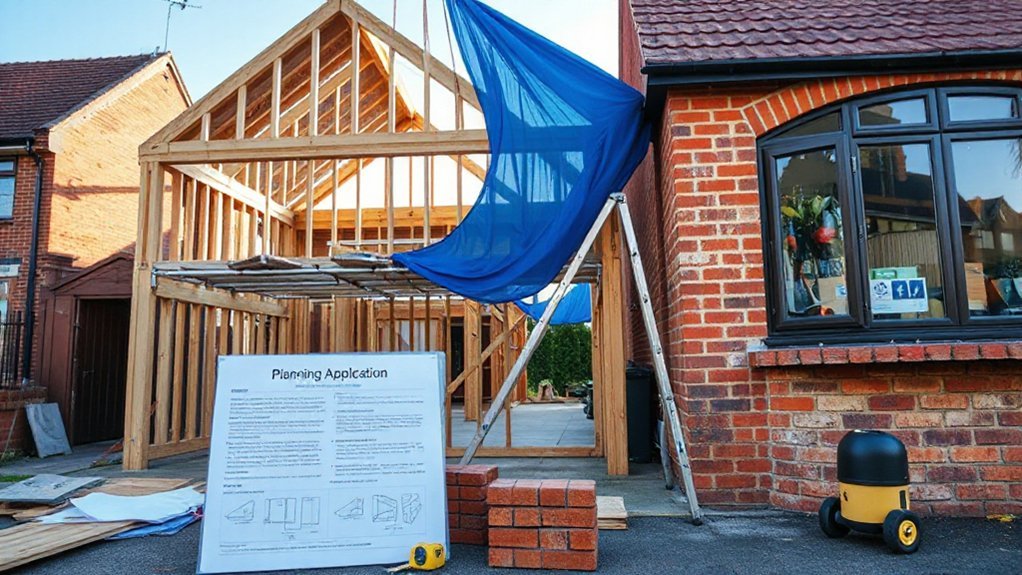
Material changes can noticeably shift a planning decision, because what seems minor at first may alter impact, scale, or use in the eyes of planning authorities. When you revise materials, rooflines, or external finishes, authorities re-evaluate the design against local policies and the surrounding streetscape.
You’ll need to confirm that material regulations still align with your application and any existing approvals. Substantial changes can trigger new consultations, and in some cases, you may need updated drawings or a fresh construction permits submission.
Be proactive: anticipate how changes alter perceived scale, overshadowing, or privacy. Document the rationale for each material choice and its compliance implications.
- Assess finish choices against policy guidelines
- Recheck structural and esthetic impact on approvals
- Obtain updated, compliant construction permits if needed
Engaging Neighbours to Avoid Delays
Engaging neighbours early helps smooth the planning process after you’ve settled on design and material choices. You’ll boost accuracy and cut delays by outlining plans briefly, explaining potential inconveniences, and inviting questions.
Neighbour engagement sets expectations about construction hours, storage, and access routes, reducing clashes with daily life. Communicate through a single point of contact to avoid mixed messages and confusion.
Be transparent about delivery schedules, noise levels, and anticipated disruptions, and share your contact details for quick updates. Foster community collaboration by listening to concerns and adjusting plans where feasible, documenting responses for reference.
Proactive conversations build goodwill, minimize objections, and support a smoother consent pathway. Remember, respectful dialogue strengthens trust and helps authorities view your project more favourably.
Building an Effective Planning Application Package
A strong planning application package clearly demonstrates what you’re proposing, why it’s appropriate for the site, and how you’ll manage impact. You’ll align designs with Historic preservation goals and comply with Building regulations from the outset, reducing delays and clarifying expectations.
- Present a clear site context, objective, and evidence that the proposal respects local character and historic features.
- Include compliant drawings, elevations, and a description of materials, construction methods, and any mitigation measures.
- Provide a concise impact assessment, a robust consultation record, and a plan for monitoring compliance post-consent.
Common Reasons for Refusals and How to Appeal
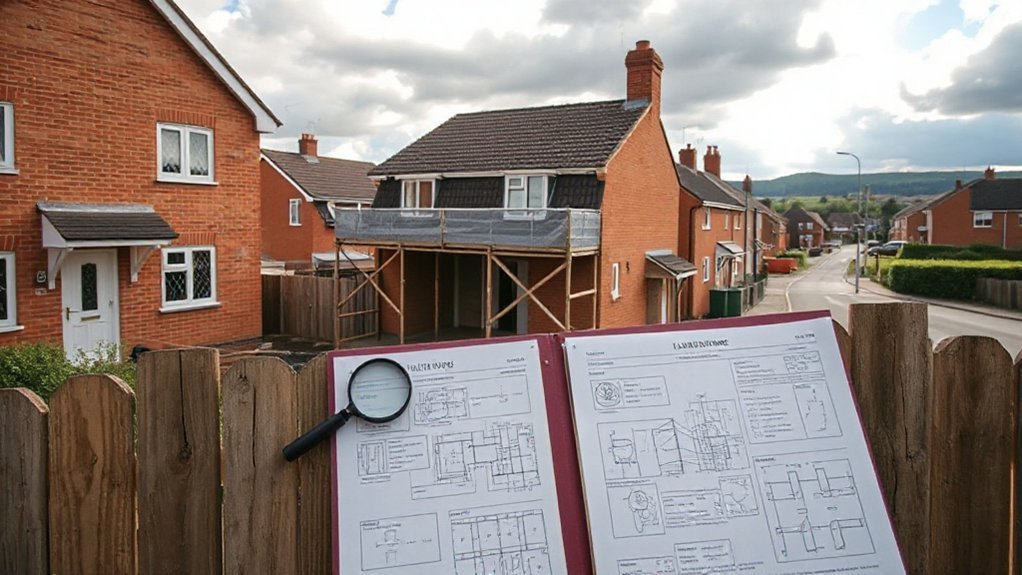
Common reasons for refusals often boil down to misalignment with local policy, insufficient impact assessment, or inadequate consultation. You’ll improve your odds by addressing these head‑on: guarantee your proposal aligns with planning policy maps and design guides, anticipate how it affects neighbours, and document mitigation steps.
If refused, review the reasons carefully, then amend the application before appealing. Appeals hinge on demonstrating that the decision was unreasonable, that policies were misapplied, or that new evidence changes the impact.
In sensitive sites, highlight protection concerns for Historical sites and how you’ve respected heritage constraints. For Building codes, show compliant structural, fire, energy, and accessibility measures, and provide updated calculations.
Seek pre‑application advice and, if needed, professional representation to present a robust case.
Timelines, Costs, and What to Expect
Timelines for planning permission vary, but you should expect a structured process with clear stages, potential delays, and defined decision points. You’ll face costs that include application fees, potential consultant or design costs, and contingencies for delays.
In practice, you’ll navigate construction permits requirements and guarantee your plans comply with zoning regulations, which can influence what you’re allowed to build and where. Expect documentation requests, site visits, and perhaps revisions before a decision.
If consent is granted, you’ll move to preparation and build; if refused, you’ll reassess grounds and resubmit. Clarity upfront helps you budget and plan effectively.
1) Understand fees and timelines upfront
2) Align plans with zoning regulations before submitting
3) Prepare for potential revisions and resubmissions
Practical Tips to Stay on the Right Side of the Rules
To stay compliant, start with upfront due diligence: verify your site’s planning constraints, permitted uses, and any local design standards before you draw plans. You’ll save time and money by identifying constraints early, like setbacks, height limits, and active design guidelines.
Prioritize historic preservation when relevant: consult any listed statuses, conservation area rules, and material requirements to avoid later conflicts.
Map land use factors, including nearby zoning, protected habitats, and flood risk, so your proposal fits the broader planning context.
Maintain a clear audit trail: keep correspondence, decisions, and amended drawings organized.
Seek pre-application advice when things are ambiguous; it often clarifies expectations and speeds approvals.
Finally, build near-term flexibility into your plans to accommodate potential policy shifts or required mitigations.
Frequently Asked Questions
Do I Need Permission for Minor Internal Alterations?
Yes, you typically don’t need planning permission for minor interior alterations, but you must avoid affecting structure, utilities, or fire safety. If you plan interior modifications that involve structural changes, consult a professional; some works may require consent.
When Is a Neighbour Consultation Required?
Only about 15% of neighbours engage in consultations, so you’re often unopposed; you should act early. You’ll trigger neighbour consultation if your work affects boundary disputes or has notable environmental impact. Stay transparent to avoid disputes and delays.
How Long Does the Planning Process Normally Take?
Typically, the planning process takes several weeks to months, depending on complexity. You’ll engage with Building regulations and Heritage considerations, respond to feedback, and await decisions. You should plan for potential extensions or revisions to speed approvals.
What Documents Strengthen a Planning Application?
Answer: You strengthen your planning application with solid site plans, accurate elevations, and detailed drawings, plus precedents, precedents, and a concise design statement. Building regulations and Environmental impact assessments guide your submissions, showing compliance, credibility, and clear, confident communication.
Can I Start Work While Awaiting Approval?
No, you can’t start work until approval or a valid permit exemption is granted; otherwise you risk enforcement action. Check Building regulations, verify permit exemptions, and obtain necessary consent before proceeding to avoid penalties or delays.
Conclusion
You’ve got the essentials now: know what counts as development, whether PD covers your project, and when you’ll need permission or a Building Notice. Gather a solid planning package, watch layouts and materials, and anticipate refusals. Timelines and costs loom, so start early and stay practical. Think of planning like a map—clear, steady, and worth the detour for peace of mind. With careful preparation, you’ll navigate permissions smoothly and safeguard your home renovation journey.
About the Author