
You’ll save more by planning like a pro: imagine a tiny bathroom that feels twice as big after smart lighting and a tighter layout. Start with a realistic budget, focus on high-impact upgrades, and rework the space to maximize storage without expanding square footage. Use affordable materials and DIY finishes, then finish with bright colors, mirrors, and tactically placed lighting. Track every dollar and schedule your steps—you’ll see the payoff sooner than you expect, if you stay disciplined and strategic. Keep going to lock in the details.
Key Takeaways
- Set a total budget and allocate funds to essentials, mid-range upgrades, and contingencies to prevent overspending.
- Rework layout to maximize space and storage, adding vertical storage and space-saving fixtures.
- Choose affordable, DIY-friendly materials like peel-and-stick tiles and laminate countertops with durable finishes.
- Use lighting, color, and mirrors to visually enlarge the space with neutral colors and well-placed mirrors.
- Plan a detailed shopping list, exploit sales, and build a realistic renovation schedule with buffer days.
Set a Realistic Budget and Nail the High-Impact Upgrades
Set a realistic budget first, then identify the high-impact upgrades that make the bathroom feel new without breaking the bank. You’ll start with Budget planning to establish a ceiling and allocate funds to essentials, mid-range options, and a small contingency.
Prioritize improvements that deliver visible value: fixtures, lighting, and surface refreshes.
When choosing materials, practice disciplined Material selection: select durable, water-resistant options that resist wear and look premium without a premium price. Compare costs and warranties, favor standard sizes, reuse existing plumbing where possible, and avoid trend-driven buys that quickly date the space.
Scope the project in phases if needed, tracking expenses as you go. Keep receipts, revise priorities when prices shift, and stay focused on impact per dollar to maximize return.
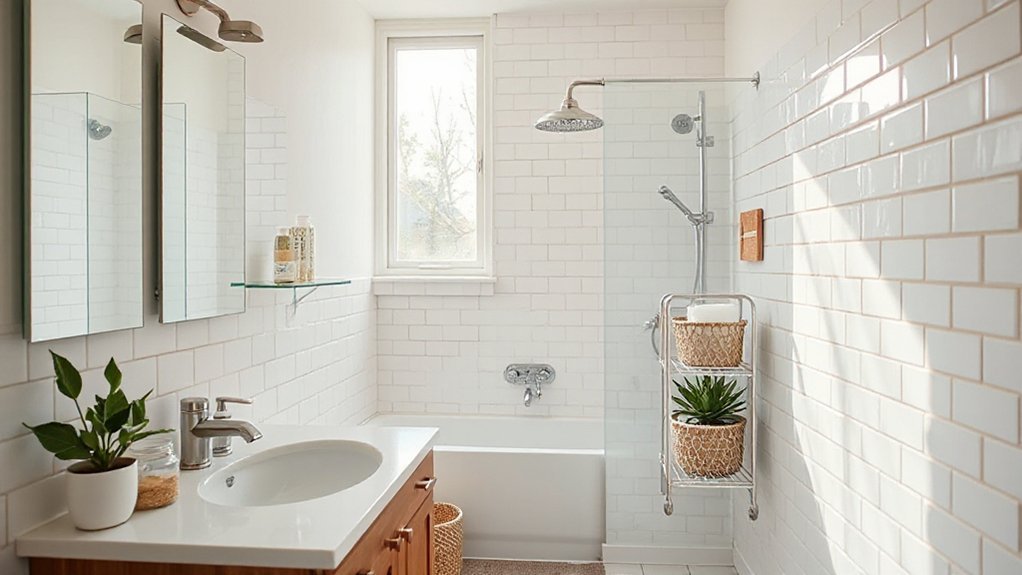
Rework the Layout and Optimize Storage for Small Bathrooms
Reworking the layout and maximizing storage in a small bathroom starts with a clear plan that makes every square inch count. You map current fixtures, note door swing, and identify wasted corners.
Prioritize fixture placement that frees knee space and eases movement, placing the sink and toilet where doors and drawers won’t collide. Consider a corner shower or compact vanity to reclaim floor area without sacrificing usability.
Optimize vertical storage with shelves above the toilet and a tall cabinet beside the vanity. Build in open-ended niches for daily items to reduce clutter.
Guarantee plumbing access remains straightforward: leave service clearances, and align pipes with existing walls where possible. Choose removable panels for future tweaks, so you can adjust as you optimize storage.
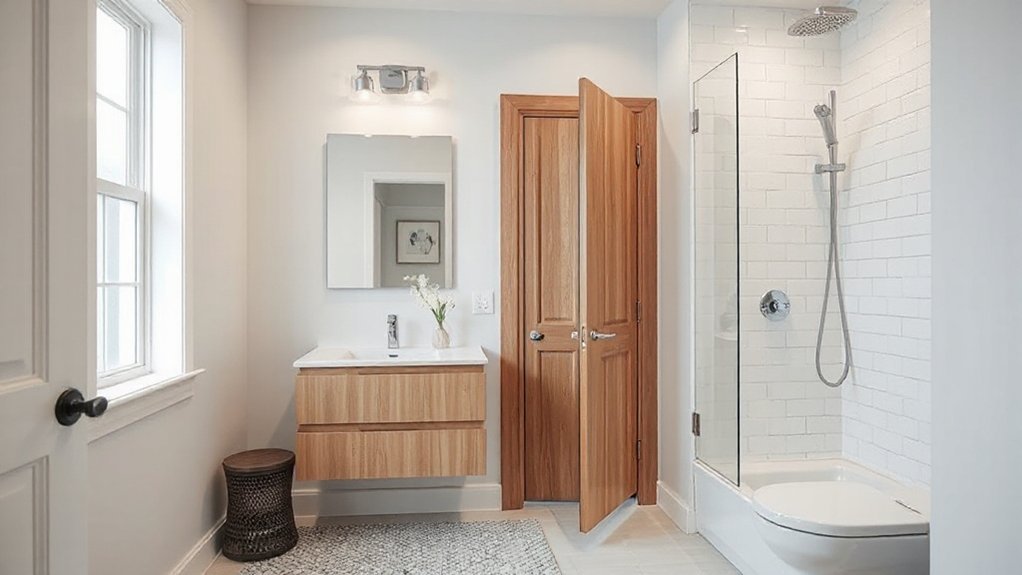
Choose Affordable Materials and DIY-Friendly Finishes
Smart budgeting starts with choosing materials and finishes that give you the look you want without breaking the bank. You’ll prioritize durable, affordable options that resist moisture and wear while staying simple to install.
Seek prefab or easy-install surfaces like peel-and-stick backsplash tiles, budget ceramic tiles, and laminate countertops that mimic stone. Choose vintage fixtures for character without paying a premium.
Do-it-yourself-friendly finishes, such as self-adhesive vinyl flooring or grout-ready boards, save time and money. Favor eco-friendly paints for walls and cabinets to cut odors and environmental impact.
Look for sales, clearance, and material remnants, then plan around sizes to minimize waste. Compare warranties and maintenance needs, and keep exact measurements handy to avoid costly returns.
Lighting, Color, and Mirrors to Brighten and Expand the Space
Natural light isn’t always enough in a small bathroom, so plan a lighting setup that adds brightness without glare or shadows. Start with a core layer of ambient lighting to evenly illuminate the space.
Then add task lighting around mirrors for shaving or makeup. Choose energy-efficient fixtures and dimmers to adjust mood and energy use.
Decorative fixtures can add style without bulk, so pick slim profiles that don’t crowd walls. Use a light, neutral paint color to reflect light and create the illusion of space.
Avoid dark accents that absorb heat and depth. Mirrors should be large and strategically placed to multiply light.
Consider frameless or thin-framed options to minimize visual clutter. Balance color temperature between 2700K and 3500K for warmth and clarity.
Smart Shopping and Scheduling Your Bathroom Renovation
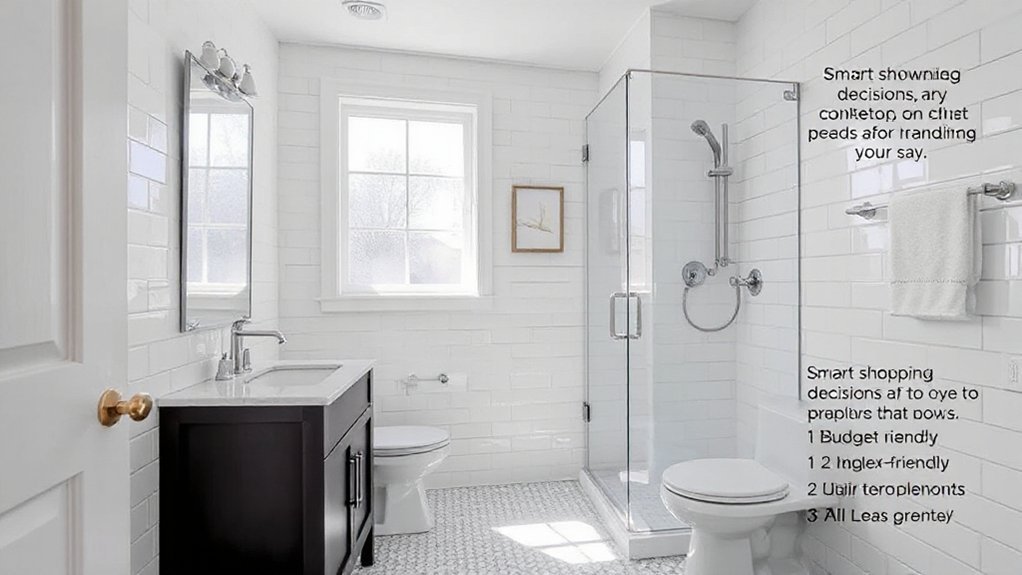
Plan your purchases and timeline carefully to keep the renovation on track and on budget. You’ll save by prioritizing essentials, measuring twice, and avoiding impulse buys.
Begin with a precise shopping list aligned to your layout and fixtures, then compare prices across reputable retailers, both online and in-store. Use smart shopping to exploit sales, bulk discounts, and warranty terms, but resist flashy upgrades that don’t add real value.
Schedule delivery windows to minimize storage needs and prevent delays; confirm lead times for custom pieces.
Create a realistic calendar with milestones for demolition, plumbing, tiling, and finishing touches, then set buffer days for unexpected snags.
Document costs weekly and adjust as needed with disciplined scheduling tips to stay within budget.
Frequently Asked Questions
How Can I Plan a Bathroom Renovation on a Strict Timeline?
Yes—you plan a bathroom renovation on a strict timeline by mapping tasks, securing rentals, and setting hard deadlines.
Start with a realistic schedule, then lock in contractors and delivery windows.
Prioritize essential fixes first, and batch tasks to avoid wasted trips.
Budget planning guides decisions; design inspiration keeps style focused.
Track progress daily, adjust contingencies, and communicate changes instantly.
Stay disciplined about scope, confirm permits, and monitor costs to finish on time.
What Grants or Rebates Exist for Small Bathroom Upgrades?
You can access grants or rebates for small bathroom upgrades through local, state, and utility programs, plus energy efficiency incentives. Check eligibility for insurance claims tied to home improvements, and note how they influence your Budget allocation.
Look up federal, provincial, or regional home retrofit funds, program-backed contractor discounts, and tax credits. Track deadlines, required documentation, and project scopes.
Prioritize energy-saving upgrades to maximize returns, and document receipts for smoother reimbursements and future insurance considerations.
Which Permit Requirements Apply to Minor Bathroom Remodels?
You’ll need to check local building codes and the permit process for minor bathroom remodels.
In most areas, you’ll avoid full permits if you’re not altering plumbing layouts or adding fixtures, but you’ll still file a permit for major changes.
You’ll often need a building permit, inspections, and plan reviews to make certain of safety.
Stay proactive, document changes, and contact your city’s permit office to confirm requirements before starting.
How Do I Prevent Mold and Moisture Issues Post-Renovation?
To prevent mold and moisture issues after renovation, you should install proper ventilation and monitor moisture levels.
Use a continuous exhaust fan, ideally rated for the space, and vent it outdoors. Run it during showers and for 20 minutes after.
Implement moisture control with a dehumidifier in damp areas and breathable, mold-resistant materials.
Regularly inspect seals and grout, clean debris, and promptly fix leaks.
Schedule annual checks of ventilation tips and moisture control effectiveness.
Can I Reuse Existing Fixtures to Save Money?
Only you can decide, but yes—you can reuse existing fixtures to save money.
Start with budget planning, listing what’s reusable, what needs replacement, and timing.
On average, homes save 20–30% by reusing components like sinks and toilets when compatible.
Check measurements, set a priority order, and avoid costly mismatches.
When you pursue fixture replacement, keep third-party dimensions in mind, seal properly, and choose durable finishes to maximize longevity.
Conclusion
You can finish your small bathroom without breaking the bank by sticking to the plan: smart upgrades, tidy storage, and affordable finishes. Think of it like packing for a tight trip—every item earns its keep. I once saved 40% by swapping out a vanity for a shallow cabinet and using peel-and-stick tiles. Measure, compare prices, and time orders wisely, then you’ll gain a brighter, more functional space without overspending. Stay disciplined, DIY where sensible, and enjoy the refreshed bath.


