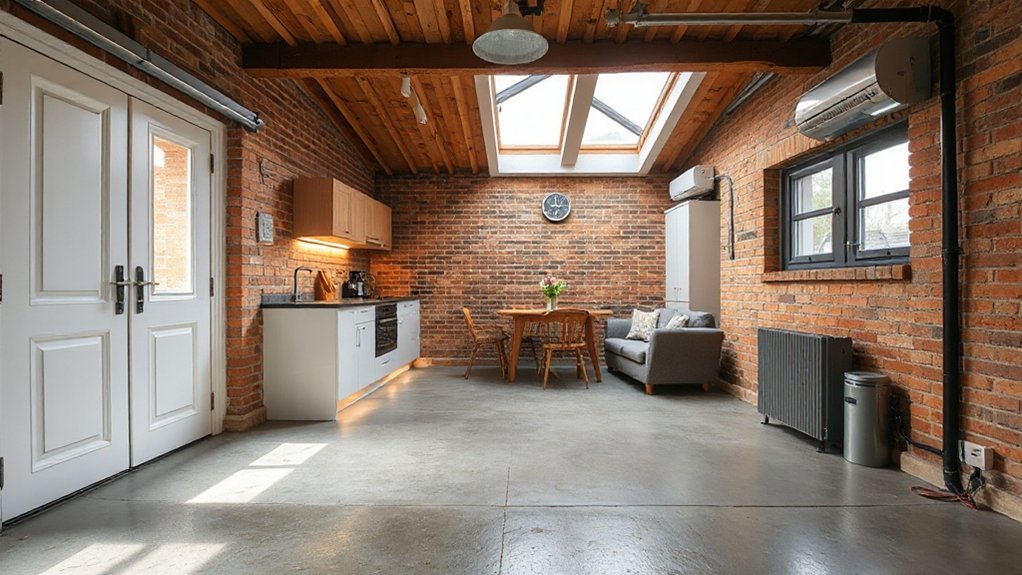
Converting a UK garage into a livable space starts with clear goals, a realistic budget, and a timeline that accounts for permits and seasonal building limits. Assess the structure, damp, and foundations first, then plan for daylight, ventilation, and thermal comfort with high-performance insulation and controlled airtight detailing. Decide whether you need planning permission or can rely on permitted development, and select trades skilled in small-space conversions. With proper design and checks, you’ll future-proof access, safety, and finishings—and you’ll gain more than extra space.
Why Convert a UK Garage Into Living Space
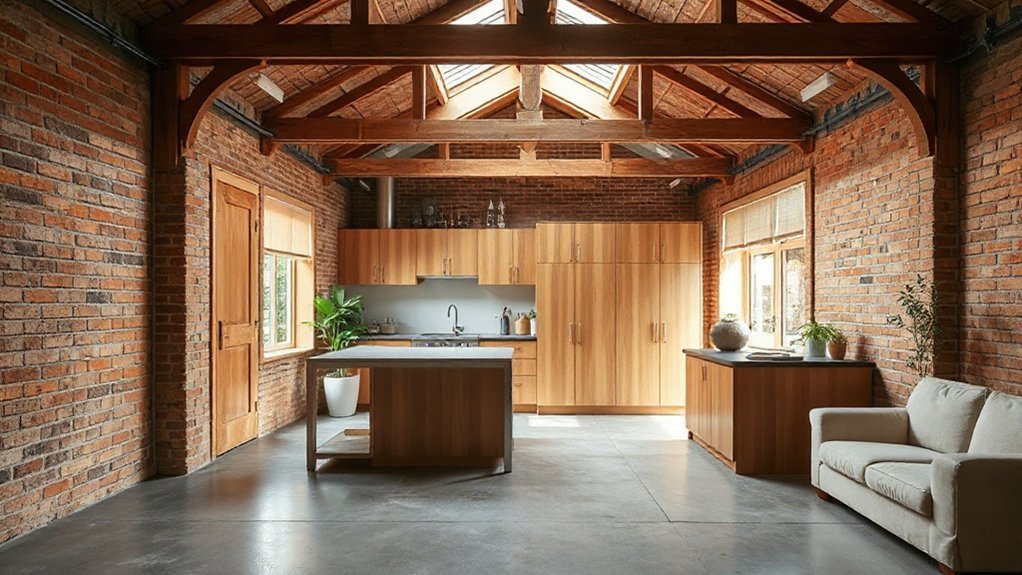
Converting a UK garage into living space can reveal valuable square footage with minimal disruption to your main home. You’ll gain usable area without major expansion, preserving exterior lines while increasing the functional footprint.
The primary motive is efficiency: repurposing an underutilized structure reduces material waste and leverages existing utilities for cost-effective comfort.
From a technical standpoint, daylight, ventilation, and thermal bridging must be addressed to maintain year-round performance.
Prioritize Garage aesthetics to guarantee the finished space blends with the main dwelling, while selecting durable finishes suited to UK weather.
Outdoor integration should harmonize doors, windows, and access routes, enabling seamless shifts between indoors and exterior spaces.
This fosters flexibility for work, leisure, or guest accommodation without overextending your property’s footprint.
Define Your Goals, Budget, and Timeline
Before you sketch plans, pin down your goals, budget, and timeline to guide every decision from design to finish. You’ll define functional targets first: room count, habitable grades, insulation performance, and moisture control.
Translate goals into a cost framework with a hard cap for trades, materials, and contingencies; assign responsibilities and deadlines to avoid scope creep.
Establish a realistic timeline that aligns with seasonal routing for external work and interior finishes, factoring permit or inspection windows if applicable.
Consider garden privacy and lighting design early: specify sightlines, privacy screens, and luminance levels for safety and ambiance.
Document assumptions, risks, and review points so tradeoffs are deliberate, not reactive. Return to the plan if scope or budget shifts threaten your core priorities.
How Planning and Building Regs Apply to Garages
Understanding how planning permission triggers, building regulation standards, and the conditions for garages to become habitable spaces shapes every conversion decision helps you anticipate compliance requirements early.
You’ll need to map whether your garage changes cross thresholds that require planning consent, and verify the build meets current Building Regulations for structure, fire safety, insulation, and ventilation.
This discussion sets the framework for when you can proceed under permitted development and what mitigations are necessary for a safe, lawful conversion.
Planning Permission Triggers
Planning permission depends on how the garage is used and what you change. In short, triggering factors hinge on alterations to structure, occupancy, and extensions.
If you repurpose the space without extending its footprint or altering its external envelope, you may avoid a full scheme, though some works still require notification.
Introducing additional dwellings, creating a bedroom, or installing permanent water or drainage connections typically activates planning consent.
Material alterations, like converting a single garage into a living area with separate access or altering eaves height, can prompt a blended planning path or planning in principle.
Consider garage aesthetics and landscaping integration in your assessment, as these influence visual impact and site context.
Always verify local authority guidance before proceeding.
Building Regulation Standards
When converting a UK garage, you must guarantee compliance with building regulations that govern structural integrity, fire safety, thermal efficiency, ventilation, and damp control. These standards run alongside planning considerations and may require different consent paths.
You assess foundations, roofing, and load paths for safety, then verify door and window upgrades meet fire and thermal criteria. Ventilation and damp protection influence damp-proof courses, insulation, and humidity control, while electrical and plumbing work must satisfy safe-installation rules.
You’ll also consider accessibility and waste disposal within permitted changes. Garden landscaping and interior decorating can follow once structure and services are approved, ensuring finished spaces meet energy and safety benchmarks.
Plan ahead to avoid retrofits, delays, or noncompliance.
- Structural planning and fire safety alignment
- Thermal performance, ventilation, and damp control
- Service installations and accessibility considerations
Garages to Habitable Space Conditions
Moving a garage from storage or parking space into habitable accommodation triggers specific planning and building regulation considerations that you must meet before any conversion progresses. You assess primary conditions: structural adequacy, damp control, insulation, ventilation, and fire safety.
Garage aesthetics matter for integration with the main dwelling, including external finishes and window proportions to satisfy local design guidance. Material selection must prioritize non-combustible or low-risk options for walls, roofs, and floors where required by part L and fire codes.
In planning terms, check permitted development rights or apply for a full or precise approval if extensions or electrical works exceed limits.
Building regulations demand airtightness testing, thermal bridging analysis, and safe means of escape. Document compliance timelines, ensuring services routes avoid critical load paths and preserve neighbouring amenities.
Assess Structural and Damp Risks Up Front
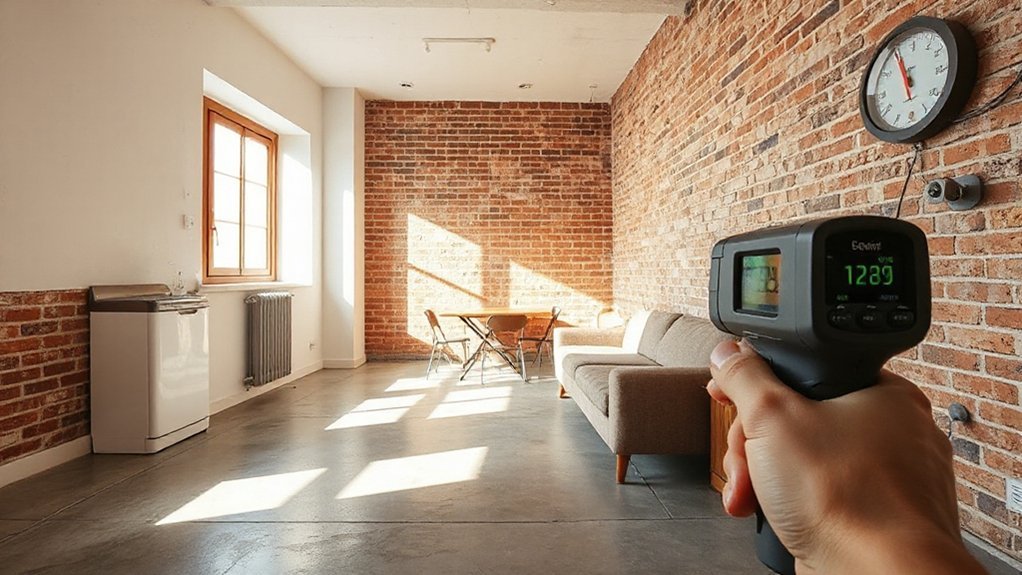
Evaluating structural integrity and damp risk upfront is essential before converting a UK garage into living space. You’ll assess existing load paths, foundations, wall ties, and roof condition to determine if remediation is needed before meaningfully altering spaces.
Prioritize damp prevention by locating moisture sources, checking drainage, and sealing penetrations to maintain healthy, stable interiors. Document findings so trades can price and schedule repairs with clarity.
- Inspect foundation cracks and wall ties for signs of movement, addressing issues before enclosing the space.
- Test moisture levels and rising damp indicators, implementing vapor barriers and appropriate damp-proofing where required.
- Confirm roof, gutter, and downspout effectiveness to prevent water ingress and thermal bridging that could jeopardize structural integrity.
Design for Light, Warmth, and Flexible Space
Designing for light, warmth, and flexible use starts with deliberate orientation and enclosure choices that maximize daylight without compromising energy efficiency. You’ll align glazing to solar gain patterns, prioritizing zones that benefit from natural light while reducing heat loss at night.
Use phased ceiling heights and movable partitions to reclaim volume without sacrificing structural integrity. Lighting design must complement daylight, employing layered layers: ambient, task, and accent, with dimmable LED fittings and zoned controls to adapt to activities.
Thermal mass, ground-floor insulation, and radiant or underfloor heating support sustained warmth with minimal energy. Color schemes should reflect light levels, using cool whites for morning brightness and warmer neutrals to soften evening scenes.
Ensure windows and doors seal well, and select breathable textiles to avoid damp pockets.
Practical Insulation and Ventilation That Work
Insulation and ventilation aren’t abstract goals here—they’re practical, measurable systems you can tune to a convert’s realities. You’ll balance thermal breaks, airtightness, and controlled airflow to prevent condensation while maintaining comfort and energy efficiency.
Use continuous floor and wall insulation with sensible vapor retarders, then specify high-performance gaps and seals for doors and windows. A compact mechanical ventilation with heat recovery (MVHR) or demand-controlled exhaust keeps air fresh without wasting heat.
Pair this with proactive moisture management, including a dehumidistat and ridge/soffit ventilation for passive air movement when needed. Align with garage aesthetics and outdoor landscaping so materials and routes support seamless integration and outdoor access without compromising performance.
- Prioritize airtight detailing and sensible insulation strategy that matches climate and usage
- Integrate ventilation with controlled exhaust and heat recovery where feasible
- Coordinate finishes, drainage, and access to preserve garage aesthetics and outdoor landscaping
Foundations and Floors: Choosing the Right Approach
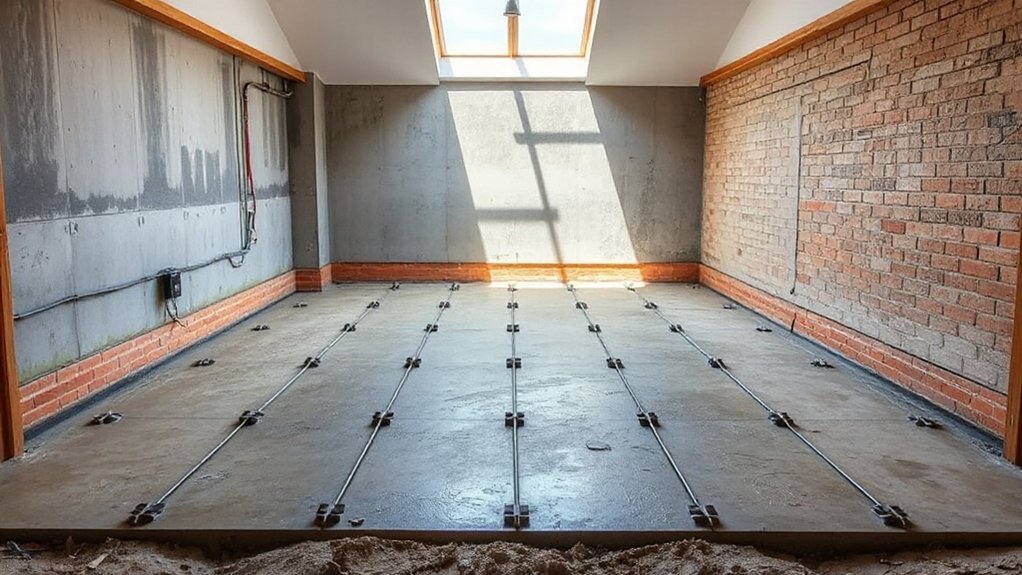
Foundations and floors set the stage for a stable, durable conversion, so choose a method that matches soil conditions, structure load, and future use. You’ll assess existing slab integrity, ground moisture, and load paths before selecting a solution, whether a raised timber deck, concrete slab, or hybrid system.
Consider frost risk, drainage, and insulation requirements, then decide on a suitable damp-proof course and vapor barrier to prevent moisture ingress. You’ll specify depth, reinforcement, and edging to resist cracking and movement, aligning floor finish with anticipated uses.
Plan for integration with decorative finishes and seamless *passages* to outdoor landscaping, ensuring level thresholds and accessible routes. Document the installation details, performance expectations, and future maintenance to preserve structural longevity and interior comfort.
Electrical, Plumbing, and Heating Essentials
You’ll map out wiring and circuits first to guarantee safe power distribution and future expansion.
Then, outline plumbing and heating routes that meet code, minimize heat loss, and support essential fixtures.
This initial scan sets the framework for compliant, efficient systems throughout the converted space.
Wiring And Circuits
How should you approach wiring and circuits when converting a UK garage into a functional living space? You’ll plan Electrical wiring and circuit design with safety and future needs in mind, mapping load requirements, zoning, and accessibility. Assess existing supply, upgrade consumer units if required, and guarantee fault protection, RCDs, and correct breaker sizing.
Layout circuits to support lighting, sockets, and major appliances, keeping wet areas and outdoor outlets protected. Use dedicated circuits for high-draw devices and consider energy efficiency with LED lighting and smart controls. Document diagrams, dates, and compliance steps to simplify inspections and future maintenance.
- Map the circuit design and load calculations early
- Specify protection, isolation, and segregation requirements
- Plan headroom for upgrades and expansion
Plumbing And Heating
Proper plumbing and heating, when repurposing a UK garage, requires a systematic assessment of water supply, drainage, and heating load to avoid future bottlenecks. You’ll map existing pipes, determine water pressure, and verify drainage fall, then plan connections for a compact bathroom and kitchen water loops.
Prioritize underfloor heating or panel radiators aligned with space zones, sizing boilers or heat pumps to match peak occupancy, and install condensate and venting with airtight seals. Use insulated pipes to minimize heat loss and select low-flow fixtures to conserve water.
Integration with landscape design considerations helps prevent frost risk and simplifies outdoor hose connections. Finally, design hidden access for maintenance and consider storage solutions that keep utilities accessible yet unobtrusive.
Insulation the Right Way: Walls, Roof, and Windows
Walls, roof, and windows are the critical interfaces where heat loss occurs in a converted garage, so insulating them correctly preserves energy and promotes a comfortable, durable space. You’ll optimize assemblies for warmth, minimize thermal bridging, and reduce drafts by selecting appropriate materials and layouts.
Focus on continuous insulation, air barriers, and careful detailing at penetrations to prevent cold spots. Use wall insulation that resists moisture, with vapor control where needed, and guarantee airtight joints around the ceiling line.
For windows, prioritize high-performance glazing, proper frame seals, and effective window sealing to limit heat transfer. Combine methods with a robust roof insulation strategy to maintain consistent interior temperatures.
- Use continuous wall insulation with proper studs and air barriers
- Achieve tight window sealing and high-performance glazing
- Seal roof junctions to avoid thermal bridges and leaks
Acoustic Performance and Fire Safety Basics
Acoustic performance and fire safety are tightly linked to how you finish a converted garage, because gaps, assemblies, and detailing that affect sound transmission also influence compartment integrity and fire behavior. You’ll minimize sound leakage by sealing joints, using resilient channels, and employing mass-loaded vinyl or decoupled assemblies where walls meet the ceiling.
Choose continuous insulation to reduce flanking paths, and specify airtight penetrations for services. For fire safety measures, maintain compartmental integrity with rated barriers, fire-stopped penetrations, and properly closed doors with intumescent seals. Guarantee floor/ceiling assemblies achieve the required fire rating for occupancies.
Test once installed, and document the performance data for compliance. Balance soundproofing techniques with practical ventilation and moisture control to preserve long-term safety and comfort.
Planning Permissions vs Permitted Development: What to Know
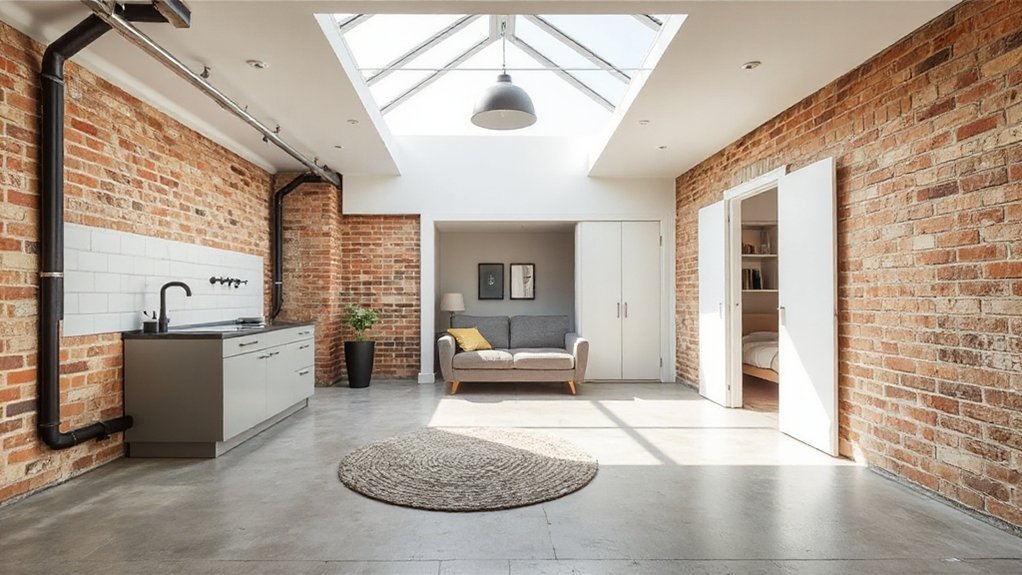
Planning permission and permitted development rights define what you can legally change without submitting a full planning application. You’ll assess whether your garage conversion falls under permitted development or requires a planning application, and you’ll consider local restrictions, such as conservation areas or s106 conditions.
In practice, you prioritize compliance steps, estimate timelines, and prepare documentation before committing to design ideas like layout adjustments, insulation, and eaves height. You’ll also weigh design inspiration against regulatory limits, ensuring proposals stay within permitted thresholds.
Material selection matters for compliance and performance, so you’ll test whether materials affect daylight access, Fire safety, and ventilation. Understanding these rules saves rework and supports a smoother build process.
- Determine if your project is PD or needs planning, based on size, scope, and location
- Align your design inspiration with limits on extensions, alterations, and curtilage changes
- Factor material selection into compliance, energy performance, and safety considerations
Finding and Managing the Right Trades
Prioritize trades with solid references and demonstrable experience in small-space conversions and compliance with building regulations. Establish a single point of contact, a written schedule, and milestone payments tied to verifiable progress.
Vetters should assess risk, warranties, and the minimization of disruption to your daily routine. In selecting trades, request transferable warranties on key components, such as energy-efficient appliances, and verify installation standards for ventilation and insulation.
When coordinating multiple contractors, maintain documentation, joint-site briefings, and a change-control process to avoid scope creep. Consider landscaping ideas early to harmonize the structure and surrounding outdoor space.
Budgeting for Surprises and Realistic Timelines
Budgeting for surprises starts with a clear baseline and a formal contingency.
You should set a realistic timeline by mapping major milestones to achievable buffers, so delays don’t derail the project.
Use a dedicated contingency cost buffer to absorb unseen issues without compromising scope or quality.
Budgeting For Surprises
When you upgrade a UK garage into livable space, surprises aren’t a matter of if but when, so build a contingency into every cost line and timeline. You should budget a buffer of 15–25% for unforeseen works, material price shifts, and access constraints. Document assumptions, verify supplier lead times, and factor in permitting delays.
Prioritize airtight budgeting for essential items: electrical, plumbing, insulation, and finishes, then allocate a separate contingency for cosmetic mismatches or site defects. Track changes with versioned estimates to avoid scope creep and preserve garden aesthetics and garage storage functionality.
Use a transparent change-order process to minimize disputes and rework, and review monthly to keep your project on track.
- Reserve contingency funds explicitly for hidden defects and price volatility
- Align storage solutions with functional garage storage and aesthetics upgrades
- Schedule flexible milestones to absorb access or inspection delays
Realistic Timeline Planning
Effective timeline planning hinges on integrating budgeting for surprises with realistic schedule forecasts from the start; this means anchoring milestones to known work packages while explicitly accounting for uncertainty. You map critical paths, assign duration estimates, and reserve buffers tied to risk registers, not vague optimism.
Track progress against baselined dates, updating assumptions when site conditions reveal deviations. Maintain explicit linkage between design decisions—garage aesthetics, systems integration, and finishes—and sequencing choices to prevent rework.
Incorporate staged approvals to avoid bottlenecks and ensure supplier lead times are factored into milestone dates. For exterior work, plan landscaping design phases parallel to interior fit-out where feasible, but sequence carry-forward tasks to minimize disruption.
Finally, continuously recalibrate budgets and timelines after each phase review to sustain achievable delivery.
Contingency Cost Buffer
Contingency cost buffers are the cushion that keeps your project on track when surprises arise and timelines shift. You’ll design this buffer as a fixed percentage of expected costs, not a vague hope. Begin with a baseline of 10–20% added to all major line items, then adjust for risk level, supplier reliability, and permit uncertainty.
Separate emergency funds from the core budget to avoid overspending on nonessential changes. Track real-time costs against this buffer using a simple delta metric, re-evaluating weekly. Contingency planning should precede procurement decisions, informing order windows and contract clauses.
Maintain visibility of contingency status for stakeholders, and document every variance with justification to improve future estimates.
- Establish a primary buffer percentage aligned to risk
- Separate emergency funds from the main budget for rapid access
- Re-evaluate weekly with clear variance documentation
Practical Checks: Approvals, Inspections, and Handover
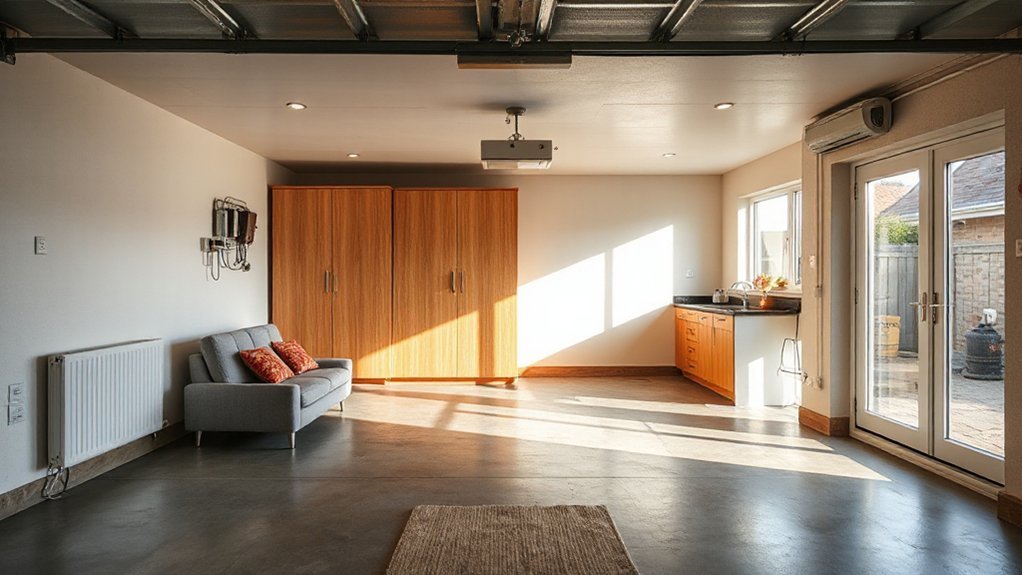
Before you start living in it, you must secure the practical approvals, complete required inspections, and guarantee a clean handover. You’ll verify listed permissions (planning, building regulations) and confirm party-wall and drainage responsibilities are settled before any interior work progresses.
Schedule structural, electrical, and damp tests with certified inspectors, documenting outcomes for future reference. Track compliance against approved drawings, ensuring deviations are formally sanctioned or corrected.
During handover, obtain operation manuals, guarantees, and as-built drawings from trades, and confirm fixtures align with safety standards. Maintain a clear audit trail for insurance needs and potential resale.
Garage aesthetics and Landscaping integration considerations should be reflected in approved plans to prevent later retrofits. A thorough, documented process minimizes risk and supports durable, compliant livability.
Frequently Asked Questions
Can I Convert a Garage Without Planning Permission?
You can’t safely or legally convert without planning permission if it’s a change of use or affects structure; consult local authority. Make sure garage insulation, robust electrical wiring, and compliance with building regulations before any permit discussion.
What Is the Typical Timeline for Garage Conversions?
Like clockwork you’ll plan carefully, then timelines align: typical garage conversions span 8–12 weeks from prep to completion. You’ll factor garage insulation, then guarantee Building regulations compliance alongside inspections, approvals, and practical finishes throughout the project.
How Much Can I Save by DIY Versus Pro Work?
You save more DIY than you’d expect; expect a cost comparison showing substantial margins if you manage skilled tasks yourself, while recognizing higher skill requirements for electrical, plumbing, and structural work. Pro work narrows gaps, but still viable.
Which Damp-Proofing Methods Best Suit UK Climates?
Moisture barriers protect you first, then ventilation systems pull air through. In UK climates, rely on robust damp-proof membranes, 6–8 mil, plus continuous venting; juxtapose dry inner walls with humid exteriors to minimize condensation. You’ll maintain lasting integrity.
Do I Need a Party Wall Agreement for Detached Garages?
Yes, you generally need a party wall agreement if your detached garage borders a neighbor’s land or structure; check legal requirements, notify affected parties, and follow party wall act provisions to protect interests and avoid disputes.
Conclusion
Converting a UK garage into living space is a precise, multi‑step project, but it pays off with usable, value-adding space. A key stat to take into account: around 60% of garage conversions in recent surveys improved home value, often with higher energy efficiency. Start by defining goals and budget, assess damp and structure early, and distinguish planning permission from permitted development. Hire trusted trades, document approvals, and build in contingencies for timelines and surprises to land a compliant, snug, flexible living area.
About the Author