
Imagine a home where you seal gaps, add acoustic panels, and hang heavy curtains, all to cut outside noise by 40% while keeping rooms flexible. You’ll balance budget and impact with targeted soundproofing, smart layout shifts, and cozy textiles that absorb echoes. The goal is clear: more privacy, calmer spaces, fewer disruptions. Curious how to tailor these tweaks to your schedule and budget without overhauling your entire house? Let’s map your first practical steps.
Key Takeaways
- Add layered soundproofing: dense curtains, acoustic panels, and weatherstripping to reduce noise transmission and boost comfort.
- Create quiet zones: designate rooms with buffers, staggered ceilings, and door seals to minimize disturbances.
- Use outdoor privacy screens: modular screens with planting and water features to dampen exterior noise and enhance seclusion.
- Optimize HVAC and lighting: quiet, dimmable lighting combined with low-noise, centered climate control for calmer spaces.
- Plan for flexible layouts: buffer zones, proper furniture placement, and scalable solutions for future site changes.
Define Your Quiet-Priority Goals: Privacy, Calm, and Reduced Disruption
To define your quiet-priority goals, start by identifying what privacy, calm, and reduced disruption look like in your daily life. You’ll map where noise leaks, where interruptions happen, and what a quiet environment enables you to do—work, relax, or sleep—without constant adjustment.
Pinpoint specific rooms and times, then translate those insights into actionable targets: lower exterior sound intrusion, stable indoor acoustics, and predictable acoustic behavior during peak hours. Consider practical controls you’ll deploy, such as soundproof windows for exterior noise and flexible scheduling to minimize interruptions.
Document measurable outcomes, like decibel ranges and tolerance levels for conversations. By establishing concrete criteria, you set a clear path for selecting solutions, including soundproof windows and acoustic ceiling treatments, that align with your comfort priorities.
Budget-Friendly Soundproofing: Walls, Floors, and Doors That Actually Work
You don’t need a luxury budget to quiet a space; smart, budget-friendly choices for walls, floors, and doors can noticeably cut noise without sacrificing practicality.
For walls, add lightweight acoustic insulation or dense, layered drywall — you’ll gain mass and dampened vibration without major remodels. Seal leaks with acoustic sealant around outlets, baseboards, and corner junctures to stop flanking sound.
Floors benefit from resilient underlayment beneath laminate or vinyl, reducing impact noise and footstep transmission.
Doors matter: install solid-core cores, weatherstripping, and brush or automatic thresholds to seal gaps. Complement with soundproof curtains over large openings to absorb mid and high frequencies without altering layout.
Focus on targeted mass, tight seals, and strategic covering—these steps deliver meaningful results without breaking the bank.
Room-by-Room Layout Strategies to Separate Work, Sleep, and Leisure
Separating work, sleep, and leisure starts with a clear layout plan that matches daily rhythms. You’ll group zones by function, placing workspaces away from bedrooms and relaxation corners. Use sightlines and doorways to control flow, not crowd spaces with noise or visuals.
Acoustic insulation between rooms matters most where activities clash—armor thin walls won’t cut it. Prioritize door seals, resilient channels, and staggered ceilings in high-activity areas to reduce spillover. Incorporate sound masking in hubs like the home office and living room to stabilize the soundscape without creating tunnel effect.
Create buffer zones with hallways or small lounges to ease progressions. Schedule routines that respect quiet intervals, and reuse vertical space for storage to keep work areas tidy and distraction-free.
Quiet Furniture and Textiles That Absorb Noise and Feel Cozy
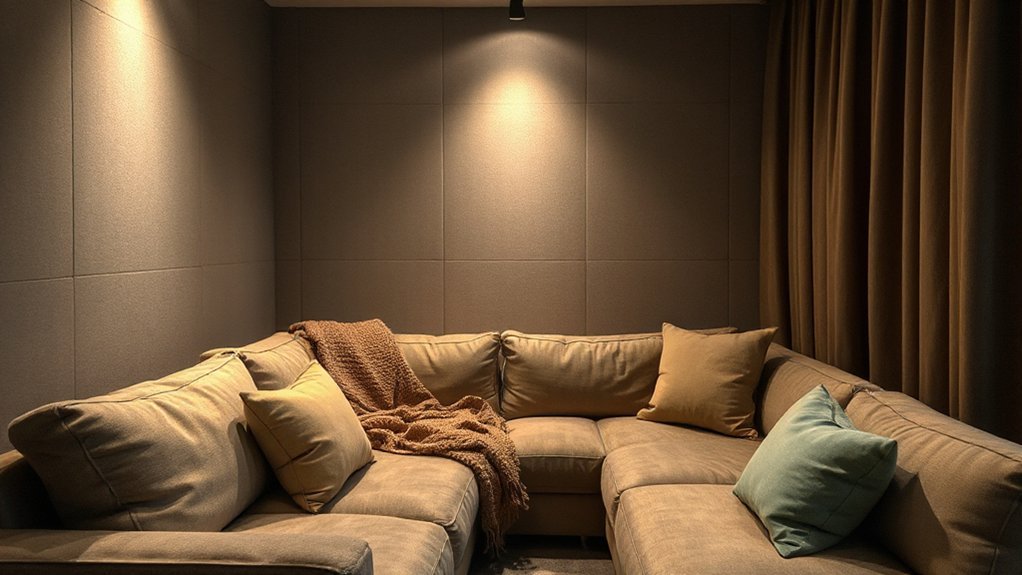
You’ll see how Soft Textiles and Cozy Noise-Reduction Accessories work together to dampen echoes without sacrificing comfort.
Prioritize Quiet Rooms with sound-absorbing furnishings and practical layouts that invite calm, focused moments.
We’ll cover sound-absorbing furnishings essentials and how to choose fabrics and textures that feel inviting while lowering ambient noise.
Soft Textiles, Quiet Rooms
Soft textiles and quiet rooms are about more than comfort—they’re practical tools for reducing noise and creating a serene living space. You’ll prioritize tactile variety and placement to maximize calm, not clutter.
Choose textiles with dense fibers and tighter weaves that dampen footfalls and stirs of activity. Textile textures matter: pair plush surfaces with smoother finishes to balance sound absorption and usability.
Focus on room zoning—soft boundaries around seating and work areas reduce echo paths and concentrate activity where you want it. For windows, consider sound absorbing curtains that extend beyond frames to trap sound leaks.
Align textiles with your routines: low-maintenance materials in high-traffic spots, and easy-care options in bedrooms and study corners. This approach delivers quiet, cohesive comfort without compromising style.
Sound-Absorbing Furnishings Essentials
Sound-absorbing furnishings start with purposefully chosen textures and placements that cut noise without sacrificing comfort. You’ll prioritize dense, woven fabrics, plush cushions, and medium-to-heavy curtains that trap mid- to high-frequency sounds.
Place upholstered panels and soft rugs where conversations, typing, or televisions create echoes, focusing on walls facing common rooms. Choose furniture with varied surface textures to diffuse reflections rather than reflect them.
Be mindful of soundproofing myths: mass alone isn’t enough—shape, placement, and permeability matter. Balance acoustic treatments with style; select warm tones and unobtrusive prints that fit your space.
Avoid cluttering walls with hard surfaces. Measure impact over time, adjust layouts, and iterate until you feel calmer, clearer, and less distracted.
Cozy Noise-Reduction Accessories
When room layout allows, add noise canceling gadgets with near-field placement to tackle conversations without loud fan noise. Prioritize fabrics with dense weaves and textured surfaces that trap sound energy rather than reflect it.
For wall treatment, explore acoustic panel designs that resemble furniture—frames, fabric-covered panels, or modular tiles that you can rearrange as needs evolve.
Choose accessories that align with your workflow, ensuring easy maintenance and durable performance in daily use.
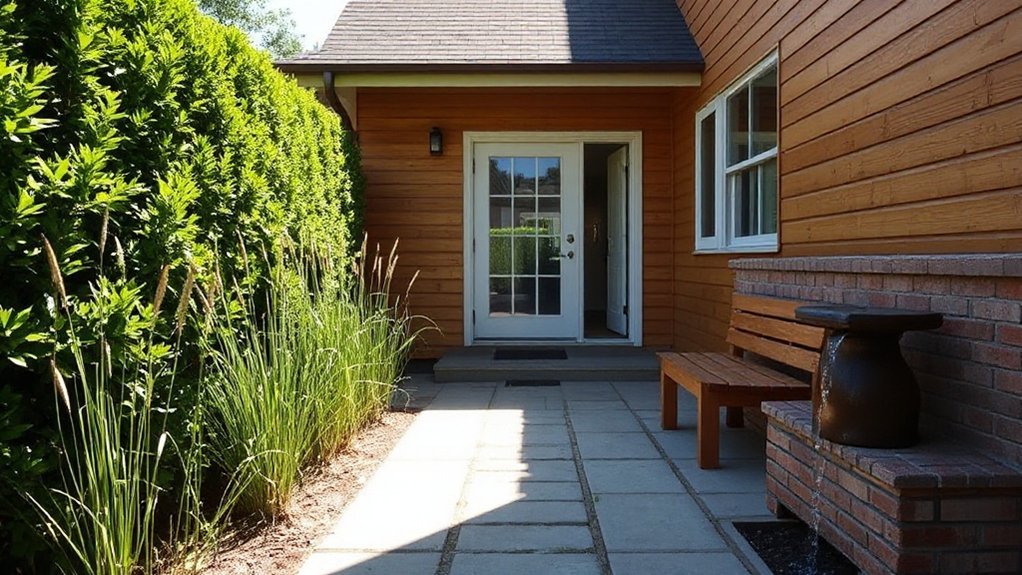
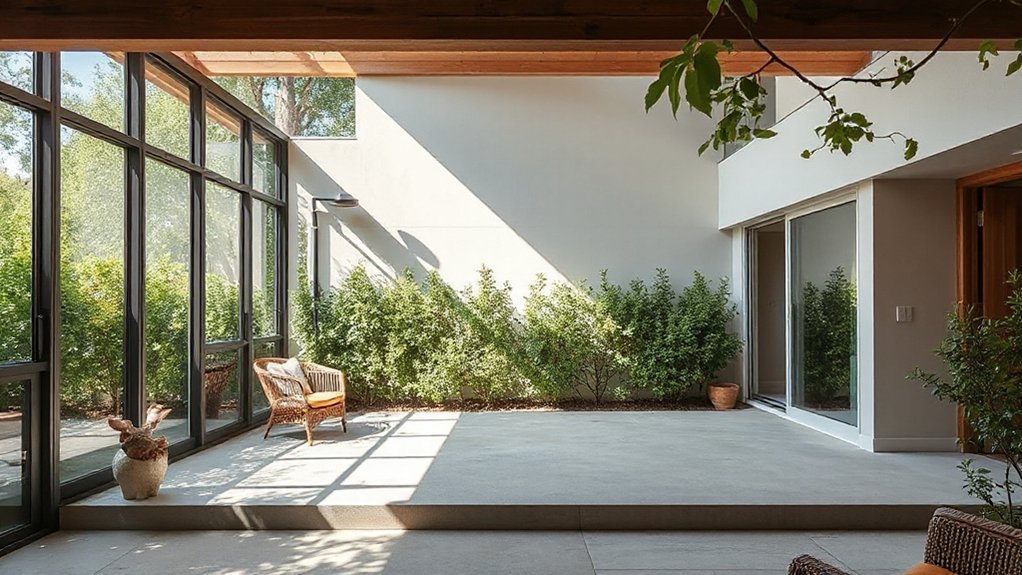
Private Outdoor Nooks: Screens, Courtyards, and Retreat Corners
You’ll explore Private Outdoor Nooks by balancing screens for privacy with openness to light and air, so you feel shielded without feeling closed in.
We’ll outline practical screen options, from lattice and panels to greenery-filled screens, and show how each choice supports quiet, low-visibility retreats.
Consider Courtyard Retreat Corners as compact, intentional spaces and plan them to function as calm, usable extensions of your home.
Private Outdoor Nooks Overview
Ever wondered how to craft intimate outdoor spaces that feel private yet welcoming? In this overview, you focus on how private outdoor nooks—screens, courtyards, and retreat corners—work together to reduce visual and acoustic intrusion while preserving openness. You’ll see practical layouts that balance sight lines with texture, using screens to frame moments without enclosing them.
Consider half-walls, plant screens, and selective shading to manage sun and wind, plus durable materials chosen for low maintenance. Plan for urban wildlife and seasonal shifts, letting birds and small critters contribute to ambience without compromising privacy.
For outdoor acoustics, place soft surfaces—plants, water features, and permeable decks—where sound originates or travels, preventing echo and noise distribution. The result: calmer, usable spaces tailored to your daily routines.
Screens For Privacy
Screens are a practical tool for shaping privacy in outdoor nooks without shutting down openness. You’ll control sightlines with purpose, selecting screens that suit scale, materials, and climate.
Consider lattice, slatted panels, or woven screens that filter light while maintaining air flow. For garden privacy, combine height with strategic placement to block neighboring views without creating a sense of enclosure.
Materials like cedar, aluminum, or composite balance durability and visual softness, while colors should harmonize with surrounding plantings. Integrate screens with planting plans—evergreen accents or tall grasses soften edges and enhance sound dampening.
When visibility matters, pair screens with window coverings designed for exterior use to maintain consistent privacy, glare reduction, and exterior aesthetics. Focus on modular, adjustable options for future site changes.
Courtyard Retreat Corners
Wondering how to transform underused corners into intimate, private escapes? You can create Courtyard Retreat Corners that feel secluded without huge renovations. Start with a discreet screen system along edges to define a micro-terrace, then choose materials that balance light and sound.
Prioritize garden privacy with tall, dense plantings or lattice panels backed by sound-absorbing fabric inserts. Use compact seating, a weatherproof cushion set, and a narrow dining table to maximize function without crowding.
Incorporate soundproof materials in walls or screens to dull street noise while preserving outdoor air flow. Add a small water feature for ambient calm, and consider a retractable canopy for weather control.
Finish with low-voltage lighting to extend usability after sunset, keeping the space calm and inviting.
Calming Lighting and Decor That Lower Noise Perception
Soft lighting and thoughtfully chosen decor can noticeably soften the acoustic environment, so you feel calmer the moment you step into the room.
You optimize brightness and color temperature, selecting 2700K to 3000K to create an ambient glow without glare. Layer light with task, accent, and dimmable options, ensuring quiet zones remain undisturbed.
Choose fabrics and finishes that dampen reflections—dense curtains, woven rugs, and matte surfaces reduce sound bounce, while adding tactile comfort.
Implement furniture placement that creates hushed, intimate zones, steering foot traffic away from critical listening areas.
Subtle, consistent decor reinforces tranquil aesthetics, aligning color palettes and textures with your privacy goals.
Pair soft lighting with sound-absorbent panels or shelving, preserving clarity in conversation and reducing perceived noise.
Quiet-Ready HVAC and Ventilation: Smoother Airflow With Less Hum

When you optimize a quiet-ready HVAC and ventilation system, you’ll notice airflow that feels smoother and less obtrusive. You’ll select soundproofing materials for ducts and rooms to dampen vibration and reduce audible noise at the source.
Pair these with components designed for low CFM fluctuation and tempered startup to maintain calm, steady airflow. Prioritize airtight duct connections, anti-vibration mounts, and insulated plenums to preserve temperature and minimize ghost drafts.
Focus on ventilation efficiency by balancing intake and exhaust to avoid overworking the fan, which can create hum. Choose variable-speed, PWM-controlled fans and smart zoning to adjust flow without spikes.
The result is consistent comfort, fewer disturbances, and a quieter, healthier living environment.
A Practical 1-Hour Room-by-Room Plan to Implement Now
If you’re short on time but want meaningful results, this 60-minute, room-by-room plan guides you to quick wins that quietly elevate comfort and efficiency.
Start in the living area: deploy sound masking by subtle white-noise fans or devices, target focal seating, and tuck cables for cleaner acoustics.
Move to the kitchen-dining boundary, place acoustic diffusers on hard surfaces facing primary chatter zones to soften reflections without muffling conversation.
In bedrooms, tighten door seals, add a compact rug, and review nighttime schedules for HVAC quiet modes.
Hallways get a no-slip runner and discreet lighting to reduce sound travel during late hours.
Finally, create a 5-minute follow-up checklist to confirm seals, diffuser placement, and masking levels for ongoing privacy and calm.
Frequently Asked Questions
How Soon Can I Notice Real Quiet After Upgrades?
You’ll notice quieter spaces within days after installation, especially once soundproof materials settle and any loose fittings pair up.
Real gains come as installation techniques seal gaps, doors swing smoothly, and walls regain integrity.
Expect the first 24–72 hours to show improvements, with full calm after a week as compounds cure and materials acclimate.
You’ll feel less outside buzz and more interior quiet when you test doors, vents, and shared walls for airtight performance.
Are There Any Cheap DIY Soundproofing Myths?
Yes, there are no truly cheap DIY solutions that reliably soundproof like professional methods. You’ll likely encounter soundproof myths, and you should beware quick fixes.
Instead, you can pursue budget friendly tips: seal gaps, add dense curtains, place rugs, use mass-loaded vinyl, treat doors and windows, and build simple floating shelves.
You’ll notice improvements when you combine multiple techniques, stay patient, measure progress, and adjust based on feedback from rooms where you notice noise.
Which Rooms Benefit Most From Added Privacy Solutions?
You’ll get the most privacy in your home office and bedrooms, where quiet directly boosts focus and rest. Consider Outdoor retreats for relaxing, low-traffic spaces to decompress without noise intrusions.
Use Home office zoning to separate work from living areas. Prioritize doors, seals, and mufflers for shared walls, plus smart layouts that buffer sounds.
You’ll notice calmer mornings, deeper work sessions, and peaceful evenings when you tailor these solutions to each room.
Do Quiet Updates Affect Home Resale Value?
Soundproofing is worth it for resale. Quiet updates can boost value by enhancing perceived quality and comfort. You’ll see impact when you invest in soundproof materials and noise reduction techniques, especially in bedrooms, home offices, and living areas.
You’ll like how clearer acoustics reduce stress and attract buyers. Keep details precise: choose dense mass materials, decoupling, and airtight seals.
You’ll maximize ROI with documented improvements and solid installation, tailored to your home.
How to Measure Actual Noise Reduction Accurately?
To measure actual noise reduction accurately, you’ll perform soundproof testing using standardized procedures and precise instrumentation, comparing pre- and post-installation levels.
Start with a controlled noise source and reference measurements, then compute transmission loss and equivalent sound reduction index for walls, floors, and ceilings.
Use calibrated SPL meters, follow applicable codes, and document ambient conditions.
Acoustic insulation values guide improvements, ensuring repeatable results.
You’ll interpret data to fine-tune assemblies for real-world quiet.
Conclusion
You can genuinely transform your home into a private sanctuary without overhauling everything at once. Start with targeted soundproofing and soft furnishings, then stage each room for calm work, rest, and leisure. An interesting stat: high-quality acoustic treatments can reduce perceived noise by up to 20–30%, making conversations clearer and sleep deeper. By choosing calming lighting, private outdoor nooks, and quiet HVAC tweaks, you’ll create measurable comfort and sustained focus—tailored exactly to your lifestyle.


