
External render repairs on period UK properties demand precise assessment of substrate, moisture, and movement, using lime-based, breathable systems that match historic walls. You’ll need careful prep, compatible materials, and protection for features like cornices and timberwork. Coordinate with conservation authorities early to secure approvals. The approach hinges on ongoing monitoring and maintenance to sustain performance. There’s more to balance—craft, schedule, and budget—and the next steps will determine long-term success.
Key Takeaways
- Assess substrate compatibility and moisture pathways, prioritizing lime-based renders that breathe with historic masonry.
- Diagnose damage patterns (cracks, damp, salt efflorescence) using moisture testing and seasonal monitoring.
- Plan repairs with thin lifts, compatible mortars, and fabric reinforcement for movement and durability.
- Coordinate with conservation authorities, supplying material specs, tests, drawings, and approval trails.
- Emphasize long-term maintenance, monitoring, and reversible, sustainable interventions to protect historic fabric.
What Makes External Render Unique in Period UK Homes
External render in period UK homes stands out because it must integrate with historic wall assemblies and traditional detailing while meeting modern performance expectations. You assess the unique substrate conditions, acknowledging lime-based mortars, render textures, and variable wall tolerances.
You select systems that harmonize with existing courses, reveals, and cornices, ensuring breathability and moisture management without compromising weather resistance. Modern aesthetics guide finish choices, color palettes, and detailing to retain the building’s legibility.
You evaluate compatibility with existing insulation strategies, prioritizing minimal disruption to interior fabric. Interior insulation considerations inform render thickness, junction detailing, and thermal bridging mitigation, preventing cold spots at reveals and openings.
You document performance targets, installation sequencing, and quality controls to deliver durable protection aligned with historic character.
Diagnosing Render Damage: Cracks, Damp, and Salt Efflorescence
Damage assessment across period UK renders hinges on identifying three common failure modes: cracks, damp, and salt efflorescence. You’ll inspect cracks for movement patterns, width, and alignment with substrate joints, noting hairline versus structural separations.
Damp signals include persistent damp staining, peeling render, and high moisture readings. Trace whether ingress originates from flashing, detailing, or faulty detailing.
Salt efflorescence appears as white, crystalline efflorescence on surfaces, indicating rising damp or moisture transport through capillary action.
Use traditional techniques like non-invasive moisture meters and probe testing to confirm moisture paths, while documenting seasonal variability.
Material sourcing matters: verify compatible binders, aggregates, and finishes to prevent reoccurrence.
Collate findings into a remediation plan emphasizing breathable, compatible strategies and durable detailing to preserve historic fabric.
Which Renders Fit Historic Walls: Lime-Based vs Modern Options
You must evaluate lime-based compatibility with historic masonry before selecting any finish, as lime fundamentally interacts with porous substrates to accommodate movement and moisture.
Modern render alternatives offer faster cure and lower initial cost, but may compromise breathability and long-term compatibility with historic walls.
We’ll compare performance, durability, and maintenance implications to guide whether lime-based or modern renders best suit your property.
Lime-Based Compatibility
Lime-based renders aren’t interchangeable with modern cementitious mixes; choosing the right formulation depends on the wall’s substrate and historic detailing. You evaluate substrate porosity, lime type, and historical plaster layers to guarantee compatibility.
Lime mortars require breathability to regulate moisture, preventing trapped damp that causes efflorescence or render delamination. Use lime mortar mixes aligned with the wall fabric, such as hydrated lime with graded aggregates, avoiding Portland-rich blends on lime-rich contexts.
The render’s capillary transport must match the substrate’s moisture pathways, preserving historic finishes and decorative details. Breathable finishes are essential; they permit humidity to dissipate without causing substrate decay.
Before application, verify wall ties, plaster keys, and movement joints to minimize cracking and differential movement. Select formulations that harmonize with lime-based substrates and the building’s historic character.
Modern Render Alternatives
When selecting modern render options for historic walls, you must balance performance with compatibility to preserve fabric and appearance. You assess lime-based benchmarks versus modern systems, focusing on breathability, relative stiffness, and substrate compatibility.
Contemporary renders, including silicone, acrylic, and cementitious formulations, offer rapid cure, color stability, and weather resistance. Yet, they may trap moisture or mismatch texture.
Innovative coatings provide surface protection without compromising historic permeability when matched to wall morphology, historic detailing, and substrate condition.
Sustainable materials emphasize low embodied energy, recyclability, and reduced volatile compounds. This guides selection toward breathable, compatible mixes and appropriate thicknesses.
You prioritize bond, movement accommodation, and long-term maintenance cycles, documenting performance criteria, remediation steps, and monitoring to ensure facade longevity while preserving architectural integrity and visual authenticity.
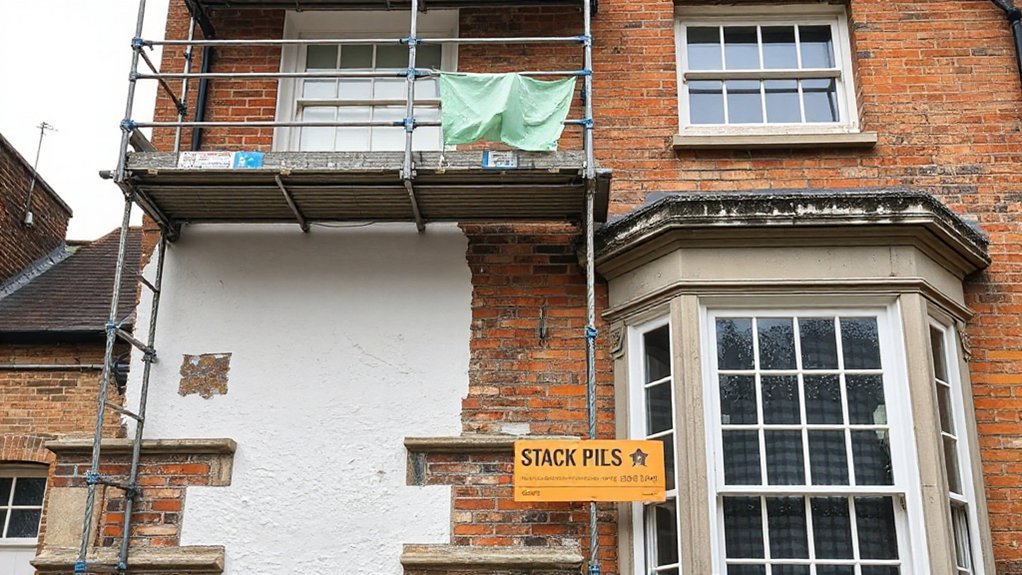
Prep for Repair: Cleaning, Drying, and Stabilizing the Substrate
Prep for Repair begins with cleaning the surface to remove contaminants, drying thoroughly to halt ongoing moisture movement, and stabilizing the substrate to prevent ongoing deterioration.
You perform targeted surface preparation to reveal sound profiles and remove loosely bonded materials that would impair adhesion.
Surface preparation decisions must account for substrate composition, salinity, and hygroscopic behavior, ensuring moisture is controlled before subsequent repair steps.
Drying strategies prioritize residual moisture reduction without introducing stress or warp to fragile render layers.
Stabilization involves cease of active deterioration through consolidation or inhibitor treatments appropriate to lime-based mixes and historical substrates.
Environmental considerations guide execution timing, sheltering from rain, wind, and evolving humidity.
Execute consistently to preserve substrate integrity, enabling reliable bond development for the next repair phase.
Step-by-Step Repairs for Cracks and Render Loss
Having prepared the substrate, you now implement targeted repairs for cracks and render loss with controlled, site-specific methods. Begin with precise crack assessment: measure width, depth, and continuity, then select compatible repair mortars or fillers.
For narrow cracks, inject low-viscosity epoxy or polyurethane resin, followed by surface smoothing to restore continuity.
Larger fissures require mesh reinforcement or fabric-lagging to prevent future propagation.
Render loss is addressed by patching with a render mix matching workability and heterogeneity; apply in thin lifts, keying between passes to ensure adhesion.
After setting, feather edges to blend with the surrounding matrix.
For color matching, tint repair mortars to harmonize with the existing finish, and implement weatherproofing techniques to maintain long-term performance.
Document tests and cure times for quality assurance.
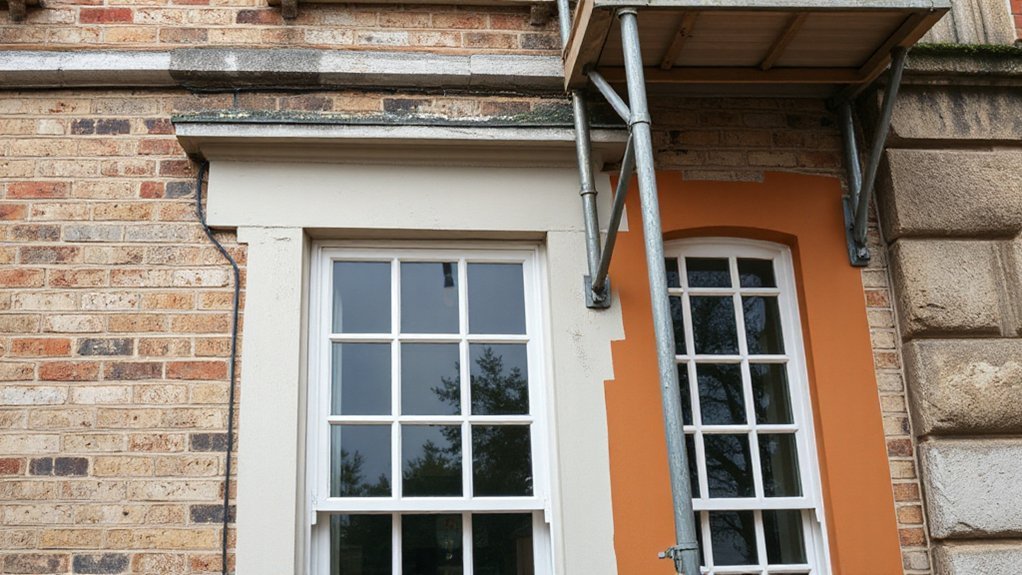
Protecting Adjacent Elements During Repair: Flashings, Lintels, and Timber
Protect adjacent elements during repair by isolating flashings, lintels, and timber so damaged work won’t transfer stress or moisture. You must safeguard surrounding fabric by segregating these components from render operations, preventing contaminants and differential movement.
Prior to render work, inspect flashings for corrosion, uplift, or displacement; replace or reseal as needed, ensuring a continuous waterproof interface.
Check lintels for cracking or settlement, addressing movement with appropriate supports or packers to avoid transfer of load into the new render.
Timber adjacent to the work area should be protected from moisture ingress, with breathable barriers and raised detailing to shed water.
Throughout, maintain clear lines of drainage and monitor movement, aiming for long-term durability. Focus on protecting adjacent elements to sustain structural and aesthetic integrity.
Cost and Budgeting for Heritage-Compliant Render Repairs
Cost for heritage-compliant render repairs hinges on preserving authentic materials and meeting regulatory requirements, so you should budget for materials that match traditional finishes, specialist labor, and rigorous condition assessments.
You assess scope via a detailed survey, quantify quantities, and forecast unit costs for compatible renders, lime-based mortars, and traditional additives.
Allocate contingency for provenance-verified components and for potential weather-related delays.
Price certainty improves with clear material sourcing, lab testing, and supplier lead times, enabling coherent scheduling and cash-flow planning.
Include costs for color matching to historic palettes and for trial panels to verify finish fidelity.
Track lifecycle implications, such as durability, re-paint intervals, and remediation planning, to ensure budgeting aligns with long-term performance and regulatory expectations.
Material sourcing impacts both price and compatibility.
Coordinating With Conservation Officers and Securing Approvals
Engage early with the local planning authority and the conservation officer to outline the proposed work, expected impacts, and sequencing, minimizing delays. Provide clear documentation on material sourcing, supplier certifications, and testing results to support compliance with listed-building requirements.
Guarantee submit lists, drawings, and method statements, highlighting any deviations from standard practice and justifications. Obtain written feedback and incorporate it into the project plan before execution.
Maintain an auditable approval trail, and adjust timelines if approvals introduce design changes.
Long-Term Performance: Maintenance and Monitoring for Historic Render
Long-term performance of historic render hinges on proactive maintenance and rigorous monitoring to detect deterioration early and prevent failure. You should implement a scheduled inspection regime, documenting substrate condition, cracking, moisture indices, and coating integrity with consistent methods and thresholds.
Maintain a defects log and trigger corrective actions before risks escalate, prioritizing reversible interventions that respect fabric and historic detailing. Use non-destructive testing where appropriate to minimize disturbance to historic fabric while gathering actionable data.
Employ innovative coatings designed for breathability and compatibility with lime-based binders to extend service life without compromising porosity. Prioritize sustainable materials sourced to reduce embodied energy and align with conservation principles.
Review environmental exposure, solar gain, and wind-driven rain annually, updating maintenance plans to reflect observed performance and material performance.
Frequently Asked Questions
How Long Do External Render Repairs Typically Last in Period Homes?
Exterior render repairs for period homes typically last 15–25 years, depending on materials, workmanship, and environmental exposure. You’ll maximize longevity by ensuring proper substrate preparation, adequate curing, and durable finishes.
Regular inspections matter between major overhauls. Include protective measures after completion, like timely roofing maintenance and crack sealing where needed.
You should track substrate movement and re-coat before paint degradation. With proper maintenance, you’ll preserve aesthetics, reduce moisture ingress, and extend service life beyond a decade or two.
Will Repairs Affect a Building’s Listed Status or Eligibility?
Repairs can affect a building’s listed status only if they compromise its character or use inappropriate methods. You’ll safeguard listed status by prioritising Historical accuracy and Material compatibility, ensuring the render respects the original fabric.
Juxtapose traditional detailing with modern performance—not at odds, but harmonized. You should consult conservation guidance and file approvals early, as missteps can trigger preservation concerns.
When done correctly, repairs maintain compliance while preserving architectural integrity for future scrutiny.
Can I Use Modern Silicone Render on Lime-Based Walls?
Yes, you can use silicone-based render on lime walls, but you must check compatibility. Modern materials offer breathability, yet silicone can trap moisture if not designed for lime substrates.
Assess lime plaster stability, carbonation depth, and damp history first. Confirm the render system is compatible with traditional lime finishes, includes a breathable transparent primer, and allows movement.
Conduct a trial area, monitor moisture, and document supplier compatibility concerns before full application.
Are There Subsidies or Grants for Heritage Render Projects?
There are grant opportunities and funding eligibility for heritage render projects. You should evaluate eligibility through national and local schemes, like heritage and conservation bodies, plus regional historic environment funds.
You’ll typically need project documentation, conservation rationale, and evidence of impact on historic fabric. Apply early, align work with listed status requirements, and budget for professional surveys.
Monitor deadlines, match funding where required, and prepare a clear procurement plan. Keep documentation precise to maximize grant opportunities and guarantee funding eligibility.
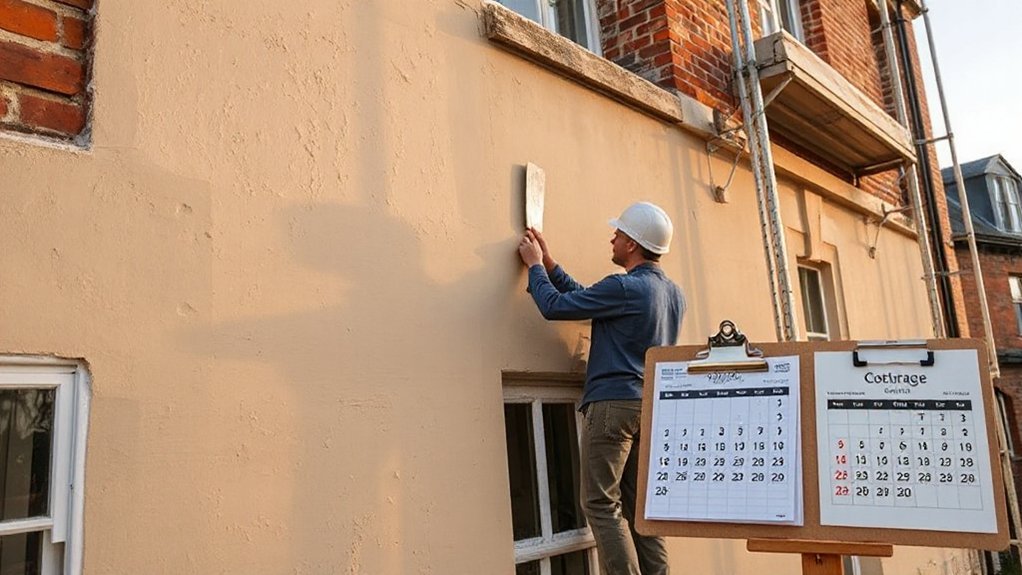
How Should I Document Repairs for Future Conservation Records?
You should document repairs with a structured archive approach, guaranteeing historical accuracy and traceable provenance.
Start a chronological log noting dates, contractors, materials, methods, and any deviations from original renderwork.
Attach photos before, during, and after, plus test results or conservation statements.
Maintain a repair calendar to support maintenance scheduling, flagging future interventions.
Assure cross-references to plans and grant records, and store digital copies with metadata for easy retrieval and audits.
Conclusion
Concluding, you should recognize that external render repairs on period UK walls demand rigorous adherence to historic accuracy, material compatibility, and proactive maintenance. By diagnosing defects, selecting lime-based, breathable systems, and preparing substrates properly, you safeguard authenticity while enhancing durability. Coordinate with conservation authorities early, document decisions, and monitor performance post-application. Think of your repair as a carefully stitched tapestry: each thread—material choice, detailing, and monitoring—strengthens the whole, ensuring the building’s heritage endures.


