
Staging your home isn’t guesswork; you’ll shape rooms that feel effortless and inviting, with furniture that fits each space, clear sightlines, and at least 36 inches of clearance for flow. You’ll layer textures, keep surfaces matte and clutter-free, and use eye-level accents to spark interest without crowding. Good lighting and high-contrast focal pieces finish the look, boosting perceived value. Get the basics right, then anticipate the next move buyers will want to make.
Key Takeaways
- Establish strong room focal points at eye level and ensure sightlines meet primary activities for immediate visual impact.
- Create anchored seating groups with clear sightlines, using 36-inch clearance to walls and unobstructed flow.
- Declutter thoroughly, use 2–3 meaningful accessories per vignette, and place items at or slightly below eye level.
- Layer lighting (natural, ambient, task) with dimmers and backlights to eliminate glare and enhance textures.
- Optimize photos by staging well-lit, clutter-free scenes from multiple angles with consistent warm brightness.
What Staging Aims to Achieve for Buyers
Staging aims to help buyers picture themselves in the space, and that starts by making first impressions count. You focus on clarity over clutter, guiding the eye to flow, light, and purpose. Your goal is to strip distraction and highlight function: how rooms actually live, not how they look in a catalog.
You deploy virtual staging to test layouts, color palettes, and furniture scale without permanent commitments, so buyers see options without delay. You pair interior staging with outdoor landscaping cues that extend the home’s narrative, suggesting usable outdoor moments from morning coffee to evening gatherings.
Every vignette emphasizes proportion, sightlines, and accessible pathways. The outcome is a confident, faster decision to move forward, with buyers imagining daily life, not just a house.
Plan the Flow: Create a Natural Path Through the Home
Create a natural path through the home by aligning traffic with purpose and sightlines. You’ll map a clear route that guides viewers from room to room without dead ends. Prioritize wide, unobstructed walkways and logical progression, so visitors feel invited rather than directed.
Use furniture placement to frame highlights—entryways, focal art, and architectural features—without blocking views. In each space, define a virtual “conversation zone” where eye level meets key details, which sustains flow continuity from room to room.
Minimize excess seating that creates bottlenecks; guarantee at least one clear path remains visible from the main entry. When you stage, rehearse a smooth, unhurried home tour, so evidence of purposeful design translates to perceived value and faster interest.
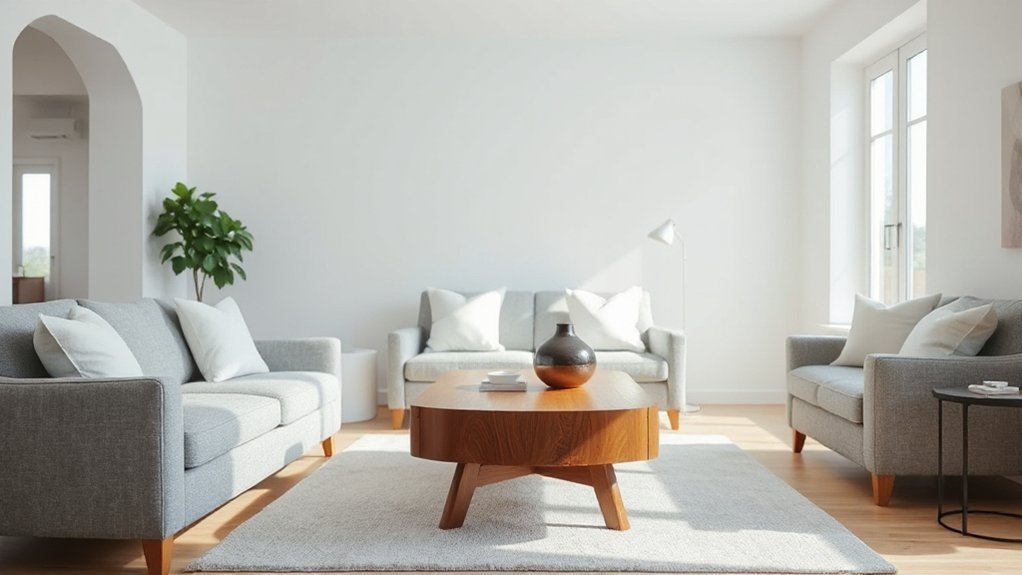
Pick a Warm, Cohesive Color Palette
Choose a warm, cohesive color palette that anchors the home’s mood and feels inviting on first glance. You’ll build a base of soft neutrals as the constant backdrop, then layer warmth with intentional accent tones.
Prioritize color harmony: pick 1–2 dominant neutrals and 1–2 warm accents that echo throughout every room. Use a consistent undertone (warm beige, taupe, creamy gray) to unify walls, fabrics, and decor.
Limit bold hues to small, strategic pops—pillows, vases, artwork—so the flow remains calm and livable. Consider paint strategies that maximize light: satin or eggshell sheens reflect daylight without glare.
Test palettes under natural light at different times of day. The result delivers mood enhancement, clarity, and a visually cohesive environment that converts viewers.
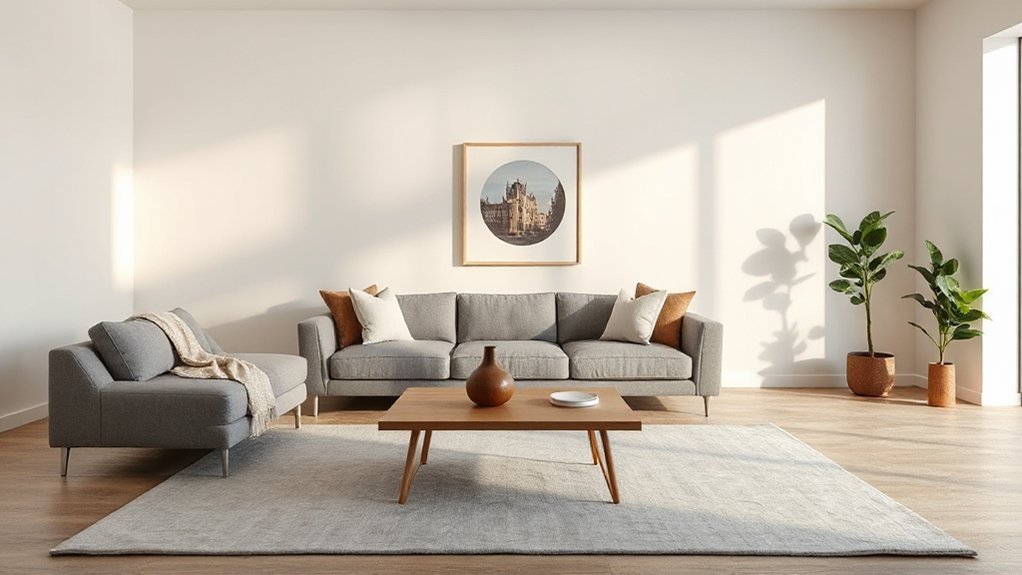
Choose Furniture That Fits Each Space
Size and scale matter. When you choose furniture, start with layout measurements and doorways, then select pieces that fit without crowding.
Prioritize proportion: a sofa that’s too long narrows traffic, a chair that’s too small reads as an afterthought.
Aim for anchored seating groups with clear sightlines to all key areas, not a maze of loose furniture.
Consider clearance: at least 36 inches between seating and walls for comfortable flow, 18 inches between coffee table and sofas.
Use multi-task pieces to maximize space optimization, like storage ottomans or slim consoles.
Pick quality finishes that photograph well, and avoid overly ornate items that visually tax the room.
Choosing furniture intentionally yields cleaner lines, better scale, and a livable, market-ready space.
Create Focal Points That Draw Attention
To grab a viewer’s eye, establish a strong focal point in each room within the first few seconds. You shape an unmistakable anchor—artistic focal points—that guides the eye and sets the scene.
Choose one high-contrast element, like a striking sculpture, bold artwork, or a dramatic console, and place it where sightlines meet primary activities. Build visual hierarchy by anchoring the strongest piece at eye level, then scale surrounding furnishings to support it without competing.
Use lighting to highlight the centerpiece, casting subtle shadows that add depth. Keep peripheral décor complementary, avoiding clutter that dilutes impact.
A clear focal cue accelerates perception, communicates purpose, and frames the room’s narrative, helping viewers imagine living there with confidence.
Optimize Room-by-Room Layouts for Sightlines
Start by mapping sightlines room by room and removing anything that interrupts the flow between entry points and key activities. You’ll prioritize clear sight paths from doors to focal areas, seating, and work zones.
In each room, sketch a dominant viewing axis and place seating to frame it without obstructions. Use furniture placement to create uninterrupted lines of sight, avoiding deep clutter and oversized pieces that trap corners.
Choose scalable, purposeful pieces that reinforce intended use—enter, sit, chat, or work—without visual clutter. Elevate lighting to reinforce sightlines at night, ensuring accents don’t break lines of sight.
Test with real visitors’ routes, repositioning promptly. Track improvements in perceived space and traffic flow; your goal is consistent, confident sightline optimization that guides viewers naturally through the home.
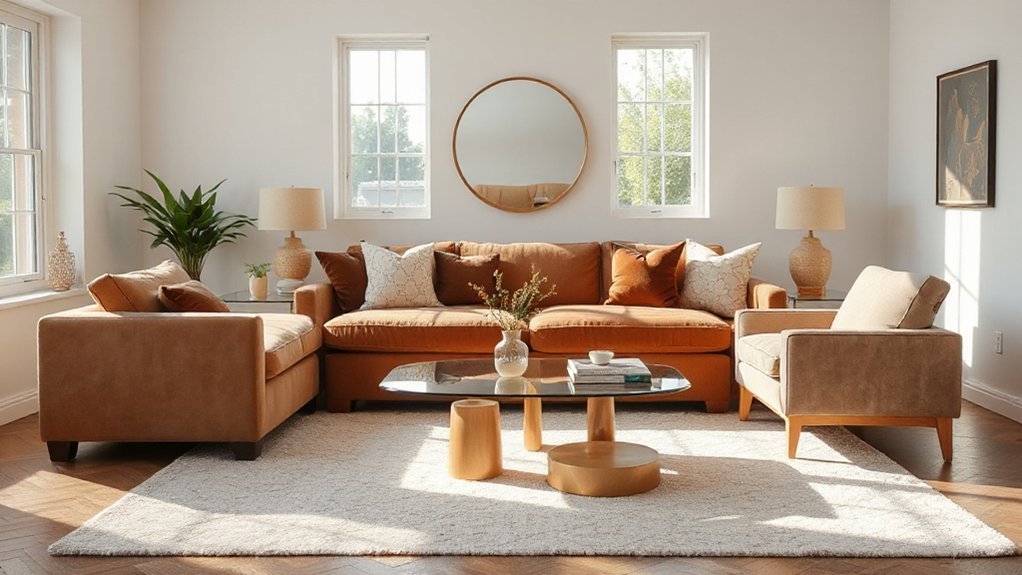
Layer Textures and Textiles for Warmth
Layering textures and textiles adds warm, inviting depth that visual sightlines alone can’t convey. You’ll create tactile interest without clutter by pairing fabrics with the right frame and lighting, guiding viewers to feel the space as well as see it.
1) Layer textures with a wool throw over a linen sofa to soften lines and elevate contrast.
2) Incorporate textiles through layered pillows in varying scales and fabrics for depth without overpowering color.
3) Mix natural materials—jute rug, cotton drapes, wood furniture—to ground the room and improve acoustics.
4) Add a tactile focal with a velvet accent chair or leather ottoman to draw the eye and enhance perceived warmth.
This approach keeps rooms cohesive, purposeful, and instantly engaging for photos and tours.
Declutter and Store Away: What to Remove for Photos
When you prep photos, decluttering isn’t optional—it’s vital for clean, scalable visuals. You’ll create a calm backdrop by removing personal items, excess decor, and visible cords.
Focus on a clear surface rhythm: keep only a single statement piece per room and ensure every item earns its place. Store away memorabilia, kid toys, and gadgets that disrupt flow.
Use discreet storage solutions to hide cables, remotes, and miscellaneous clutter; tuck items into cabinets or baskets to preserve texture without noise.
Prioritize clutter control on countertops, shelves, and mantels, aligning each space with a simple color story. Leave space that reads as breathable and intentional.
This approach accelerates buyer focus and eases staging workflow, delivering consistent, market-ready visuals. Storage solutions matter for repeatable results.
Lighting Strategies to Brighten Spaces and Mood
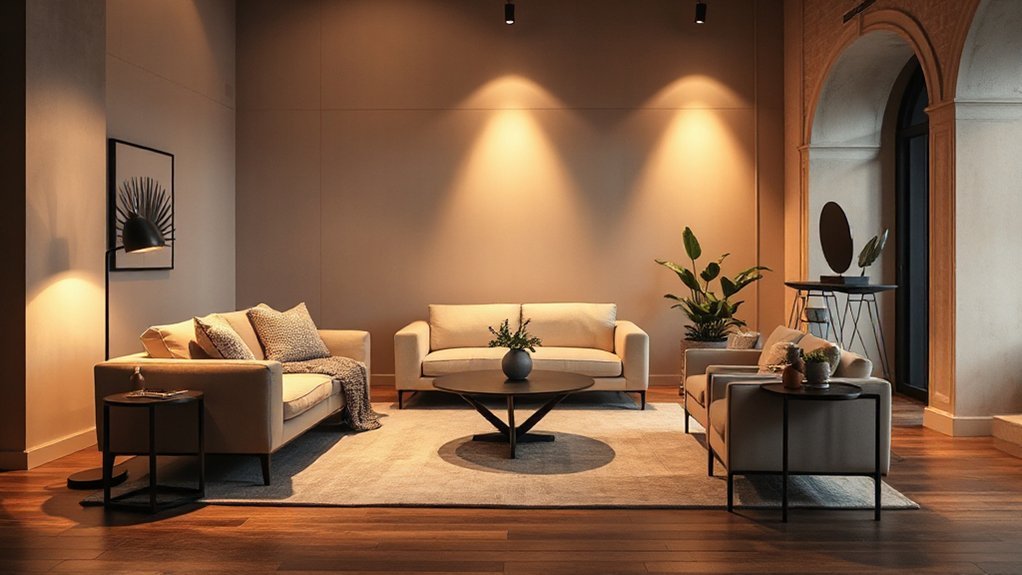
Lighting has to work with the clutter-free backdrop you’ve created, not against it. You’ll optimize mood and perception by layering light to shape rooms, secrets that matter in photos and tours. Use natural light as the base, extending brightness with controlled fixtures.
1) Maximize daylight with sheer drapes and strategic window placement so you maintain glow without glare.
2) Add ambient lighting at eye level to reduce shadows and create inviting warmth.
3) Employ task lighting for focal tasks, ensuring color accuracy and texture pop.
4) Use dimmers and warm temperatures to modulate mood, avoiding cool, clinical tones.
Result: spaces feel brighter, more spacious, and emotionally welcoming, guiding viewers toward your furnishings without distraction. Natural light and ambient lighting anchor the effect.
Accessorize With Emotion, Not Overwhelm
Favor a restrained approach: two or three meaningful items per vignette, not a scattergun of decor. Use subtle accents—soft textiles, a single sculptural object, a framed memory—carefully placed to draw the eye and guide movement.
Prioritize contrast and texture over quantity to maintain clarity. Keep color palettes cohesive with the room’s tones, allowing form and light to do the heavy lifting.
Place items at eye level or slightly below, and leave breathing room around each piece so the space reads intentional, calm, and livable.
Quick Fixes to Boost Online, Photo-Ready Appeal
Boost online, photo-ready appeal by tuning lighting to feel bright but natural, so spaces read clean and inviting. Keep glare down and color accurate to help viewers see true textures.
Then use photo-ready decluttering tricks to create crisp, distraction-free scenes. You’ll see faster engagement when each shot highlights clear focal points with balanced brightness and minimal clutter.
Lighting Brightness Boost
Consider brighter, evenly distributed light as your first edit: switch to higher-wamut lamps or add a few extra sources to erase shadows, then tailor color temps to 2700–3000K for warm, inviting tones that photograph well.
You’ll boost realism by balancing natural light with targeted artificial lighting, ensuring no glare or dark corners distort the scene. Focus on consistency across rooms to keep exposure uniform.
- Add soft, diffused lamps at eye level to flatten shadows.
- Use smart bulbs to maintain constant brightness as you shoot.
- Place backlights behind seating for depth without hotspots.
- Dial in color temperature to 2700–3000K for cohesive warmth.
Photo-Ready Decluttering Tricks
Start by trimming the clutter that undermines photo clarity: clear surfaces, remove excess decor, and stash away visible cords. You’ll create instant depth by grouping nearby objects and leaving generous negative space.
Focus on one focal point per room, then support it with purposeful props. Keep surfaces matte or lightly textured to prevent glare in shoots. Replace busy patterns with solid neutrals and add a single, bold accent item to draw the eye.
Practice a seasonal refreshes approach: swap textiles, art frames, and throw pillows to reflect current vibes without overloading the frame. Integrate minimalist accents—sleek vases, streamlined trays—to convey order.
Before shooting, do a quick walk-through, scene-check for reflections, and capture multiple angles. This method yields clean, high-impact photos that convert viewers.
Frequently Asked Questions
How Long Does Professional Staging Typically Last Before Updates?
A typical professional staging lasts about 1 to 3 months, depending on market activity and seasonality. You should plan for a refresh if the listing stalls or photos look dated.
Track Staging longevity and set an Update frequency—roughly every 4–6 weeks during a hot market, or sooner if the property sits. You’ll refresh accessories, lighting, and depersonalization to keep rooms looking current, appealing, and price-competitive.
Should Staging Differ for Vacant Vs Occupied Homes?
Vacant vs occupied staging must be tailored; you adapt as conditions change. You’ll emphasize clean lines and maximize light in vacant spaces, while heightening warmth and lived-in cues in occupied homes.
This staging adaptability preserves flow, highlights features, and keeps rooms aspirational yet achievable. You’ll deploy versatile furniture, minimal personalization, and targeted decor to drive perception of space, function, and value.
In practice, update textures and contrasts to sell faster, not just look good.
Can DIY Staging Yield Similar Results to Professionals?
Yes, DIY staging can yield solid results, but you’ll hit limits without professional advantages. You’ll avoid DIY pitfalls by planning around flow, focal points, and light, yet you may miss cohesive styling and access to rental inventories.
You’ll gain speed and cost control with DIY, but professional advantages shine in staging consistency, market-tailored props, and photography-ready setups. If you pursue DIY, align every choice to resale impact and test staging angles before listing.
What Is the Ideal Budget Range for Staging a Home?
The ideal budget range for staging a home is flexible, but you’ll typically invest around 1% to 3% of the home’s value.
You’ll start with a cost estimation, then map a practical plan with budget planning in mind.
You’ll prioritize high-impact rooms, borrow or rent when possible, and track every expense.
You’ll keep goals clear: maximize appeal while staying under total limits, delivering an optimized, outcome-driven result.
How Soon Should Photos Be Taken After Staging?
Photos should be taken within 24–72 hours after staging, once you’ve finalized the staging schedule and any last tweaks. This timing preserves freshness, minimizes wear, and catches natural lighting at its best.
You’ll want consistent angles, bright composition, and no clutter, so your photo timing aligns with the staging schedule.
Capture wide shots first, detail shots last, and verify room flow to maximize curb appeal and buyer engagement.
Conclusion
You’ve styled with purpose, guiding buyers through a natural flow and clear sightlines. Your cohesive palette and properly sized furniture create inviting, anchored spaces, while clutter-free surfaces let focal points shine. Lighting is bright enough to feel welcoming, textures layer softly, and accessories land with meaning at eye level. This isn’t just décor—it’s a sales accelerant, turning every room into a confident, photo-ready moment that feels like a warm, high-value invitation to linger. Your home practically shines brighter than a supernova.


