
You’ll want to know that roughly one in three load-bearing walls in older homes aren’t obvious until you start removing drywall. Before you swing a hammer, you must know what’s structural and what isn’t, or you risk compromising the entire building. There are permits, surveys, and inspections to secure, hidden hazards to map, and finishes to preserve. Keep your plan tight and your tools controlled—if you skip steps, you could miss something critical. So, what now?
Key Takeaways
- Determine if the wall is load-bearing and identify hidden structural elements before demolition to avoid compromising the building’s load path.
- Secure permits, surveys, and inspections up front to prevent delays and ensure compliance with local codes and structural safety.
- Detect damp, wiring, and plumbing risks with tests and shutoffs, and plan temporary supports to prevent hazards during removal.
- Use reversible, non-destructive methods for temporary supports and avoid aggressive demolition that could damage hidden timbers or plaster.
- Reassess layout, light, and traffic after removal, and finish with careful restoration to match existing details and moisture control.
Assess Structural Integrity: Is the Wall Load-Bearing?
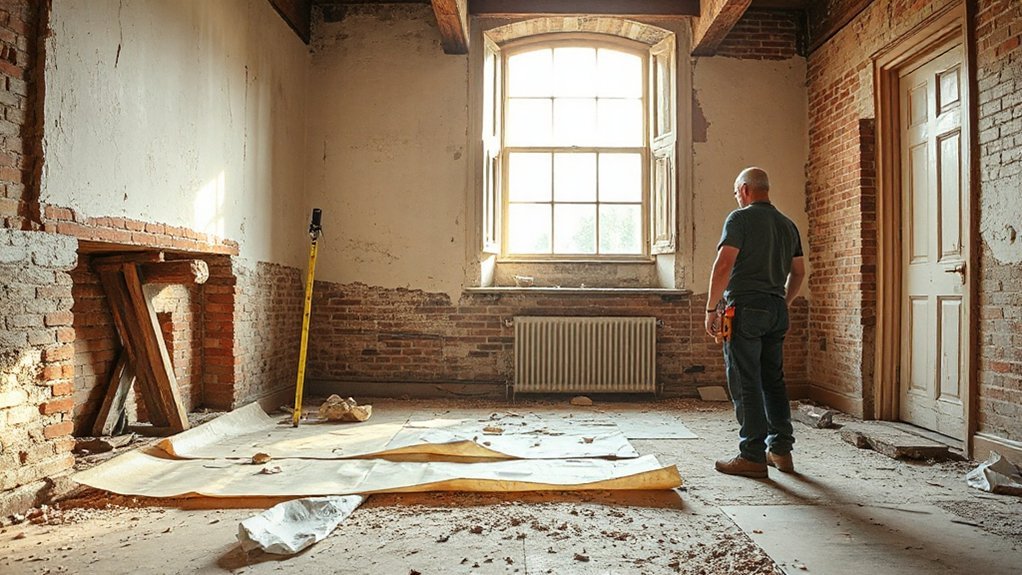
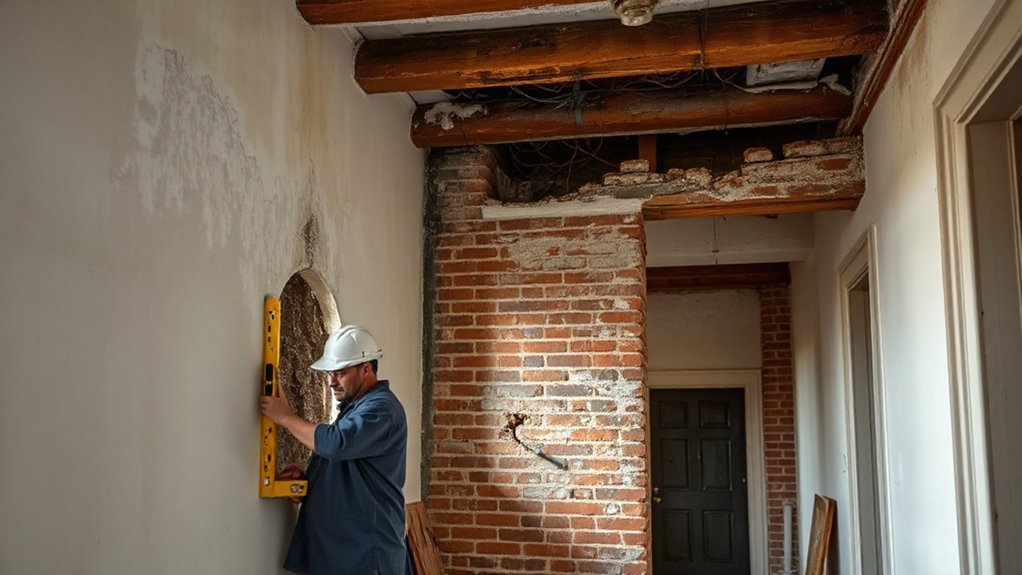
Determining whether a wall is load-bearing is your first and most critical step. In this phase, you perform a focused load assessment to identify how the structure carries weight. Look for indicators like beams, joists, and continued wall lines above or below, plus connections to a roof or upper floor.
Your goal is accurate wall classification, not guesswork. Check materials, stud layout, and any transferred loads at openings, corners, and stairs. If there’s a beam or column alignment above, or if the wall sits under a major structural component, it’s likely load-bearing.
Document findings and consider how removing it would alter the home’s load path. Precision here prevents structural surprises later and guides safe, informed decisions.
Permits, Surveys, and Inspections: Do This First
Start by securing permits before you touch a wall; that sets the project scope and alarms any red flags early.
Get a survey done to confirm what’s behind the surface, then schedule inspections to verify compliance as you go.
If you skip these steps, you risk delays, fines, or surprises that derail your plan.
Permits Before Work
Before you start any wall-removal work, secure the necessary permits, surveys, and inspections. In older properties, this means obtaining building permits before you touch a brick or drywall, so you stay compliant and avoid fines or rework.
Check with your local planning department for project limits, load-bearing considerations, and any required zoning notices. You’ll want a clear plan note that specifies wall removal, electrical rerouting, and plumbing implications.
Engage a structural professional to produce a structural survey that validates supporting elements and load paths. Don’t proceed without approvals or documented assessments.
Keep copies of permits, surveys, and inspection schedules on site, ready for reviewer visits. Clear authorization minimizes risks, delays, and unexpected structural surprises later in the project.
Survey Then Inspect
Once you’ve secured permits, surveys, and inspections, you’re ready to map out a clear sequence: start with a formal survey, then line up the necessary inspections. You methodically confirm load paths, electrical, plumbing, and structural notes before any demolition.
This precise ordering minimizes risk and reveals hidden constraints that affect interior design and aesthetic choices. Treat the survey as your baseline for spacing, beam locations, and fire-rated assemblies, then verify with inspections at critical milestones.
Don’t assume contractor notes suffice; the official records lock in compliance and avoid costly reworks. Document changes, keep a clean log, and align design decisions with measured realities.
A disciplined approach protects both safety and style, ensuring your interior design outcomes stay true to intent without surprises.
Detect Damp, Wiring, and Plumbing Pitfalls Early
Before you start removing walls, check for moisture sources and drying histories to prevent costly surprises.
Map hidden ducts, pipes, and potential water ingress routes so you can plan safe removals without damaging critical systems.
Run quick electrical and gas safety checks now, and flag any concerns before demolition begins.
Moisture Before Demolition
Moisture issues must be spotted before you swing a single tool. Before demolition, you inspect for moisture infiltration, checking walls, floors, and seams where water hides. You document any staining, efflorescence, or mold, and you test surfaces with a moisture meter to quantify risk.
Don’t assume old plumbing is problems-free—look for leaks behind fixtures, under sinks, and along joints. Consider temporary shoring if water tables or groundwater are nearby.
Run a quick wiring check for corrosion or dated insulation near damp zones, and assess crawlspace or basement humidity with a hygrometer.
Plan damp prevention measures, such as drying out spaces, repairing vents, and sealing vulnerable openings, so structural changes don’t trap moisture or compromise safety.
Hidden Ducts And Pipes
Inspect attic and crawl spaces for signs of moisture, stains, or mold that signal hidden conduits, then trace runs to confirm routing.
Use a stud finder with a scanning feature and a moisture meter to verify walls before you breach them.
Label any concealed pipes you encounter, note their diameters, and document shutoff points for water or heat.
Expect changes as you open walls, and adjust your sequence to avoid striking critical services.
Keep records, stay proactive, and proceed with measured, deliberate steps to protect structure and safety.
Hidden ducts, concealed pipes.
Electrical And Gas Safe Checks
Start by verifying electrical and gas safety before any wall is breached. You’ll want a clear plan for how to handle damp, wiring, and plumbing early.
Inspect for moisture intrusion that could hide corroded pipes or failed seals, and note signs like staining, musty smells, or paint peeling near pipes.
Schedule a professional Electrical safety check to confirm circuit layouts, breaker conditions, and grounding, so you don’t overload circuits during removal.
Arrange a Gas inspection to detect leaks, vent blockages, and appliance integrity before dust and debris disrupt compartments.
Mark all service routes, shut-offs, and access points, then coordinate temporary isolation if needed.
Address any faults promptly to prevent fire, gas, or flood risks and keep the project compliant.
Choose Materials and Temporary Supports That Preserve Charm
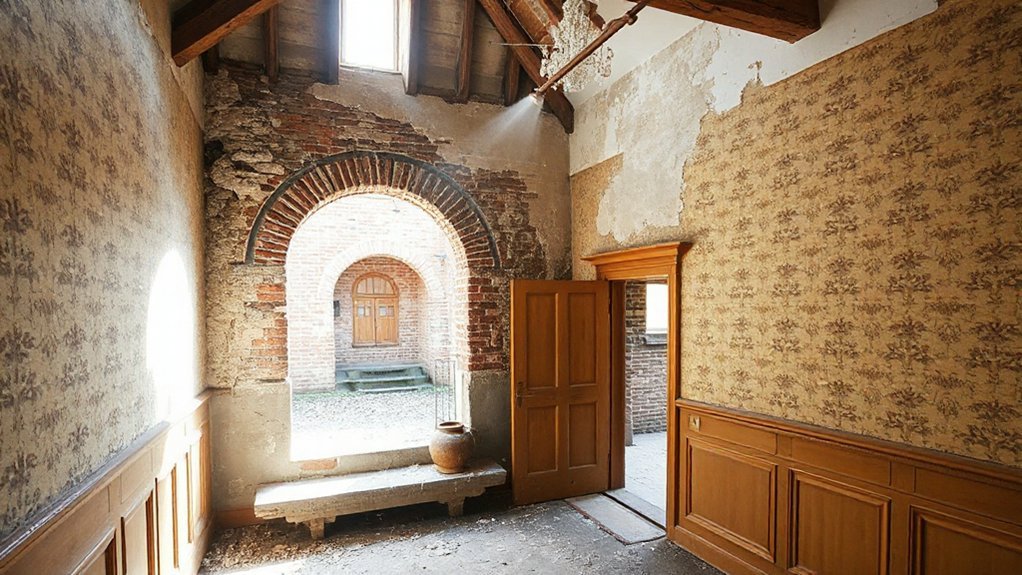
When choosing materials and temporary supports for a wall removal in an older property, prioritize options that preserve the building’s character while ensuring safety. You’ll select materials that respect original textures and finishes—where possible using decorative alternatives that mimic historic details without compromising strength.
Opt for reversible, non-destructive methods for temporary supports, such as adjustable props and lightweight scaffolding that won’t strain delicate plaster or cornices. Avoid aggressive demolition techniques that risk hidden timbers or plaster hollows.
Document every decision with Preservation techniques notes, so future work can reproduce or revert changes.
Use non-invasive fixing methods, like mechanical anchors designed for old masonry, and wrap or shield adjacent surfaces to prevent scratches.
Maintain clear labeling and workflow sequencing to minimize disturbances for occupants.
Plan Layout, Light, and Circulation After Removal
After removing a wall, reassess the flow of space to optimize layout, light, and circulation. You should redraw the floor plan to confirm functional zones—kitchen, living area, dining, and traffic paths—without bottlenecks.
Prioritize natural light by considering window positions, door widths, and furniture placement that don’t block radiance or sightlines. Aim for a clear spatial flow that routes traffic smoothly from entry to key rooms, avoids dead corners, and preserves accessibility.
Use measured sightlines to ensure seats and work zones remain practical, and plan for electrical and data drops that support open layouts. Document offsets, soffits, or column remnants early, so finishes remain cohesive.
Finally, test the plan with a walk-through to verify comfort, balance, and natural light distribution.
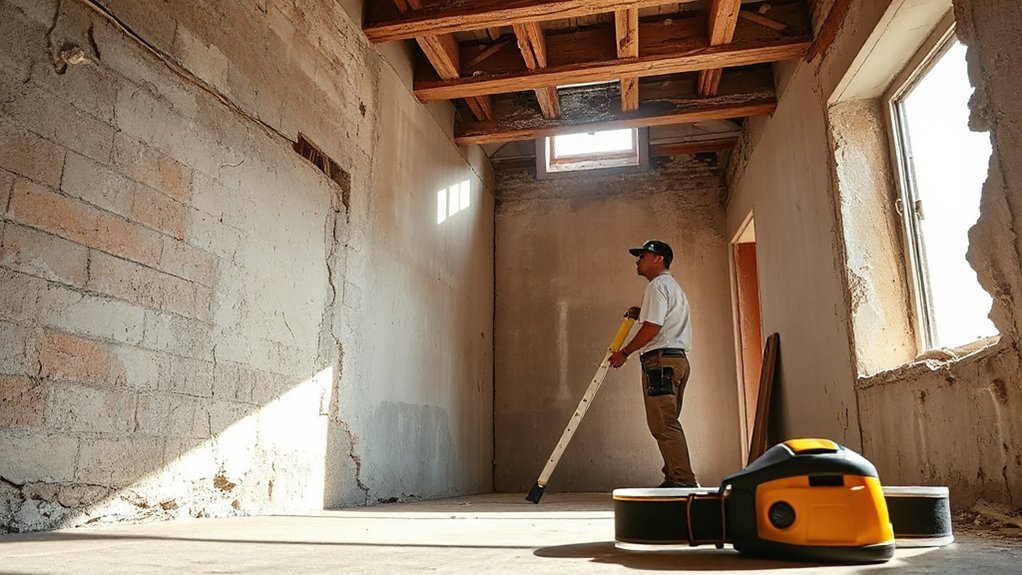
Execution Checklist: Step-by-Step Removal and Finish
Executing the wall removal and finishing steps requires a tight, disciplined sequence: de-energize and isolate utilities, then strip finishes, remove the structural element, and restore systems in the correct order. You’ll follow a clear, task-driven checklist to avoid backtracking.
Begin by securing the space: dust barriers, containment, PPE, and confirm permit compliance.
Next, strip finishes and debond coatings without compromising adjacent materials.
Remove the framing or load-bearing member with precision, supporting loads as needed.
Reconnect and test services in stages, ensuring electrical, plumbing, and HVAC are brought back online safely.
Finish with interior design touches and aesthetic restoration in mind, aligning joints, textures, and color.
Document changes, preserve structural details, and verify overall alignment and moisture control for lasting results.
Frequently Asked Questions
How Long Does Wall Removal Typically Take in an Older Property?
You’ll typically allocate about one to three days for wall removal in an older property, depending on wall type, access, and permits.
You’ll inspect wall reinforcement needs first, ensuring Structural integrity is maintained.
If you encounter hidden beams or asbestos, extend timelines accordingly.
You’ll coordinate with electrical and plumbing disconnections, then frame and finish openings.
You’ll document progress, keep dust under control, and verify load-bearing status before final inspections.
Can Removing a Wall Affect Ceiling Height or Floor Level?
Yes, removing a wall can affect both ceiling height alteration and floor level impact. If you’re removing a load-bearing element, you may need structural support that changes the ceiling line.
Floor shifts can occur with new joist alignments or sagging. You’ll want precise measurements, temporary shoring, and professional guidance to maintain even ceiling heights and level floors across adjoining spaces.
Plan for potential patchwork and gradual adjustments in the surrounding framing.
What Hidden Costs Might Appear During Removal Work?
Hidden costs can appear when you’re removing a wall, including unexpected demolition debris disposal and mineral wool insulation, as well as potential permit fees.
You’ll likely face extra charges for structural assessments, temporary support, and rewiring or rerouting utilities.
Budget for hidden costs, permit fees, access needs, and contractor contingency.
You’ll protect your project by confirming scope, timing, and deliverables in writing, and by securing accurate, itemized estimates up front.
Should I Relocate Built-In Features or Moldings After Removal?
Yes, you should relocate built-in features or moldings after removal to preserve value and flow. Plan around wiring, plumbing, and loads, then secure molding relocation with careful measurements.
Prioritize built-in preservation over quick fixes, matching profiles, finishes, and reveals. Document changes for future renovations, and coordinate with trades to avoid gaps or misaligned joints.
You’ll end up with a coherent, seamless result that respects character while improving usability.
What Are Common Post-Removal Finishing Pitfalls to Avoid?
Boldly consider what you’ll actually finish with: you’ll want to avoid patchy plaster, mismatched textures, and uneven paint edges. After removal, decorative wall finishes should be consistent across surfaces.
Any electrical wiring must be properly boxed, secured, and inspected. You’ll check for hidden gaps, nail pops, and screw heads, then plan seamless progressions.
You’ll document routes and leave clean, code-compliant work. Stay precise, disciplined, and safety-focused throughout the finishing phase.
Conclusion
Envision this: you’re a careful gardener, pruning a venerable old tree. You don’t yank branches; you assess weight, soil, and roots first. You mend the windbreaks, you check for pests, you plan the sun’s path. Removing a wall is the same—steady, deliberate, respectful of history. If you temp-fix or rush, you risk the whole canopy. Take your time, follow the steps, preserve charm while you gain light, safety, and lasting character.


