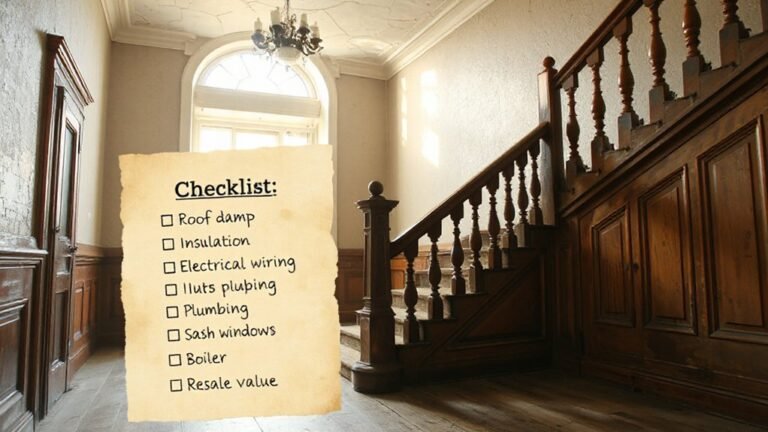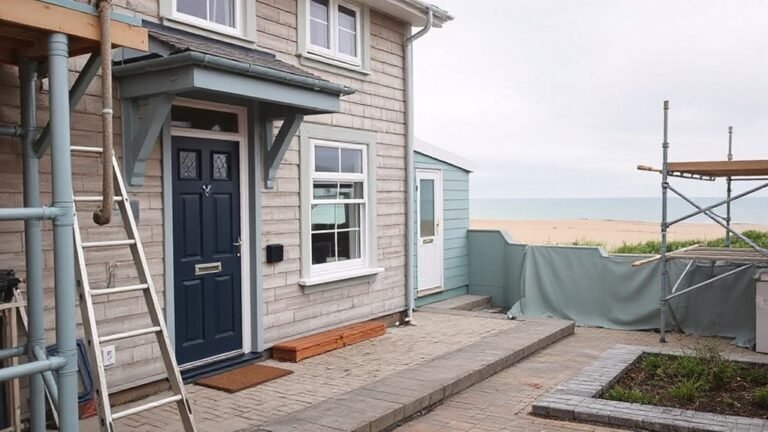
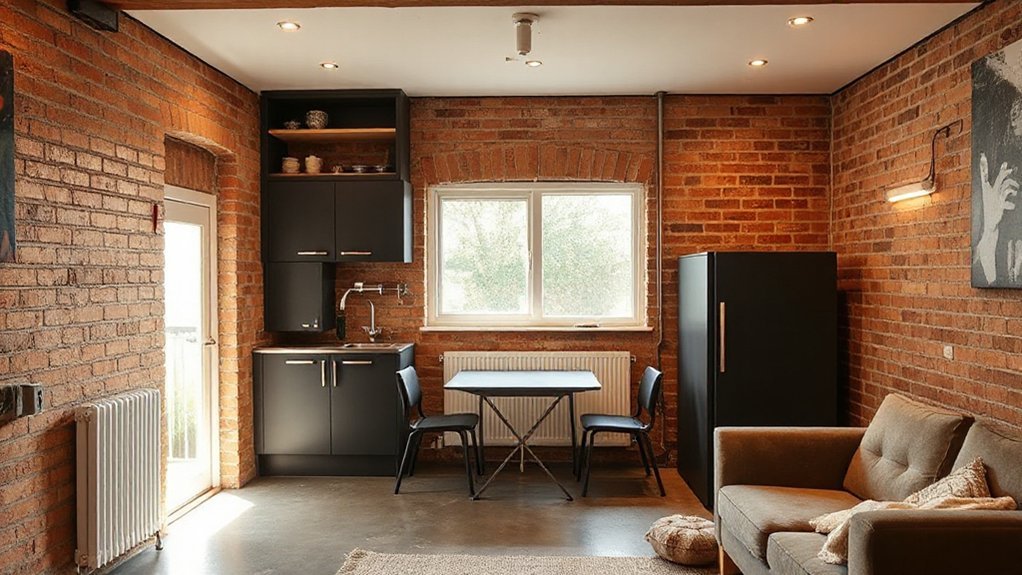
To convert a UK garage into a functional living space, start with a precise plan: seal and insulate the structure, meet building regulations, and design efficient zones that maximize light and energy performance. Weatherproof the shell, install continuous insulation, vapor barriers, and breathable ventilation, then plan services—electric, heating, and plumbing—with safety in mind. Choose moisture‑resistant finishes, low‑maintenance cladding, and secure, efficient doors and windows. With smart controls and future‑proofing, you’ll optimize comfort and long‑term costs—details ahead.
What a UK Garage Can Become as a Living Space

A UK garage can become a versatile, well-insulated living space that maximizes footprint without compromising comfort. You’ll approach the conversion with a methodical mindset, prioritizing structural integrity and thermal performance.
The conceptual layout centers on a compact footprint, optimized circulation, and defined zones for living, working, or resting.
Garage aesthetics matter: clean lines, muted tones, and purposeful detailing enhance perceived space while maintaining durability.
Thoughtful storage solutions keep clutter at bay, integrating wardrobes, loft storage, and built-ins that align with wall geometry.
Insulation, ventilation, and airtight joints create a comfortable microclimate with minimal energy use.
Electrical planning supports lighting, outlets, and charging points without visual intrusion.
Finishes emphasize low maintenance, moisture resistance, and a professional, timeless look that scales with your future needs.
Do I Need Permits? Checking Local Regulations for Garage Conversions
You’ll want to understand the permitting thresholds that trigger review, so you know when formal steps apply.
Next, follow your Local Authority’s application steps to assemble plans, photos, and compliance statements accurately.
Finally, make sure your project meets Building Regulations, confirming both structure and occupancy criteria before you proceed.
Permitting Thresholds Explained
Permitting thresholds for garage conversions hinge on local regulations and the scope of work; understanding them early can prevent costly delays. You’ll assess whether reforms trigger building control, planning consent, or permitted development rights, then map out project phases accordingly.
Start by categorizing changes: structural alterations, electrical and plumbing work, insulation, ventilation, and fire safety. Each category carries different permit requirements, inspection points, and compliance standards, so align your design brief with anticipated approvals.
You’ll also verify nearby restrictions, such as conservation area rules or listed status, which can alter thresholds. Documented energy performance targets and fire compartmentation influence approval timelines.
Plan for practical constraints like drainage and access; missteps here escalate costs. Consider including Garage aesthetics and landscaping ideas in your rationale for unobtrusive integration and future resale appeal.
Local Authority Application Steps
To determine whether you need permits for a garage conversion, start by mapping your planned changes against local authority requirements and common triggers: structural work, electrical and plumbing alterations, changes to insulation or ventilation, and fire safety upgrades.
Next, identify the applicable route: full planning permission, permitted development, or lawful development certificates, noting any discretionary or conditions.
Prepare a concise application package with scaled drawings, elevations, and a method statement detailing construction sequencing, workmanship standards, and ventilation adequacy.
Engage early with the local planning authority through pre-application discussions to clarify expectations and timelines.
Incorporate community engagement by outlining impact mitigation and scheduling to minimize disruption.
Respect historic preservation constraints where relevant, ensuring any changes align with local conservation objectives.
Building Regulations Compliance
Determining whether a garage conversion requires building regulations approval hinges on local standards and the scope of work planned. You’ll need to verify if permits are mandatory before any structural changes, electrical rewiring, or plumbing alterations commence.
Check with your local authority for a formal decision notice, and confirm whether the project falls under permitted development or requires a full submission. Your assessment should cover fire safety, insulation, ventilation, and energy performance, ensuring compliance from the outset.
Review the implications of building codes and any necessary amendments to existing services. Account for zoning restrictions that may affect usage, parking, or integration with adjacent plots.
Maintain a dossier of approvals, variations, and conditions to streamline inspections and avoid delays. With proper checks, your conversion stays compliant and watertight.
Budgeting for a Garage Conversion: Costs, Contingencies, and Hidden Fees
Budgeting for a garage conversion requires more than a sticker price; you must anticipate costs, set aside contingencies, and watch for hidden fees as you plan. You’ll map every phase—from structural changes to finishes—so your Budget planning stays disciplined and traceable.
Begin with a clear cost baseline: building works, electrical, plumbing, and finishes, then add professional fees and permits.
Build a contingency buffer of 10–20% to cover unforeseen site conditions or scope changes.
Identify recurring costs, such as upgraded heating, ventilation, and long-term maintenance.
Track allowances for Garage aesthetics—fixtures, lighting, and surface materials that influence perceived value.
Use itemized milestones to validate cash flow, align supplier quotes, and minimize variation.
This disciplined approach ensures predictable expenditure without compromising quality.
Insulation Essentials: Walls, Roof, and Floor Comfort
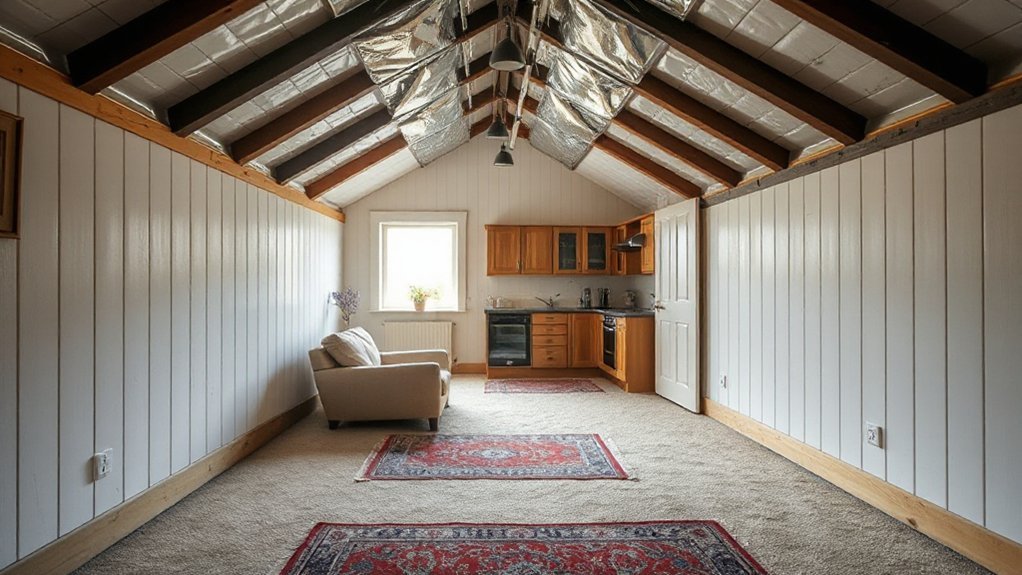
Achieving a comfortable garage conversion starts with a solid insulation strategy for walls, roof, and floor. You’ll specify appropriate insulation materials for each envelope segment, matching thermal resistance to room function and climate.
Walls require continuous insulation, air sealing, and vapor control to prevent thermal bridges and drafts.
For the roof, install high-performance insulation with a breathable yet airtight layer, ensuring attic ventilation systems remain effective without compromising thermal integrity.
Floor comfort hinges on a sealed, well-insulated subfloor, reducing heat loss to the ground and improving sound isolation. Choose materials with low thermal conductivity and compatible moisture characteristics.
Integrate ventilation systems to balance humidity and temperature, while preserving energy efficiency.
Systematize installation details, detailing coverage, thickness, and junction treatments for a durable, comfortable space.
Damp Proofing and Moisture Management in Garages
Install a continuous moisture barrier beneath slabs and extend it into plinths where feasible, ensuring overlaps and mechanical protection. Surface treatments should use breathable, damp-tolerant primers on concrete and masonry to reduce vapor transfer without trapping moisture.
Manage condensation with proper ventilation design: airtight seals around doors, operable vents, and targeted extraction in high-humidity zones. Use dehumidification strategically in seasonal peaks, not as a sole solution.
For practicality, plan Garage storage zones away from damp walls, and keep finishes moisture-resistant. Regularly inspect seals, damp patches, and drainage, repairing promptly to preserve long-term integrity.
Structural Readiness: Roof, Foundations, and Windows
Is your garage structurally prepared to support a livable conversion? You assess roof integrity, foundation stability, and window condition with a practical, engineering mindset. Inspect ridge lines, soffits, and rafters for cracks, rot, or corrosion, and verify bearing blocks and damp-proof membranes are intact.
Foundation checks focus on cracking patterns, settlement indicators, and drainage slope away from the structure. Windows must be weather-tight, correctly flashed, and sized to meet egress and natural light needs.
Plan for load-bearing adjustments if you’re adding living space, ensuring joists, supports, and wall frames align with design loads. Prioritize steady framing, then finish with neat, accessible service routes.
Throughout, maintain garage organization and implement storage solutions to keep tools clear of critical elements.
Electrical Safety: Wiring, Panels, and Safe Layouts
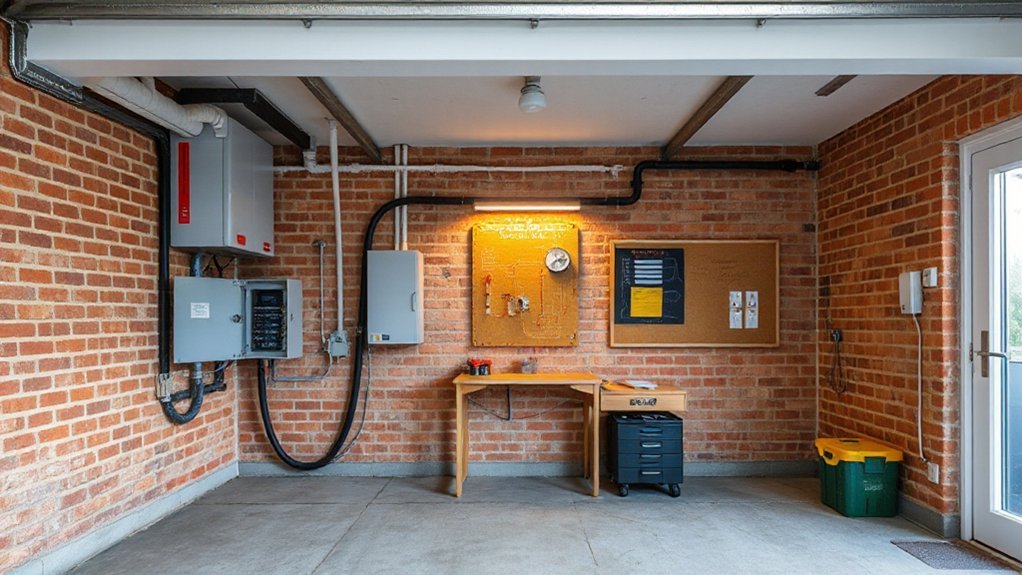
Electrical safety is nonnegotiable when converting a garage into living space: you’ll map wiring routes, verify panel capacity, and design layouts that minimize hazards while maximizing accessibility. You’ll balance electrical wiring efficiency with future flexibility, matching circuit loads to intended use, and labeling each run clearly.
Inspect safety panels for accessibility, upgrade as needed, and confirm protective devices are correctly rated. Maintain separate circuits for heating, lighting, and outlets, and implement GFCI where required.
Keep clearances, conduit paths, and junction boxes tight to code, avoiding clutter that impedes access. Commission a professional inspection before occupancy to validate workmanship and compliance.
- Clear routing and labeling of circuits
- Proper panel sizing and protection
- Accessible, uncluttered layouts that prioritize safety
Heating, Ventilation, and Thermal Comfort
Specify a compact, responsive heat source tailored to the garage’s dimensions, load, and fabric, avoiding oversizing that causes short cycling.
Integrate controlled ventilation systems with heat recovery to balance fresh air and humidity while minimizing energy loss.
Employ continuous monitoring of temperature, humidity, and CO2 to adjust fan speeds and airflow intelligently.
Prioritize zoning in areas like workspaces and living zones to prevent drafts and overheating.
Document airtightness targets, vent locations, and filtration levels for long-term comfort, compliance, and operational efficiency.
Soundproofing for a Quiet Living Space
Soundproofing a garage-turned-living space starts with a precise isolation strategy that minimizes flanking paths and maximizes mass, ensuring quiet from external and internal sources. You’ll implement continuous barriers, seal all gaps, and choose dense materials to curb sound transmission.
Use decoupling where walls meet floors and ceilings to reduce resonance, and apply acoustic-rated drywall for improved inertia.
Target specific frequencies with tuned insulation and resilient channels, balancing stiffness and damping.
Integrate door sweeps and window seals, and consider secondary glazing for reflective rooms.
Record and test sound levels after each phase to verify gains.
Maintain practical ventilation without compromising acoustics by selecting low-velocity systems and acoustical duct lining.
Prioritize long-term performance with durable, airtight detailing that supports quiet living tips.
- Prioritise continuous barriers and gap sealing
- Use decoupled, dense assembly with damping
- Validate acoustics with iterative testing and seals
Daylight and Lighting: Layouts That Work
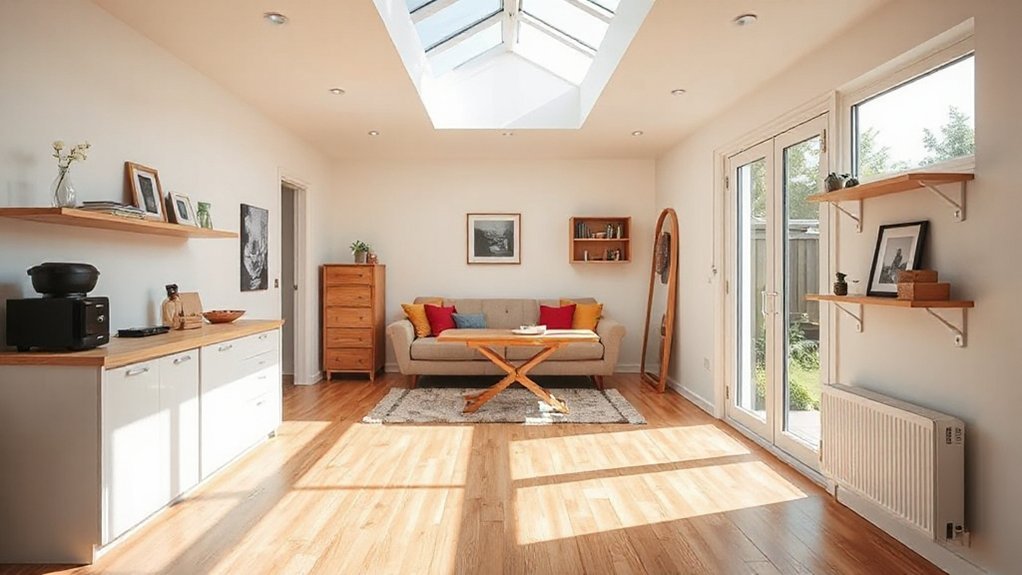
Leverage natural light by mapping window orientation and glazing to maximize daylight absorption throughout the day.
Consider ceiling height strategies to optimize sunlight penetration and create a sense of airiness in different zones.
Plan lighting layouts that complement daylight, using layered layers (ambient, task, accent) to maintain clarity and visual balance.
Natural Light Planning
- Align window positions with primary living zones to optimize solar gain while preserving privacy and reducing heat load.
- Use layered lighting (ambient, task, accent) and high-CRI fixtures to maintain color accuracy without flicker or glare.
- Consider garden landscaping and outdoor furniture placements to extend daylight feel without compromising indoors, and to create coherent sightlines.
Careful aperture detailing, shade strategies, and reflectance studies yield consistent daylight levels across seasons. You’ll achieve a bright, comfortable environment that supports flexible uses, with minimal reliance on artificial illumination during daytime.
Ceiling Height Strategies
Ceiling height shapes daylight distribution and lighting performance as soon as you step inside. You optimize volume by aligning ceiling lines with intended zones, preserving clear sightlines and reducing clutter shadows.
In a loft conversion, aim for varied heights that still read as cohesive, using higher primary spaces for daylight collection and lower pockets for intimate tasks. Consider skylight placement and roof slope to maximize top-down light without glare, pairing them with wall-wash fixtures for even illumination.
Materials matter: reflective finishes, light-colored ceilings, and minimal soffit intrusion keep perception of space open. Structural constraints may dictate beam positions; design around them to maintain open-plan flexibility.
Always evaluate code limits for headroom, fire safety, and egress when planning ceiling height in a garage-to-living-space loft conversion.
Space Planning: Zoning for Living, Storage, and Utility
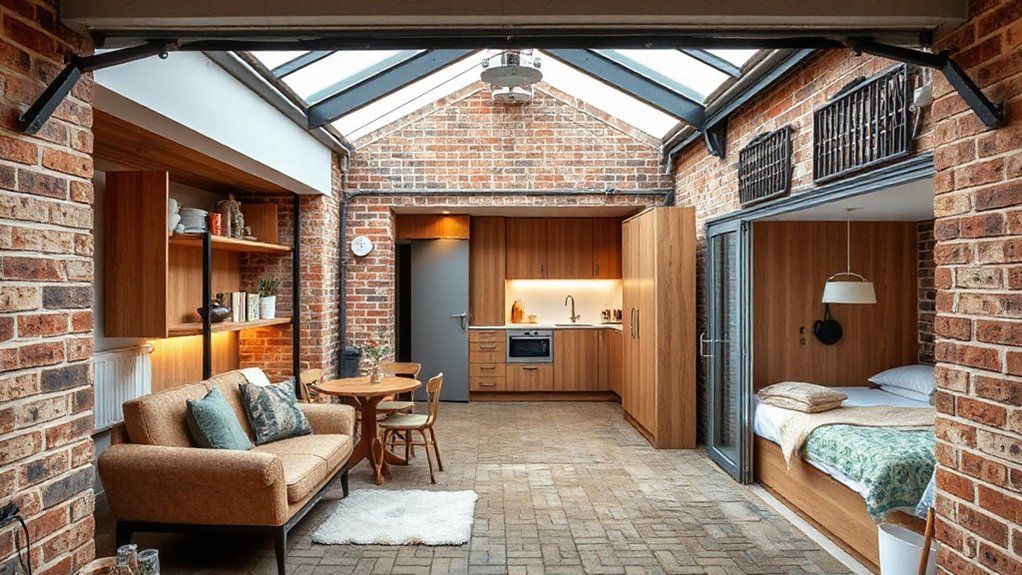
Effective space planning divides the garage into clear zones for living, storage, and utilities, ensuring each area supports daily use without interference. You map zones by function, then assign access paths, material shifts, and finish grades that minimize cross-over.
Living zones prioritize daylight, seating, and acoustic control. Storage zones use tall cabinetry and shallow bins to keep floors clear. Utility zones contain mechanicals, electrical, and service access with safe clearances.
Use modular furniture and hidden alcoves to maintain flexibility. Consider sight lines and ventilation to sustain comfort and efficiency. Integrate garage aesthetics with landscaping integration, so indoor-outdoor rhythm remains coherent. Plan electricals, lighting, and data points per zone to optimize safety and performance.
- Define distinct boundaries with durable, compound materials
- Align furniture and built-ins to avoid clutter and maximize flow
- Coordinate exterior landscaping cues with interior finishes
Water and Plumbing: Kitchen and Bath Considerations
When converting a garage into a functional living space, you’ll need a precise strategy for water supply, drainage, and fixture placement that aligns with the new kitchen and bath layouts.
Begin with a compact run plan for hot and cold lines, ensuring mains independence and a cold-water inlet valve accessible from the future utility zone. Position the sink, dishwasher, and washing appliance to minimize pipe length and heat loss, and install a dedicated waste trap with appropriate venting.
Consider water pressure, backflow protection, and airtight insulation of pipes to prevent freezing.
For bathrooms, allocate space for a compact shower, toilet, and basin with a shared vanity.
Integrate garden landscaping and interior color schemes to help the plumbing-safe zones blend with the overall design.
Finishing Touches: Internal Decor, Surfaces, and Materials
Begin by selecting durable, moisture-resistant materials that align with your living space’s function and climate. Then specify finishes that balance aesthetics with practicality. You’ll harmonize surfaces and textures for longevity, choosing low-maintenance boards, tiled backsplashes, and sealed concrete or epoxy floors where appropriate.
Color palettes should reflect light and scale, with matte or satin sheens to minimize wear visibility. Apply water-resistant paints or finishes in wet zones, and consider seamless progressions between zones to reduce clutter.
Artistic accents punctuate the design without sacrificing cohesion, while careful furniture placement optimizes flow and function.
- Artistic accents that elevate cohesion without overwhelming the space
- Functional surfaces that resist moisture and wear
- Thoughtful furniture placement to maximize light and layout efficiency
External Finishes and Access: Doors, Windows, and Cladding
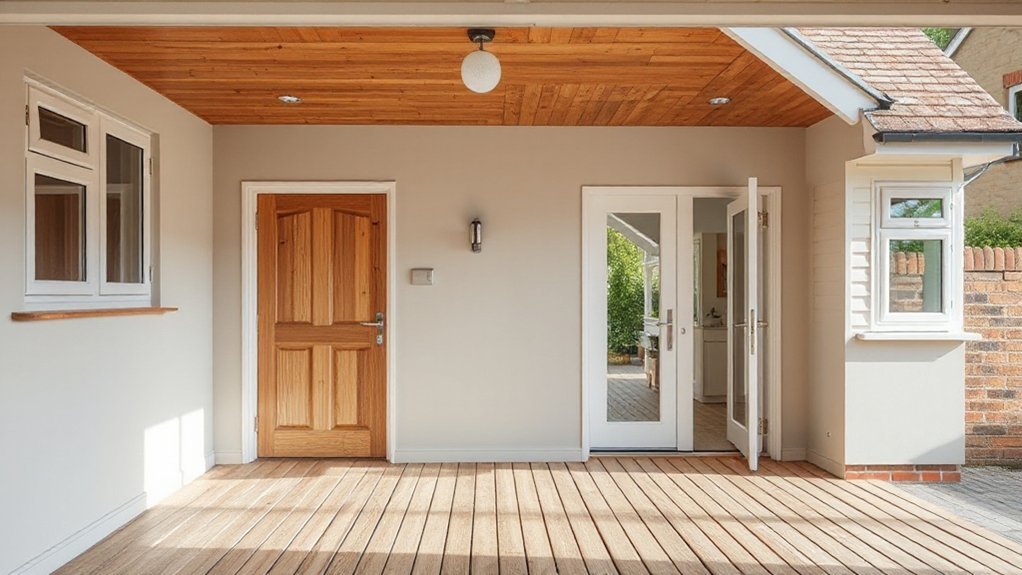
You’ll assess external doors for security and weatherproofing, balancing robust hardware with ease of access.
Consider window types for natural light, ventilation, and energy efficiency, selecting frames and glazing that minimize thermal loss.
Finally, choose cladding that protects the shell while enhancing aesthetics, ensuring compatibility with doors, windows, and overall form.
External Doors and Security
External doors are your first line of defense and first impression, so choose sturdy, weather-sealed frames and secure locking systems that suit a compact UK garage conversion. You’ll prioritize multipoint locks, laminated glass, and PAS 24/2016 compliant hardware to resist leverage and weather ingress.
Pair doors with metal or solid-core panels and tight gaskets to minimize drafts. Integrate external security features such as anti-tawl/snib bolts, reinforced hinges, and automatic shutdown from smart devices.
Consider practical access control with a keypad or smart lock that logs entries. Make certain door thresholds minimize trip risk while accommodating floor finishes and HVAC runs.
Align with Garage lighting needs and overall External security to maintain a cohesive, safe lifestyle space.
- Robust hardware and compliant standards
- Integrated smart access with audit trail
- Low-profile thresholds and weather sealing
Window Types and Light
Windows light, glare control, and ventilation shape how a converted garage feels and performs. You’ll choose window types based on thermal performance, daylight access, and security.
Start with high-performance double or triple-glazed units to minimize heat loss and guarantee acoustic separation from external noises. Consider fixed and operable designs to balance ventilation with security; top-hung or side-hinged casements can provide controlled airflow without broad openings.
Orient windows to maximize natural light while reducing glare through low-e coatings and solar shading. For accessibility, plan one or two large panels or a French window that integrates with interior layouts.
Account for window installation details early: frame material, flashing, lintels, and damp-proofing. Include artificial lighting strategies to complement daylight, and ensure maintenance access for fittings.
Cladding Materials and Aesthetics
Cladding choices define curb appeal and long‑term performance, so select materials that balance aesthetics with durability, maintenance, and energy needs. You’ll evaluate weather resistance, thermal performance, and ease of repair, then align with the project’s budget and ventilation strategy.
Consider how cladding options interact with doors and windows, ensuring moisture control and detailing that prevent leaks. Aesthetic choices should harmonize with the structure’s scale, roofline, and surrounding environment while remaining compliant with planning and building regulations.
Choose materials that age gracefully, offer consistent finishes, and minimize ongoing upkeep. Prioritize system compatibility, fixings, and drainage to avoid water ingress and staining. Balance form with function, delivering a cohesive, low‑effort exterior that enhances living space.
- Material longevity and maintenance implications
- Compatibility with windows, doors, and drainage
- Seasonal appearance and aging characteristics
Green Upgrades: Energy Efficiency Hacks and Long-Term Savings
Upgrading a UK garage to a functional living space hinges on practical, long-term efficiency gains that cut energy use and operating costs. You’ll evaluate envelope performance, targeting airtightness, thermal bridging, and sensible heating loads. Implement a continuous insulation strategy and high-performance glazing to minimize heat loss while preserving daylight.
For energy generation, consider renewable energy options that suit scale and usage patterns, such as solar PV or heat pump-ready infrastructure. Ensuring electrical design accommodates future upgrades is also important.
Choose sustainable fixtures with low standby consumption, efficient LED lighting, and water-efficient fittings to reduce ongoing demand. Monitor consumption with a smart control system that prioritizes peak-shaving and demand response.
Prioritize reliability, serviceability, and compliance to avoid retrofits, keeping long-term maintenance minimal and costs predictable.
Step-by-Step Timeline: Start to Finished Garage Living Space
You’ll map the timeline from permit timing to the final inspection, aligning each phase with concrete milestones.
From pouring the concrete to hanging drywall, you’ll track critical dependencies and testing checkpoints to keep the project on schedule.
As you approach handover, you’ll use a final inspections checklist to confirm compliance and readiness.
Nailing Permit Timelines
Securing permits sets the project cadence, so you’ll want a clear, linear timeline from the moment you submit plans to the moment you receive final approval. You’ll track approvals, surveys, and inspections with disciplined rigor, minimizing delays and budget drift. Align your design intent with building code requirements to prevent rework and keep the project moving.
- Schedule pre-application meetings to identify compliance gaps early, preserving Garage aesthetics while safeguarding property value.
- Create a documented approval log, marking submission dates, reviewer notes, and anticipated inspection windows.
- Build a contingency buffer into the timeline for unexpected holds, ensuring steady progress toward practical use and habitability.
Concrete to Drywall
From the moment permits are secured and the framing is sound, you’ll move from bare concrete to a finished garage living space with measured, sequential steps.
Begin with moisture control: install a vapor barrier and track-free framing to prevent thermal bridging. Mount backer board over studs at exterior walls, then apply adhesive and sheets of drywall, ensuring joints stay flush with ceilings.
Seal all seams with setting-type compound, embed fiberglass mesh, and sand to a uniform finish. Prime surfaces, then apply two coats of low-VOC paint for a smooth, durable palate.
Install electrical outlets and lighting fixtures, followed by baseboards and corner bead trim for crisp edges.
Consider garage organization layout during drywall phase to optimize flow, while planning outdoor landscaping access to maintain exterior aesthetics.
Final Inspections Checklist
Now that the framing, insulation, drywall, electrical, and finishing touches are in place, proceed with the final inspections to validate code compliance and overall safety. Your checklist targets structural integrity, fire and moisture barriers, and electrical grounding, plus HVAC performance and energy efficiency.
Verify windows, doors, and egress meet minimums, and confirm insulation R-values align with local guidance. Inspect lighting, outlets, GFCIs, and switch gear for proper operation, labeling, and circuit mapping.
Guarantee smoke alarms, carbon monoxide detectors, and fire-rated assemblies function correctly, and that ventilation meets post-construction requirements.
Prioritize Garage storage ergonomics and DIY tips to avoid clutter-related hazards.
Document contractor stamps, permit closures, and corrective actions, then finalize with a professional sign-off for a compliant, safe, and functional space.
Frequently Asked Questions
Can a Garage Legally Be Used as a Living Space Year-Round?
Yes, you can, but you must meet legal standards year-round. Guarantee Garage insulation meets requirements and ventilation requirements are fulfilled; otherwise, you’ll face safety risks, enforcement actions, or failed inspections. Plan, install, and verify with local authorities.
Do I Need a Party Wall or Neighbor Consent?
Yes, you typically need a Party wall agreement and Neighbor consent for relevant works. You should assess party wall rights, notify affected neighbors, and document any structural or boundary impacts to avoid disputes or delays.
What Is the Fastest Viable Conversion Strategy?
Lightning-fast pace, you fit a plan: maximize space now with a sturdy shell and rapid finishes. Prioritize garage insulation and flooring options, then implement modular partitions—fast, compliant, stylish, and practical for a liveable conversion.
Are There Grants or Tax Relief for Garage Conversions?
Yes, you may qualify for grants or relief; check local authority schemes and EPC targets. Make sure Garage insulation and Plumbing requirements meet standards, as grants often hinge on energy efficiency, building regs, and proper insulation and venting.
How Long Does a Typical Conversion Take From Start to Finish?
Time to verify: a typical garage conversion takes 8–12 weeks, depending on scope. You’ll plan, insulate thoroughly, and navigate parking restrictions. Expect precise coordination; garage insulation and compliance checks shape the schedule and overall timeline.
Conclusion
Transforming a UK garage into a livable space hinges on planning, compliance, and tight construction detail. You’ll optimize insulation, damp-proofing, and thermal efficiency, then finish with durable surfaces and smart storage. Controls on ventilation, moisture, and energy use stay central as you integrate doors, windows, and cladding. With a clear timeline and budget buffers, you’ll avoid glitches and overspend. Think of it as threading a needle: precision threads a flexible, efficient new room into your home’s fabric.
About the Author