
To estimate a primary bathroom expansion, build a tight framework linking materials, labor, permits, and a contingency. Create a detailed materials cost breakdown with unit prices, map labor time by phase, and attach supplier quotes to prevent substitution bias. Track expenses in real time with thresholds that trigger budget alerts. Include permit timelines, code compliance, and delivery delays, and use an 10–20% contingency. Compare quotes with a clear cost‑calculator checklist, and you’ll spot value and risk early—more tips await.
How Much Should You Budget for a Primary Bath Expansion?
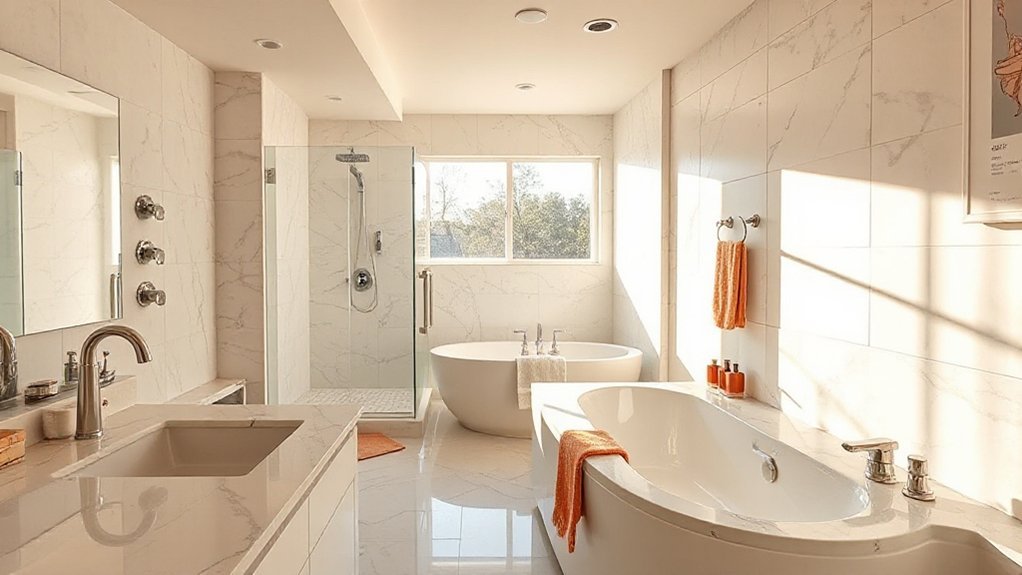
A primary bath expansion typically costs between $15,000 and $60,000, but your actual price depends on scale, materials, and labor. You’ll budget by aligning vision with feasibility, starting with design inspiration that matches your space and daily routines.
Expect major drivers to be layout changes, plumbing relocations, permits, and finish quality, all affecting total cost. You should set a realistic contingency, typically 10 to 20 percent, to cover unforeseen challenges.
Contractor selection matters: evaluate credentials, past projects, and transparency on change orders. Define your must-haves versus nice-to-haves, then translate them into a phased plan that preserves plumbing access and structural integrity.
Prioritize durable, low-maintenance finishes to reduce long-term costs while maintaining your preferred aesthetic.
Estimate Materials and Labor for Your Bathroom Budget
Start by listing a clear Materials Cost Breakdown for your bathroom expansion, categorizing items like fixtures, tile, vanity, and plumbing supplies with unit prices.
Then couple that with Labor Time Estimates to map out how long each trade will take, from demolition to finishing touches.
This pairing gives you a concrete budget framework you can adjust as you refine scope and bids.
Materials Cost Breakdown
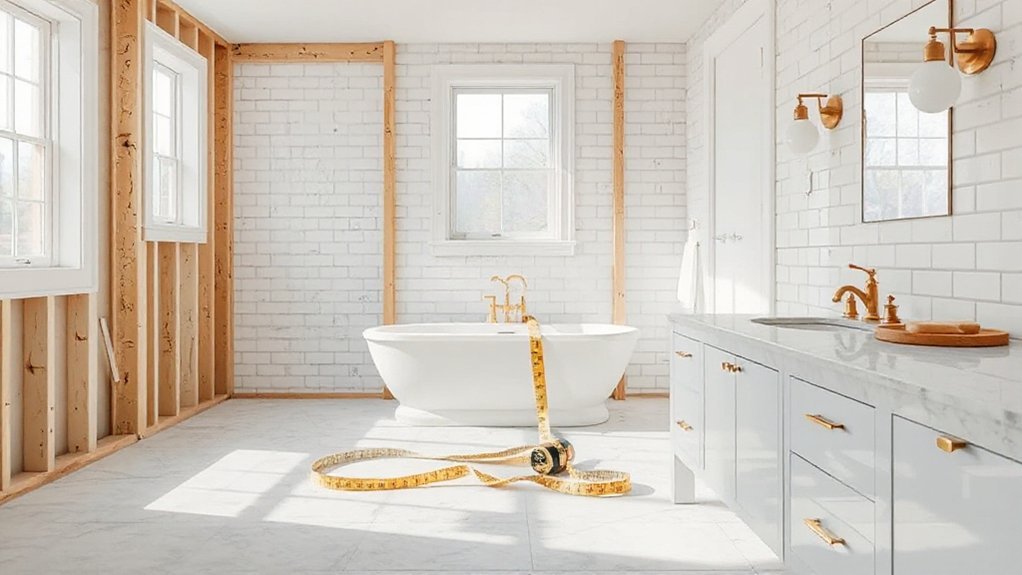
Estimating materials and labor for your bathroom project starts with a clear bill of quantities and a realistic set of unit costs, then builds from there to a total budget. You’ll map each item’s quantity and price, then add contingencies for waste and changes in scope.
Focus on durable, design-forward choices that balance cost with longevity. Design trends influence your selections, but material durability should drive critical decisions, especially for moisture-exposed areas.
This breakdown helps prevent surprises at purchase, delivery, and installation stages. Be precise about waste factors, included fasteners, and finish protections to avoid overages.
- Prioritize durable, water-resistant materials in bathrooms
- Allocate contingency for price fluctuation and waste
- Link design trends to practical performance
- Specify exact material grades and finishes
- Document unit costs for transparent budgeting
Labor Time Estimates
To translate your material plan into a reliable budget, focus on labor time early and commit to a realistic schedule. You’ll estimate each task’s duration from framing to finish, then add buffer for trades, inspections, and setbacks.
Break the project into clear phases: demolition, rough-in, fixture installs, tile and finishes, and cleanup. Use historical data or vendor guidance to set realistic unit counts and daily outputs, then map totals to a calendar with start-to-finish dependencies.
Track variability by trade—carpentry, plumbing, electrical, and tiling differ in pace. Plan for design trends and eco-friendly options, but avoid over-optimism; include contingency for unanticipated delays.
Document assumptions, revise regularly, and align labor time with your budget to prevent overruns and maintain momentum.
Permits, Codes, and Timelines: Costs to Expect
Getting permits and meeting code requirements can set the pace and cost of your project, so you’ll want to understand the typical timelines and what drives delays.
We’ll cover permitting timelines, code compliance costs, and the steps you’ll follow from application to approval.
Being prepared with documentation and a realistic schedule helps you avoid surprises and keep your bathroom expansion on track.
Permitting Timelines Impact
Permitting timelines can quietly become the bottleneck in a primary bathroom expansion, so you’ll want to understand how permits, codes, and review cycles shape costs up front. You’ll face permit delays and zoning restrictions that push schedules and add fees, even before construction begins.
Timelines vary by jurisdiction, project scope, and inspector workload, so planning buffers is essential. Track submission milestones, estimated review windows, and potential rechecks to minimize surprises and budget creep.
- Permit delays can extend construction windows beyond initial estimates
- Zoning restrictions may limit layout or setback options
- Plan review cycles influence approval timing and contingencies
- Fees hinge on project value, complexity, and permit type
- Scheduling inspectors early reduces wait times and delays
Prepare for variability; every jurisdiction treats timelines differently.
Code Compliance Costs
Interior lighting requirements demand approved ballast or LED retrofits, influencing electrical permits and inspection timelines.
Plumbing fixtures trigger plumbing code checks, trap heights, venting, and water-supply calculations, which can affect fixture substitutions or relocations.
Timelines hinge on authority having jurisdiction processing times and the schedule of required inspections; delays may occur if plans lack detail or new code updates arise mid-project.
Factor in coordination costs for plan revisions, third-party review if needed, and inspection windows to avoid paused work.
Clear documentation minimizes back-and-forth and keeps your budget aligned with compliance realities.
Permit Processing Steps
Start by mapping the exact permits your primary bathroom expansion requires, then set a realistic timeline for each step. You’ll navigate permit processing, code reviews, and inspection milestones with a clear plan to limit delays.
Expect upfront review by your local building department, plan checks for plumbing, electrical, and structural changes, and timely resubmissions if corrections arise.
Build in review buffers for design aesthetics and material durability, ensuring specs meet code without overengineering.
Timelines depend on jurisdiction but typically span 2–6 weeks per review stage, with inspections scheduled after work progresses.
- Secure the building permit and relevant trade approvals first
- Schedule plan checks for plumbing, electrical, and structural changes
- Account for re-submission cycles and corrections
- Plan inspections at key milestones
- Align approvals with project milestones to avoid delays
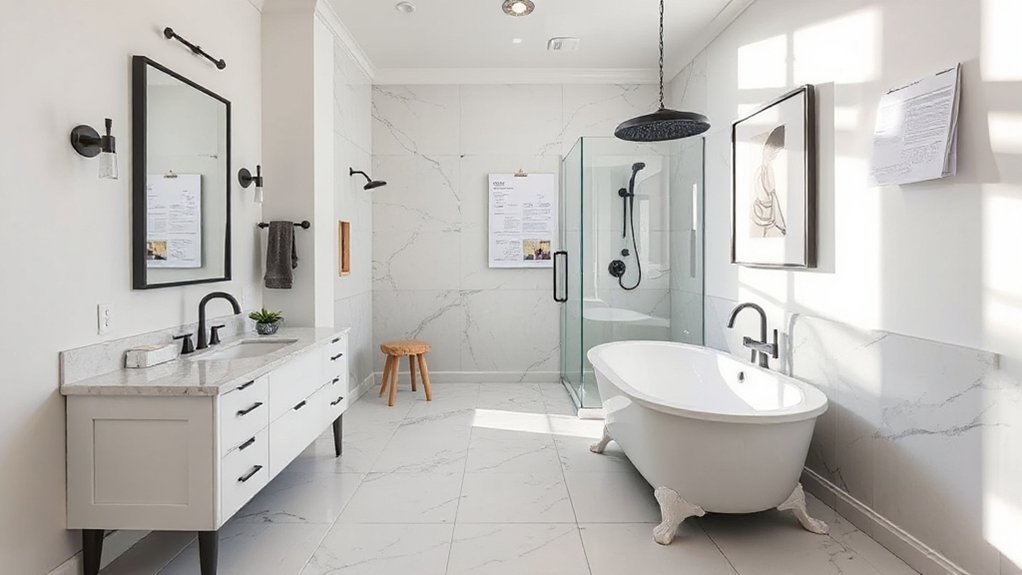
Fixture and Finish Decisions: The 80/20 Rule for Your Bath
Fixture and finish decisions drive value and mood in a primary bathroom, so start by identifying the 80/20 core choices that deliver the most impact: durable, water-efficient fixtures and finishes with timeless appeal.
You’ll optimize for long-term reliability and minimal maintenance, selecting fixtures that balance form and function. Focus on fixture selection that reduces future replacements, and finish choices that resist wear while coordinating with your overall design.
Prioritize a small set of high-impact items—bath, shower, sink, and toilet—paired with a cohesive finish palette. Choose finishes with consistent sheen and minimal staining risk, and guarantee compatibility with water pressure and flow requirements.
This disciplined approach yields a refined, timeless space without overcommitting on trends.
Hidden Costs and Contingency Planning for a Primary Bath
Hidden costs can surprise even well-planned bathroom upgrades, so it’s smart to price them upfront and build in a cushion. You should forecast hidden fees and set aside a contingency fund to cover surprises like plumbing delays, permit fees, and material shortages.
Contingency planning isn’t optional; it protects schedule, cash flow, and quality. By identifying high-risk items early, you keep decisions intentional and costs controlled.
- Budget a contingency percentage for each trades estimate
- Schedule buffer time to accommodate permitting and inspections
- Include delivery delays in lead-time planning
- Track price volatility for staples and fixtures
- Align change orders with a clear approval process
Compare Quotes With a Cost-Calculator Checklist
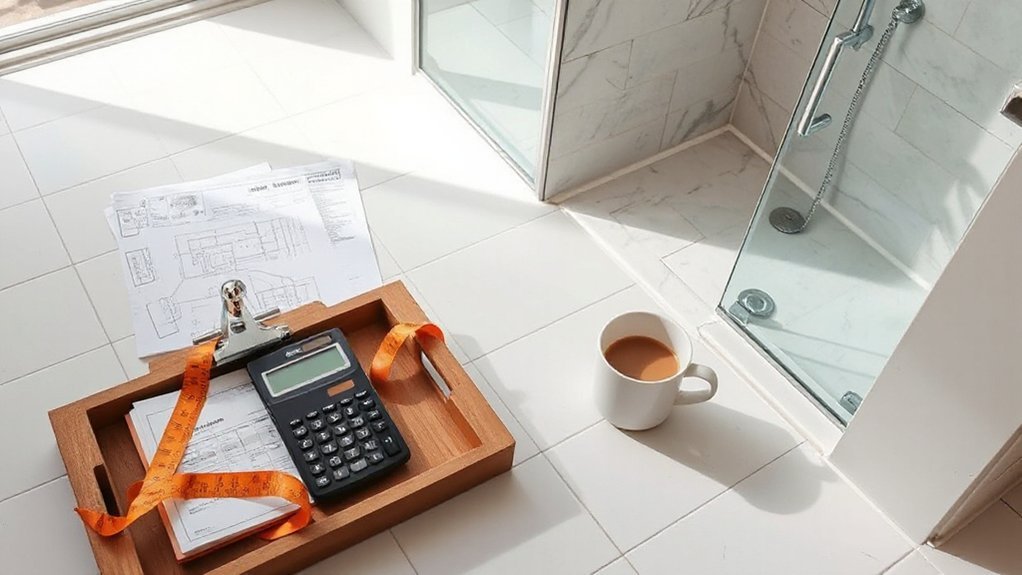
To compare quotes effectively, use a cost-calculator checklist to standardize what you’re measuring and guarantee apples-to-apples bids.
Begin with project scope: define fixtures, finishes, permits, and any structural changes. List design trends you want, and note how they affect price, schedule, and other factors.
Include contractor selection criteria: licensing, insurance, past work, and communication style. Require itemized line items for labor, materials, subcontracts, and contingency. Set unit costs where possible and attach supplier quotes to prevent substitution bias.
Verify timelines, warranty terms, and payment schedules. Assess value, not just low bid: consider durability, installation complexity, and lead times.
Use the checklist to compare change orders consistently. This disciplined approach helps you choose a bidder who aligns with your design trends and offers reliable contractor selection without surprises.
Track Bathroom Expenses in Real Time
Keeping the real-time cost tracking tight starts with a live spending ledger that matches your cost-calculator checklist. You’ll update expenses as they occur, so deviations are obvious and fixable.
Track line items by category, date, and vendor, then reconcile weekly to prevent drift. Immediate visibility helps you steer toward design trends and eco-friendly options without overspending.
Use alerts for overages and flag items that don’t meet your criteria. Maintain a clear audit trail to defend decisions if questions arise later.
- Real-time updates prevent budget creep and keep decisions sharp
- Categorize costs by supplier, month, and project phase
- Set thresholds to trigger notifications on overruns
- Compare evolving quotations against your checklist
- Prioritize eco-friendly options aligned with design trends
Scenario Planning: Spa-Style Upgrades vs. Essentials
When planning spa-style upgrades versus essentials, start by mapping how each option aligns with your core goals: comfort, function, and value. You’ll weigh experiential gains against practical needs, clarifying which elements deliver lasting daily benefits.
Spa-style paths emphasize luxury fixtures and premium finishes, elevating perceived value but raising costs and maintenance.
Essentials focus on durable hardware, efficient layouts, and streamlined systems that preserve space and minimize surprises.
Consider eco-friendly materials to align eco-conscious choices with long-term savings and reduced environmental impact.
Compare installation timelines, warranty terms, and service accessibility to avoid hidden delays.
Create a tiered budget that captures baseline essentials, then add aspirational upgrades.
Frequently Asked Questions
How Does Site Accessibility Affect Expansion Costs?
Site accessibility can raise costs due to site preparation and accessibility modifications. You’ll need grading, curb cuts, doorway widening, and latch/handle updates, which add to labor and materials. Plan for code-compliant, smooth progressions and future adaptable space.
What Impact Do Ceiling Height Changes Have on Expenses?
Ceiling modifications drive higher costs as you raise clearance, reroute ducts, and reinforce structures. You’ll see notable cost implications from material choices and contractor rates, plus potential permits and integration of lighting systems. Your budget should account for these variances.
Are There Hidden Costs for Water Efficiency Upgrades?
Yes, there can be hidden costs for water efficiency upgrades. You’ll pursue water savings through plumbing upgrades, but expect added fittings, permit fees, and potential fixture replacement timelines that can impact project budgets and scheduling.
How Do Resale Value Goals Shape Budget Priorities?
Reshape your budget by prioritizing resale value: align costs with buyer goals and set clear targets. You’ll consider bathroom fixtures and lighting design first, ensuring durable, appealing upgrades while avoiding over-improvement that doesn’t boost value.
What Financing Options Minimize Upfront Cash Flow?
Funding options minimize upfront cash flow: consider FHA/VA loans, home equity lines, or seller concessions. You’ll optimize furniture layout and lighting design, prioritizing flexible terms, clear milestones, and precise inspections to keep monthly costs manageable and predictable.
Conclusion
You’ve scoped the project, priced the essentials, and built in a buffer for surprises. By tracking materials, labor, and permits in real time, you’ll keep timing tight and costs honest. Use the 80/20 rule to prioritize finishes that deliver the most impact, while reserving funds for contingencies. In short, plan, compare quotes with a checklist, and adjust as you go. Think of a steam locomotive—precision, speed, and a punch of steam to power your spa‑worthy upgrade.


