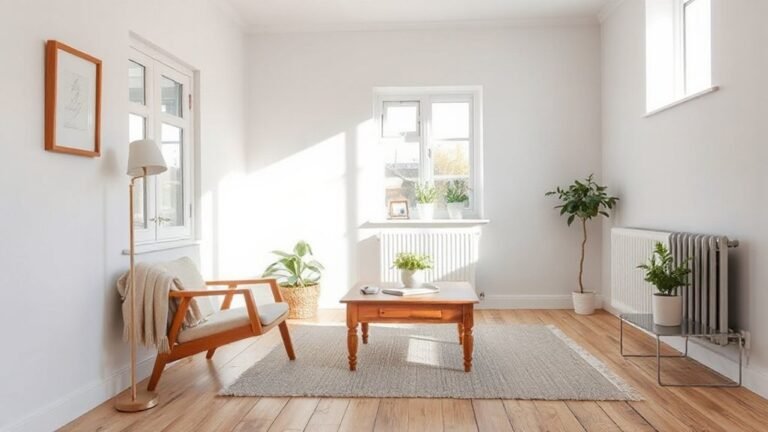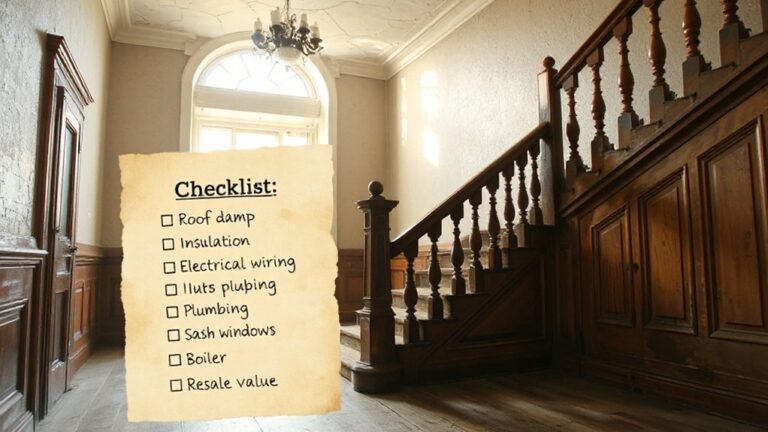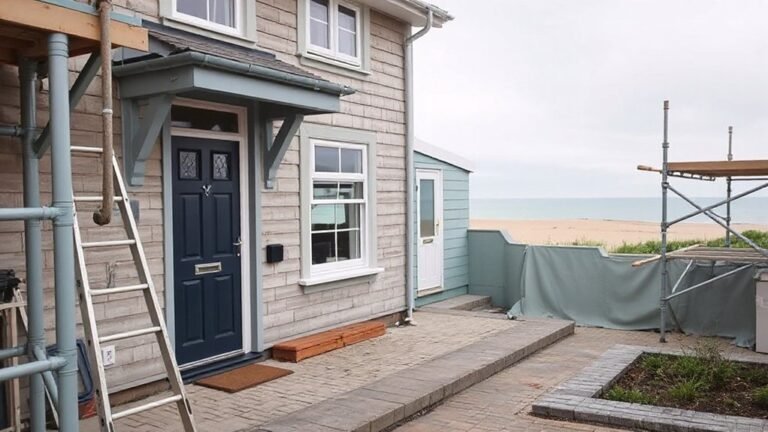
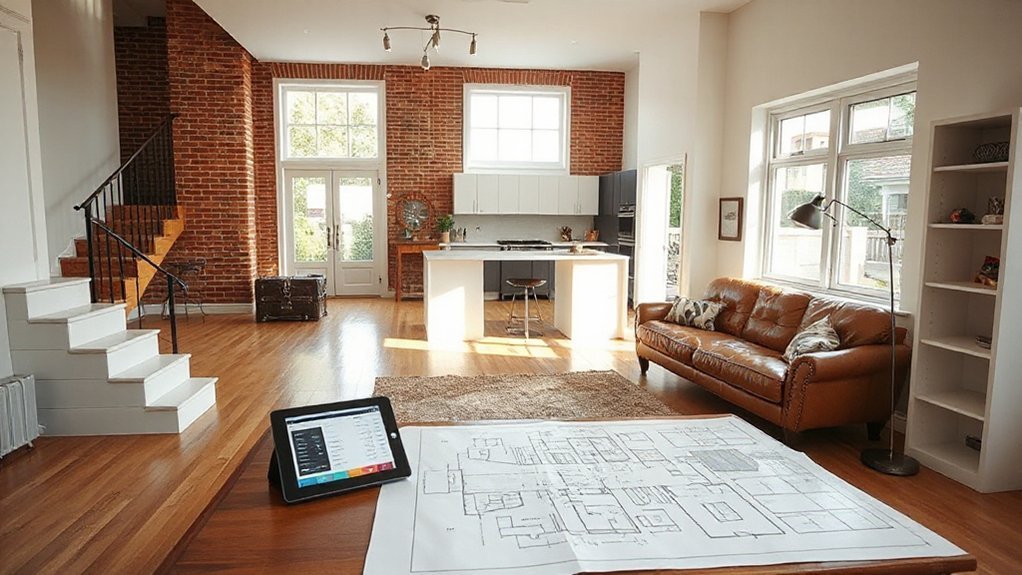
You’ll maximize comfort and value by building a calculator-backed plan that prioritizes energy upgrades, durable materials, and low-disruption updates. Start with clear goals and a phased schedule, then itemize major areas (framing, wiring, insulation, windows) with current price ranges and lead times. Use a simple cost calculator template to track labor, materials, permits, and a 10–15% contingency. Prioritize high-impact changes and sustainable options, and expect contingencies. If you keep exploring, you’ll uncover practical steps to tailor this to your home.
Define Your Modernization Goals and Budget Targets
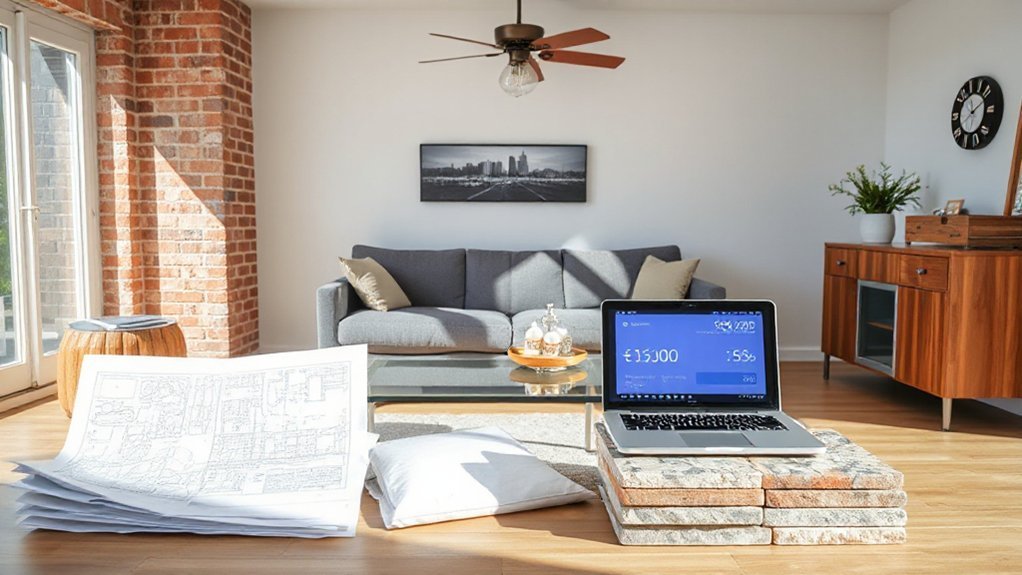
Setting clear modernization goals and a realistic budget is your first step. You’ll define what supports daily life now and in the future, then map each goal to a budget target.
Begin with priorities: structural safety, energy efficiency, and functional layout. Translate big ideas into measurable targets—square footage changes, finish materials, and appliance upgrades—so you can compare costs objectively.
For historical preservation, decide which original features you’ll preserve and how new elements will blend.
Maintain aesthetic consistency across rooms by selecting a cohesive palette, fixtures, and hardware.
Create a phased plan with a realistic timeline and contingency buffer for price swings.
Document assumptions, sources, and decision dates so your team stays aligned and you avoid scope creep.
Build a Calculator-Backed Budget for Your 1980s Home
You’ll start by establishing baseline costs for each area of your 1980s home so you have a clear map of where funds must go.
Then you’ll prioritize needed upgrades, focusing on the changes that enable safety, efficiency, and long-term value first.
Finally, you’ll add a realistic contingency fund to cover surprises, using a calculator-backed estimate that reflects current prices and project scope.
Establish Baseline Costs
To establish baseline costs, start with a calculator-backed budget that captures every major area—structure, systems, and finishes—so you can compare options quickly and avoid surprises down the line.
You’ll itemize framing, roofing, wiring, plumbing, insulation, and windows, then attach current price ranges and lead times.
Include HVAC replacements, electrical panel updates, and water heater upgrades, plus permit and delivery fees.
Build in contingencies for trades, permits, and seasonal delays, aiming for a 10–15% cushion.
Track maintenance resumptions, labor rates, and material volatility to refine forecasts.
Prioritize historical accuracy in retrofit specs and decorative authenticity in finishes, ensuring choices align with long-term value.
Review quarterly, adjust assumptions, and keep stakeholders aligned with a precise, evolving baseline.
Prioritize Needed Upgrades
- Target essential electrical and insulation improvements for year-round comfort
- Upgrade aging plumbing and water quality to prevent costly leaks
- Improve heating/cooling efficiency with smart zoning and sealing
- Prioritize durable, low-maintenance finishes that echo vintage style
- Plan low- and no-cost safety updates that elevate daily use while respecting cultural preservation
Estimate Contingency Funds
Estimating contingency funds is your safety net for cost overruns and unexpected hiccups during a modernization project. You’ll build a calculator-backed budget that accounts for both knowns and unknowns, using sensible multipliers tied to scope and risk.
Start with a base estimate for each line item, then add a contingency percentage that reflects project complexity, supplier reliability, and permit delays. Track historical accuracy from past renovations to adjust your percentages, avoiding optimistic bias.
Separate soft costs (design, approvals, permits) from hard costs (materials, labor) so your margin targets stay clear.
Use tiered contingencies: a small reserve for minor adjustments, a larger one for major scope changes.
Finally, guarantee your contingency aligns with preserving aesthetic consistency across rooms and finishes.
Prioritize High-Impact, Low-Disruption Updates
When you’re modernizing a 1980s family home, start with high-impact, low-disruption updates that deliver noticeable gains fast. You’ll gain momentum by prioritizing fixes that improve function and perception without heavy rewiring or drastic layout changes.
Choose upgrades that refresh daily experiences while honoring vintage aesthetics and historical preservation where feasible. Focus on efficiency, comfort, and affordability to build confidence for bigger projects later.
- Upgrade insulation and sealing to boost comfort and reduce energy waste
- Replace aging light fixtures with efficient, stylish options that nod to era charm
- Refresh kitchens and baths with modern, low-disruption systems
- Improve windows or glazing for daylight and security
- Refinish or preserve key vintage elements to keep character intact
Estimate Labor vs. Materials With Confidence
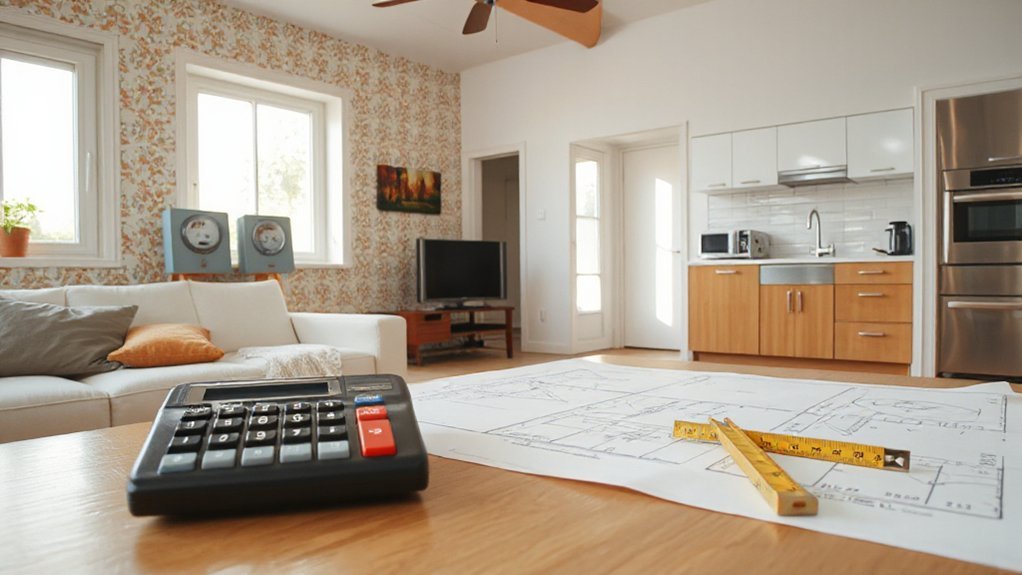
To estimate labor vs. materials with confidence, start with a reality-based breakdown: list every task, assign a realistic rate for labor, and pair it with current material costs. You’ll map demolition, framing, wiring, drywall, and finishes, then apply local wage benchmarks and supplier quotes. Don’t guess; cite sources and note variance by region.
Use a bottom-up approach: quantity takeoffs, unit costs, and contingency buffers. Track historical accuracy by comparing past bids to actuals, adjusting for inflation and wage trends.
Factor cultural preservation when encountering period details or finishes that matter to the home’s character; price those with care. That discipline keeps budgets honest, helps you forecast cash flow, and supports confident decisions without overpaying.
Choose Sustainable Upgrades That Add Real Value
Smart, sustainable upgrades deliver real value by cutting ongoing costs and boosting comfort, resale appeal, and resilience. You’ll pick options that pay back through energy savings, durability, and everyday ease, while fitting your 1980s layout.
Focus on practical choices that honor material sourcing and minimize waste, so you dodge costly retrofits later. Be mindful of recycling challenges and plan ahead with efficient procurement.
Prioritize systems and finishes that perform now and for years to come, not just fashionable trends.
- Target high-efficiency HVAC and insulation upgrades with clear payback timelines
- Choose durable, repairable finishes and locally sourced materials
- Assess daylighting, natural ventilation, and passive design tweaks
- Favor products with recycled content and end-of-life recyclability
- Verify supplier transparency on material sourcing and waste management
Compare Materials by Lifespan and Total Cost of Ownership
Materials with the longest lifespan aren’t just pricier up front—they save you more over time when you factor in maintenance, replacements, and energy efficiency. When you compare materials, calculate total cost of ownership over 20–30 years, not just sticker price.
Consider durability, warranty terms, and expected replacement cycles for each option. For example, enamel or ceramic finishes may cost more initially but resist stains and scratches longer, reducing repainting and rehab costs.
Historic preservation values can influence choices, balancing authenticity with performance. Track energy impact, maintenance frequency, and resale appeal; even small gains can compound.
Document material lifespans side by side with upfront costs to visualize trade-offs. Your decisions should reflect functional needs, artistic expression, and long-term value.
Plan Electrical and Plumbing Upgrades With a Safety and Code Lens
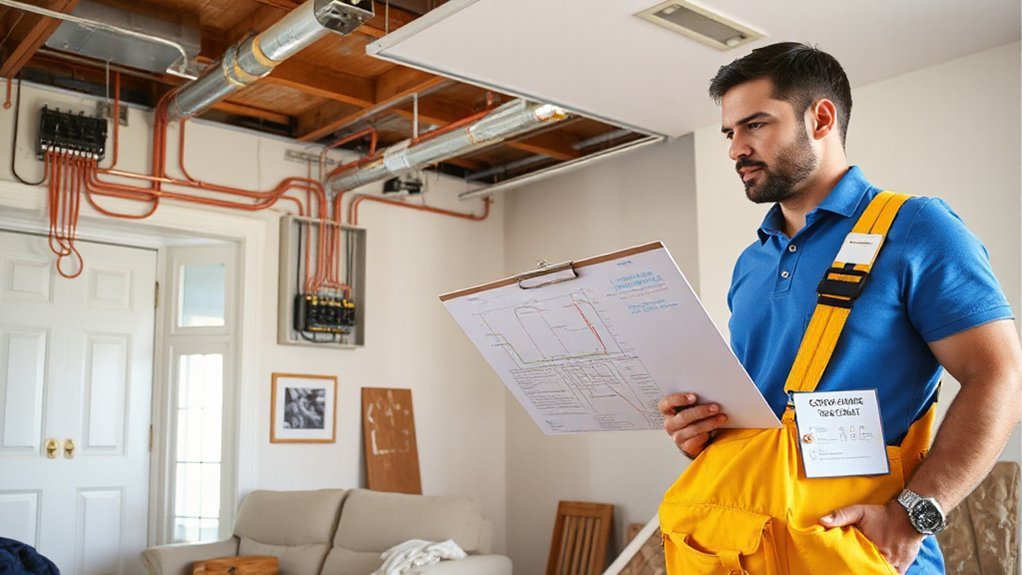
Planning electrical and plumbing upgrades with a safety and code lens means prioritizing system reliability, future load needs, and compliance from the ground up. You’ll design circuits for planned growth, separate high- and low-demand paths, and upgrade panels to modern amperage. Draft code-compliant layouts before buying parts, so inspections go smoothly.
Integrate smart technology where it enhances safety and efficiency without overloading circuits. Choose efficient fixtures, accessible shutoffs, and labeled, color-coded wiring for quick future service. Preserve aesthetics by concealing devices or selecting low-profile, code-approved options.
Document every change, keep receipts, and annotate load calculations for permitting. Plan for contingencies, like outages or upgrades, and budget for continuous maintenance.
- Prioritize load planning and panel upgrades
- Use smart technology where it adds value
- Align fixtures with code and safety standards
- Label, document, and color-code systems
- Budget for future maintenance and contingencies
Refinish, Reuse, and Restore: Practical Tactics
You can sharpen costs by choosing refined materials that age gracefully and fit modern efficiency, pairing durable options with subtle, on-trend finishes.
Reuse with purpose means prioritizing solid core pieces, salvaged hardware, and tested preservation methods to minimize waste and upgrade time.
Start by mapping the room’s essentials to upcycle-worthy candidates, then compare long-term maintenance and resale value to guide smarter substitutions.
Refined Material Choices
If you want to modernize on a budget, start with refined material choices that hinge on refinishing, reusing, and restoring existing pieces. You’ll lean into practical refinishing, smart surface upgrades, and durable reuses that align with current trends like vintage fixtures and retro aesthetics.
Choose finishes that maximize lifespan while preserving character, and pair them with proven, low-cost materials. Prioritize modular, repairable options to cut long-term costs and waste.
Focus on light, neutral palettes with bold accents to evoke retro aesthetics without overwhelming space.
- Refined wood refinishing for cabinetry and built-ins
- Durable, low-VOC paints and stains
- Reupholstery of seating with vintage-inspired fabrics
- Refinished hardware and hardware-tone updates
- Reclaimed accent pieces that echo retro aesthetics
Reuse With Purpose
Let’s put those refined materials to work by focusing on refinish, reuse, and restore as practical tactics. You’ll assess each surface for reuse viability, prioritizing minimal waste and familiar finishes.
Refinish vintage furnishings with satin or matte finishes to preserve character while updating color schemes; document any restain steps for future resale value. Reclaim hardware, mouldings, and doors, cleaning and sealing them to reduce new purchases.
Restore select built-ins by repairing joints and replacing only worn panels, avoiding full tear-outs. Source local, low-VOC paints and finishes to limit emissions and costs.
Retrofit lighting with retro decor-inspired fixtures that cue nostalgia without overpower. Plan a phased approach, tracking costs, lead times, and included warranties to balance style with budget.
Phase Your Work to Minimize Costs and Mess
Breaking the renovation into phases keeps costs predictable and chaos manageable; start by mapping the project in logical chunks that align with weather, trades, and the home’s living patterns. You’ll save time, reduce mess, and keep disruption focused on one area at a time.
Plan phases around outdoor-season windows for exterior work and indoor comfort for critical living zones. Use short, clear milestones and secure trades early to avoid back-and-forth. Prioritize tasks that unlock others, like structural updates before cosmetic touches.
Coordinate garden landscaping and interior decor so outdoor transitions don’t collide with indoor moves. Budget for contingencies, but keep scope tight to prevent scope creep.
- Phase boundaries linked to weather and comfort
- Sequential trade scheduling to minimize wait times
- Dedicated containment to limit dust and debris
- Outdoor-offsite storage to reduce clutter
- Milestone-based payments and inspections
Track Spending With a Simple Cost Calculator Template
Tracking every dollar won’t happen by luck—you’re going to steer it with a simple cost calculator template that fits your phased plan.
You’ll set a base budget, then add line items for each phase: DIY projects, materials, tools, and permits. Use columns for estimated cost, actual cost, and variance, so you spot overruns early.
Update weekly, not monthly, to stay current with changes in paint color selections and supplier quotes.
Create categories for labor (your time included), subcontractors, and contingency (10–15%). Attach receipts and notes to each entry, so proofs stay paired with costs.
Prioritize high-impact tasks first, and reallocate funds if a DIY shortcut saves more than it costs.
With disciplined tracking, you’ll see trends, forecast cash flow, and keep momentum without surprises.
Maximize Comfort With Energy-Efficient Improvements
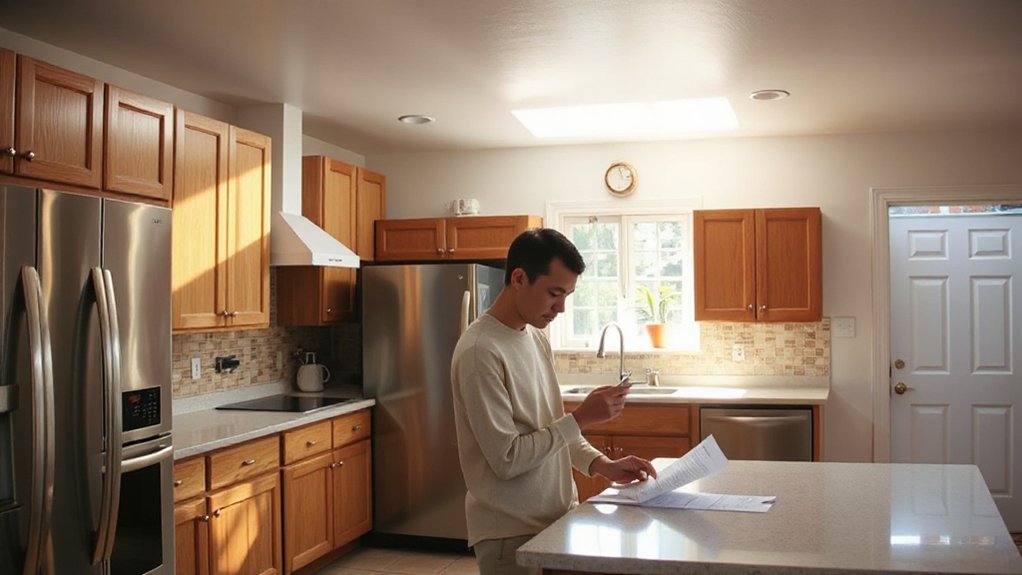
If you’re modernizing a 1980s family home, prioritizing energy-efficient upgrades boosts comfort now and lowers ongoing costs. You’ll feel the difference as drafts shrink and temperatures stay steadier, with smarter controls handling it all.
Focus on practical changes that pay back quickly and fit your lifestyle.
- Install a smart thermostat to optimize heating and cooling without constant tweaking
- Seal gaps around doors and windows to reduce heat loss and drafts
- Add LED lighting everywhere for lower wattage use and better ambiance
- Consider solar panels to cut electricity bills and increase self-sufficiency
- Upgrade insulation in attic, walls, and crawlspaces for consistent comfort year-round
Preserve 1980s Charm While Modernizing Spaces
You can preserve 1980s charm while you modernize by highlighting iconic features—think preserved wood accents, geometric patterns, and original lighting.
Pair these features with updated, energy-efficient systems.
Focus on thoughtful upgrades that respect scale and proportion, so new layouts honor the era’s feel without overhauling it.
Use targeted updates like refreshed textures and smart controls to keep the spaces feeling cohesive and timeless.
Preserve 1980s Charm
Preserving 1980s charm while modernizing spaces means you keep signature features—like grid ceilings, wood veneer cabinetry, and bold color palettes—while upgrading structure, lighting, and systems for today’s comfort and efficiency.
- Maintain vintage decor cues (trim, hardware, and color accents) while adding energy-efficient fixtures and weather sealing.
- Retain retro flooring patterns or textures with modern underlayment and durable finishes.
- Preserve built-in spaces and shelving, updating them with safer materials and smart lighting.
- Balance paneling and textures with neutral walls to avoid visual overload.
- Introduce subtle contemporary contrasts (metal hardware, soft-close drawers) to keep a fresh feel.
This approach delivers character without compromising performance or future adaptability.
Modernize Thoughtfully Spaces
To modernize thoughtfully while preserving 1980s charm, focus on balancing updates with character so the home feels current yet nostalgic. In spaces like kitchens, living rooms, and hallways, target practical upgrades that don’t erase personality.
Choose finishes that nod to the era—laminated surfaces, angled lines, and bold color accents—then temper them with modern hardware, efficient lighting, and smart controls.
Prioritize layout tweaks that enhance flow: widen doorways, remove unnecessary partitions, and create multifunction zones.
When selecting furniture, mix vintage decor with streamlined pieces to avoid clutter.
Favor durable materials and easy-to-clean surfaces to reduce long-term costs.
Track costs by room, compare options, and reserve a contingency for mid-project adjustments.
Aim for retro aesthetics that feel fresh, not gimmicky.
Contingency Planning and Next Steps: Decide, Dial, and Decide Again
When you’re weighing contingency plans for a 1980s home renovation, the key is to decide, dial in the details, then decide again as new information appears. You’ll align budget flexibility with risk management, updating assumptions as costs shift or permits delay.
Maintain a living contingency, not a static line item, so you can absorb surprises without derailing progress. Document decisions, owner approvals, and date-stamped changes to minimize drift and disputes.
Communicate clearly with trades to reset expectations after scope changes. Use phased milestones to test feasibility before committing fully, and re-evaluate the whole plan if market conditions shift.
- Establish a rolling contingency fund and track it monthly
- Reassess permits, timelines, and trades after each phase
- Prioritize essential upgrades with flexible scopes
- Capture lessons learned to refine future decisions
- Communicate decisions promptly to all stakeholders
Frequently Asked Questions
How Do I Set Realistic Modernization Goals and Budgets?
Set realistic goals by mapping must-haves first, then assign budgets using a tiered approach. You’ll balance vintage charm with practicality, prioritize critical updates, and track costs weekly—focusing on Budget prioritization to maximize value.
What Factors Most Affect Our Cost-To-Value Ratio?
Historic preservation and material durability shape your cost-to-value ratio; you balance charm with resilience, budgeting for upgrades where demand and performance intersect, while avoiding flashy trends that erode value. You compare, optimize, and prioritize durable, enduring improvements.
How Can I Estimate Labor vs. Materials Accurately?
You’ll estimate labor versus materials by tracking hourly rates, task durations, and material waste, then adjust with contingency. Prioritize vintage charm and material durability, use unit costs, and compare contractor quotes to keep your plan practical and trend-aware.
Which Upgrades Save Energy Without Sacrificing Charm?
“Like a compass pointing home,” you’ll gain energy savings by upgrading insulation, sealing leaks, and choosing efficient windows. You blend Vintage charm with Modern efficiency, prioritizing LED lighting, smart thermostats, and energy-rated appliances without sacrificing authentic style.
How Should I Phase Work to Minimize Disruption and Costs?
To minimize disruption and costs, map a clear project timeline and phase work logically, then select a qualified contractor. You’ll prioritize trades, set milestones, coordinate inspections, and maintain review points to adapt plans as needs emerge.
Conclusion
So, you’ll wrap this project with a sensible heart and a measured pace. Think of your budget as a friendly guide, not a cage—prioritize comfort and efficiency without draining your future plans. Use your calculator to forecast, then revisit numbers with candid tweaks. Preserve a wink of 1980s charm while you dial up modern ease. If surprises appear, handle them with calm, practical pivots, then decide again—optimistic, prudent, and ready for the next upgrade.
About the Author