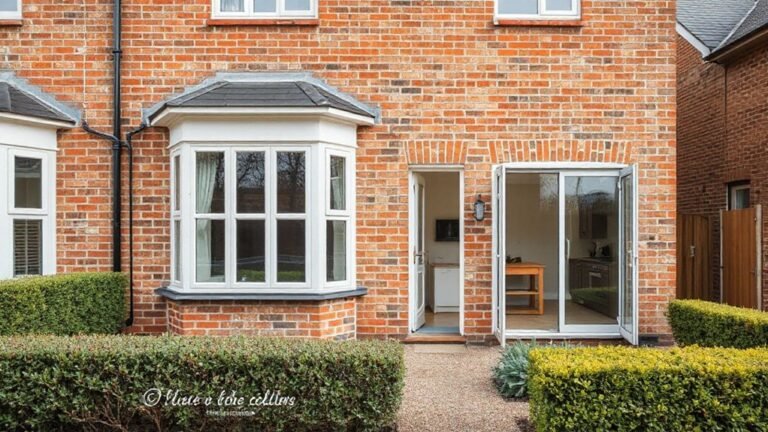
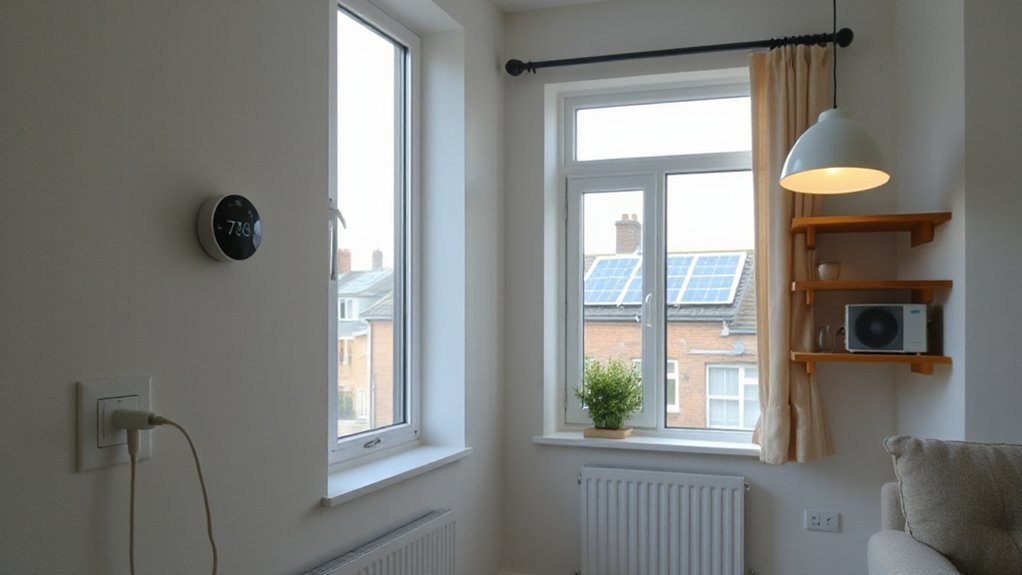
You’ll prioritise fabric-first upgrades, airtightness, and smart controls to slash bills and boost comfort. Start with high‑quality insulation across lofts, walls, and floors, then seal leaks before adding renewables. Air-source or ground-source heat pumps, combined with PV, maximise savings when paired with efficient appliances and demand controls. Expect quicker payback from robust maintenance and audits. Choose reputable installers with guarantees. If you keep exploring, you’ll uncover practical steps and proven six‑step decisions to guide you.
Why Energy Efficiency Pays Off for UK Homes
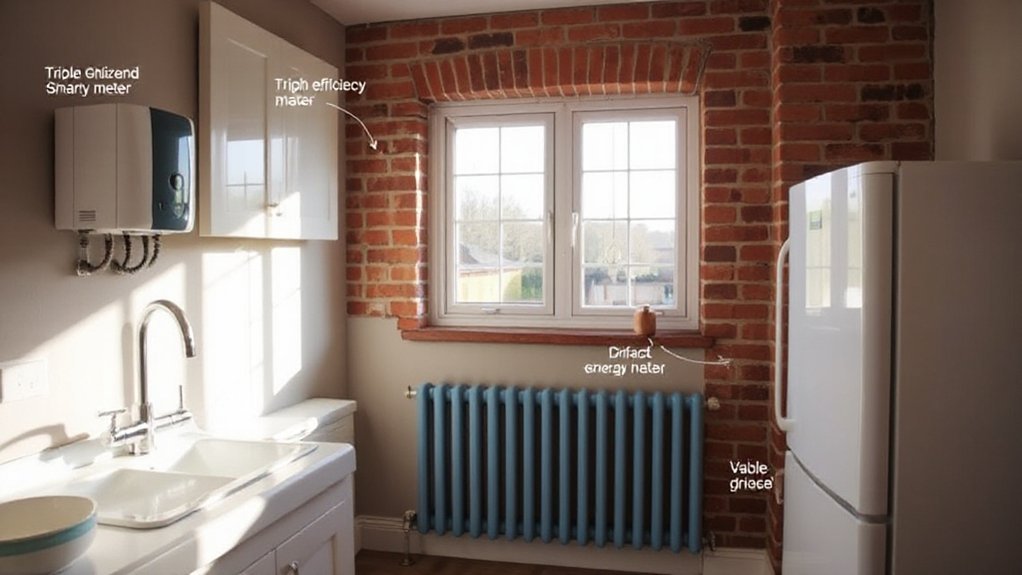
Upgrading your home’s energy efficiency pays off by cutting bills, increasing comfort, and protecting resale value. You’ll see tangible returns from targeted improvements, not broad promises.
Energy efficiency reduces heat loss in winter and heat gain in summer, which lowers energy consumption and stabilizes indoor temperatures. This translates to lower utility costs and fewer energy spikes that stress systems.
When you install proper insulation, you gain sustained warmth and reduced drafts, directly contributing to energy savings. Insulation benefits extend beyond comfort; they enhance building envelope performance, protect fixtures, and reduce noise transmission.
In addition, efficient components like sealed ducts and high-performance windows help minimize latent energy waste.
A well-planned upgrade path maximizes savings, payback speed, and long-term asset value.
The Current UK Energy Landscape and Grants for Home Upgrades
The UK’s energy landscape is shifting toward greater efficiency and decarbonization, with government schemes and market mechanisms shaping incentives for home upgrades. You’ll find grants, loans, and guidance that streamline improvements, from energy audits to efficiency requirements.
You’ll also confront common Energy myths and insulation myths, helping you distinguish facts from noise and plan cost-effective steps.
- You’re supported by schemes like grants and loans tied to upgrade packages.
- You’ll see performance targets and labeling that drive transparent choice.
- You’ll compare installer schemes and verify compliance with standards.
- You’ll validate ROI with measured savings before committing to major works.
Loft Insulation: Costs, Savings, and Installation Basics
Loft insulation costs depend on material and attic access, but the payoff shows in annual heat loss reductions and paid-back periods.
Installation basics require proper ceiling joist clearance, venting, and avoiding compression that harms performance.
You should compare retrofit options, confirm installer compliance, and factor in potential grants to maximize the payoff.
Loft Insulation Costs
If you’re aiming to cut heat loss, loft insulation is one of the most cost-effective upgrades you can install. Costs vary by area, insulation type, and ceiling height, but you’ll typically see payback through reduced energy bills within a few years.
Selectores like material R-value and thickness drive price and performance, while professional fitting can add to initial costs but guarantee compliance and warranty.
Key financial factors include VAT, grants, and potential discounts for multi-room or compliant installations.
Loft ventilation and attic storage considerations should be factored into planning to avoid drafting issues and preserve usable space.
Plan for long-term savings rather than just initial expense.
- initial material choice
- professional install vs. DIY feasibility
- VAT, grants, and incentives
- impact on space and ventilation
Installation Basics Here
Installing loft insulation starts with selecting the right material and thickness to meet R-value targets while fitting your attic layout, since proper choice directly affects heat loss reduction and payback.
In installation basics, you’ll assess existing structures, gaps, and ventilation to determine suitable approaches. Choose between mineral wool and rigid foam or loose-fill, balancing fire safety, moisture control, and density for the space.
Verify UK building codes and guarantee proper ventilation to prevent condensation. Apply insulation evenly, seal penetrations, and coordinate with any Renewable technology integrations to maximize performance.
Thickness requirements must align with current energy conservation standards and potential incentives. Consider professional installation for complex roofs, particularly where hatch access or joists limit coverage.
Properly installed loft insulation underpin long-term energy savings and system reliability.
Cavity Wall Insulation: Eligibility and Performance Gains
Cavity wall insulation can cut heat loss by reducing thermal bridging and improving overall airtightness, but eligibility isn’t universal. You should assess wall type, NZC requirements, building age, and existing insulation before applying.
Once approved, performance gains depend on installation quality, cavity width, and filler material, yielding measurable U-value reductions and improved comfort.
- Eligibility checks: wall construction, moisture risk, and gaps
- Installer standards: accredited methods and warranty
- Expected gains: lower heat demand, fewer drafts, faster warm-up
- Co-benefits: compatibility with window tinting and solar battery storage strategies
Aim for a tight installation and monitor post-install results. While focusing on walls, coordinate with other upgrades in the home for synergy, but avoid discussing underfloor or roof details here.
Guarantee energy planning remains precise and data-driven.
Underfloor Insulation: Comfort Gains and Payback

Underfloor insulation reduces heat loss at the floor level, delivering immediate comfort improvements in colder rooms and upstairs spaces.
You’ll see a clearer payoff timeline as energy bills drop and payback gaps narrow over typical heating-season cycles.
This section highlights the direct comfort gains and the expected return period to help you compare options with other upgrades.
Comfort Gains From Insulation
If you’ve already upgraded your insulation, you’ll notice immediate comfort gains from underfloor insulation as heat moves less freely through joists and floorboards, reducing cold patches and chilly drafts. You’ll feel steadier temperatures and fewer evening hotspots near exterior walls. The system also dampens noise transmission, contributing to a calmer living space.
- Reduced drafts create a more uniform indoor air temperature, improving thermal comfort.
- Warmer floors enhance barefoot usability and perceived room warmth.
- Less heat loss means your heating system runs more efficiently, storing warmth closer to occupied zones.
- Quiet operation from minimized floor vibrations complements a quieter home environment.
Note: Benefits align with Renewable sources integration and cleaner Indoor air outcomes.
Payback Timeline Insights
Payback timing for underfloor insulation hinges on heat savings, installation cost, and your home’s occupancy patterns. You’ll see faster payback where you occupy rooms with high heat loss, and during colder seasons when heating runs longer.
The installation cost requires upfront budgeting, but savings accumulate as reduced boiler runtime and lower heat loss. To refine estimates, factor in floor area, insulation depth, and existing subfloor heat transfer.
Battery storage and smart metering improve payback visibility by aligning usage with generation and demand, letting you shift heating loads to off-peak periods and capture time-of-use savings.
Consider how holiday or work-from-home patterns alter daily demand, since occupancy affects realized savings. Sensible monitoring confirms actual payback versus projections and guides subsequent upgrades.
External vs Internal Wall Insulation: Choosing the Right Approach

External wall insulation (EWI) and internal wall insulation (IWI) each offer distinct energy savings and installation considerations. You weigh performance, disruption, and costs to choose the right approach for your home.
- Compare exterior aesthetics: EWI changes façade appearance; IWI preserves exterior lines but alters interior feel.
- Assess interior design impact: IWI adds space, finishes, and potential moisture control considerations.
- Evaluate installation timelines: EWI requires scaffolding and external trades; IWI proceeds with interior work, less seasonal sensitivity.
- Plan long-term maintenance: EWI protects the structure from weather; IWI may need interior detailing adjustments over time.
Draught-Proofing and Air Sealing: Quick, High-Impact Gains
Draught-proofing and air sealing deliver quick, high-impact gains by stopping heat loss at its source. You’ll reduce cold drafts at doors, windows, and loft hatches with targeted seals, tape, and weatherstripping.
Gaps around plumbing and electrical penetrations get addressed with foam or filler, tightening the building’s envelope. Focus on thresholds and letterbox openings, chimney flue gaps, and loft hatch seals to maximise results.
Sealing work improves ventilation efficiency only if paired with balanced intake and exhaust or controlled ventilation; otherwise, you may trap moisture. Alongside thermal benefits, you protect air quality by limiting external pollutants entering living spaces.
Implementing a simple, disciplined program yields noticeable comfort upgrades and lower heating demand, making this one of the fastest, lowest-cost routes to meaningful energy savings.
Heat Pumps: Types, Costs, and Long-Term Savings
Heat pumps come in variants like air-to-water and ground-source, each with distinct efficiency profiles and suitability for UK homes.
Installation costs vary by system type, size, and existing infrastructure, affecting payback periods and grant eligibility.
Over time, savings depend on usage patterns, energy prices, and maintenance, making lifecycle budgeting essential for informed decisions.
Heat Pump Variants
What heat pump variant fits your home best? You assess efficiency, climate, and existing ventilation. Different types offer distinct benefits for energy performance and long-term savings.
- Air-source heat pumps: easy retrofits, lower upfront cost, rely on outdoor air, compatible with energy efficient ventilation strategies.
- Ground-source heat pumps: higher efficiency, rely on steady ground temps, suitable for larger homes with space for loops.
- Hybrid systems: combine heat pump with a boiler, balancing peak demand and comfort.
- Exhaust air heat pumps: recover heat from exhaust air, ideal for properties with good ventilation and tight envelopes.
Choosing the right variant hinges on climate, space, and installation constraints; proper planning optimises energy efficiency and long-term savings.
Installation Costs Overview
Considering the upfront costs of heat pump installation is essential because these vary by type, home size, and required upgrades to existing systems. You’ll evaluate installation costs based on equipment selection (air-source, ground-source, or hybrid), heat distribution method, and whether electrical or insulation improvements are needed.
System sizing matters: larger homes demand bigger units and more piping, boosting total spend. Labour charges, commissioning, and potential planning or building-control fees also influence the price tag.
In many cases, ancillary expenses include screeding, trenching, or drill work for ground loops. You should factor in potential grants, incentives, or supplier financing, but keep expectations aligned with your budget planning.
Documentation of excluded works helps prevent scope creep and guarantees you don’t overestimate affordable options.
Long-Term Savings Impact
Although upfront costs grab attention, the real value of heat pumps lies in their long-term savings through reduced energy bills and maintenance needs. These savings vary by type, efficiency, and usage patterns.
You’ll see lower operating costs as coefficients of performance stay high, especially with modern refrigerants and inverter-driven compressors.
Over time, maintenance is less frequent and cheaper than fossil systems, though initial filter and header checks matter.
Renewable energy integration and smart home controls amplify savings by optimizing heat output and timing.
- Compare heat pump types (air, ground, hybrid) for efficiency gains.
- Assess installed COP/KPI targets to estimate long-term bill reductions.
- Factor smart home connectivity to maximize performance.
- Include ongoing maintenance cycles to sustain efficiency.
Solar PV and Solar Water Heating: Add-Ons That Complement Upgrades
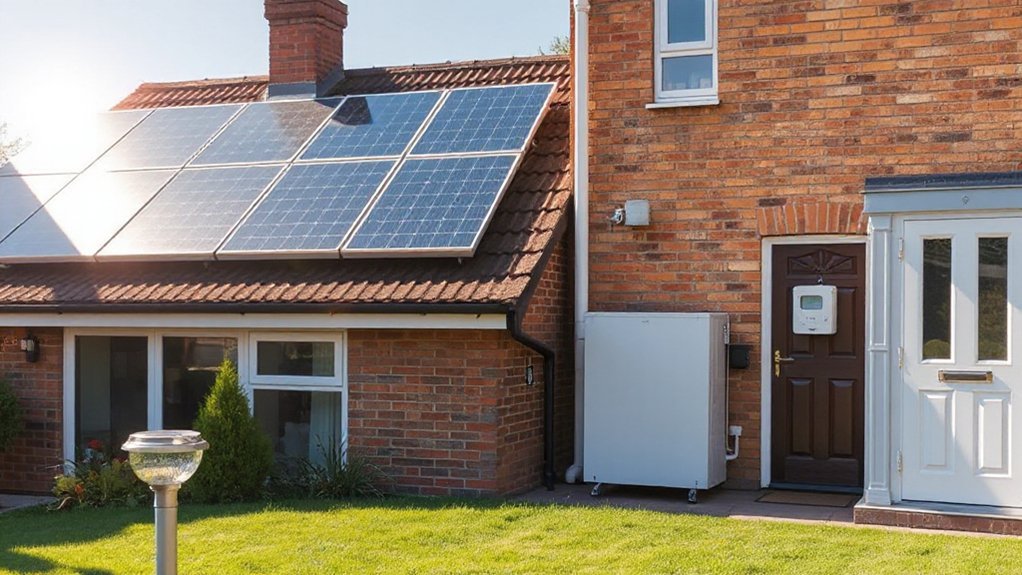
Solar PV and solar water heating serve as practical add-ons that amplify the impact of energy-efficiency upgrades. You’ll deploy Solar panels to harvest daylight, reducing grid demand while cooling load requirements from insulation and heat recovery.
Solar water heating leverages collectors to preheat domestic hot water, cutting boiler cycling and standby losses. In homes with modest electrical demand, PV can offset lighting, pumps, and controls, delivering faster payback when matched to consumption patterns.
For systems pairing with storage, you gain resilience against outages and peak-price periods. Consider roof orientation, shading, and panel efficiency to maximise output. Guarantee proper sizing for seasonal variation and warranty coverage.
Budget for inverters, controllers, and maintenance to sustain long-term performance and predictable savings. Water heating remains the most impactful ancillary benefit.
EPCs, EnerGuide, and Green Labels: How to Compare UK Homes
EPCs, EnerGuide, and Green Labels provide standardized benchmarks you can use to compare UK homes’ energy performance. You’ll gauge efficiency with rating scales, thresholds, and accompanying recommendations, then translate findings into actionable upgrades.
Use the labels to benchmark current performance, set targets, and prioritize improvements that align with your energy strategy.
- Compare rating scales (A–G, or similar) to establish relative efficiency.
- Read accompanying recommendations to target low-cost, high-impact changes.
- Cross-check with home automation capabilities that optimize ongoing energy use.
- Consider renewable energy potential alongside label-driven priorities to inform decisions.
These labels guide decision-making, ensuring you pursue verifiable, cost-effective enhancements aligned with UK standards and your energy goals.
Hybrid Systems: Integrating Heat Pumps, Solar, and Storage
Hybrid systems combine heat pumps, solar PV, and storage to balance demand, maximize on-site generation, and lower running costs. You configure controls to prioritise heat from renewables during shoulder periods, with storage sinking excess solar for evening use.
The approach hinges on intelligent energy management: the system schedules appliance usage, heat pump loads, and charging cycles to optimise grid independence and minimize export tariffs. You’ll typically couple a ground- or air-source heat pump with a bidirectional inverter and a high-capacity battery, plus a solar array sized for daytime generation.
Pay attention to inverter sizing, battery chemistry, and seasonal performance; performance monitoring dashboards help you verify real-world gains. Hybrid systems enable renewable integration, reducing fossil reliance while delivering consistent comfort and lower utility bills.
Building Fabric First: Why Upgrading Structure Comes Before Tech
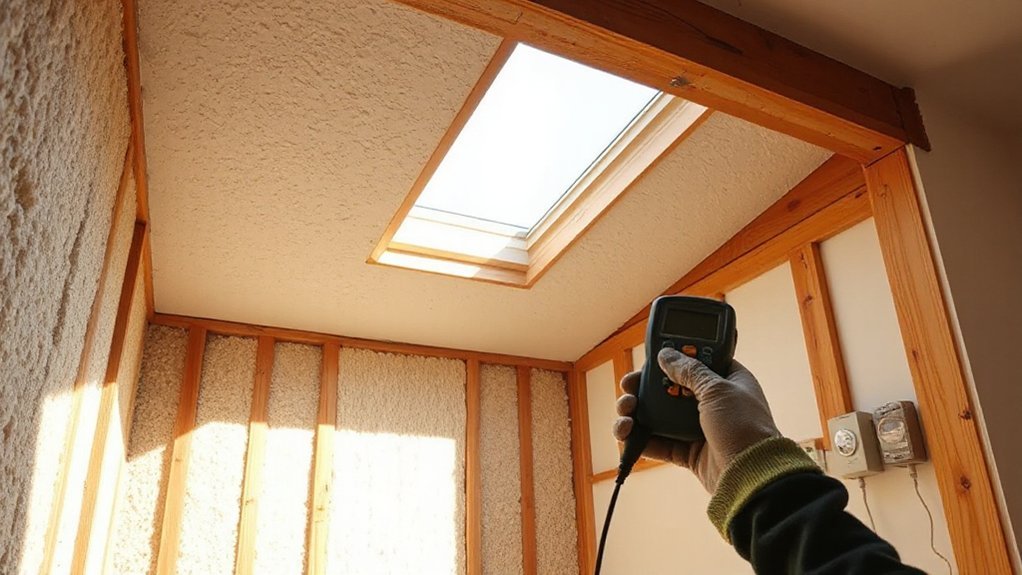
Upgrading the building envelope first pays dividends because a tighter structure reduces heat loss, lowers heating demand, and makes any later tech—like heat pumps or PV—more effective. You’ll see improved comfort, lower energy bills, and a sturdier resale value as the fabric stops drafts and stages in better insulation.
- Target airtightness to stop leaks and curb uncontrolled ventilation.
- Upgrade insulation in walls, roofs, and floors for consistent indoor temperatures.
- Guarantee proper damp-proofing and moisture management to protect materials.
- Align renovations with home decor and renewable energy goals for cohesive design.
Smart Thermostats and Controls: Tailoring Comfort and Bills
Smart thermostats and controls are your main tools for converting a well-sealed, well-insulated home into a responsive, energy-efficient one. You integrate these devices to balance comfort with consumption, leveraging real-time data and occupancy patterns.
Smart meters feed granular usage insights, enabling precise targeting of high-demand periods and enabling automatic adjustments to maintain comfort without waste.
Thermostatic valves complement this by modulating individual radiators, reducing boiler load while preserving room-specific temperatures.
In practice, you set schedules, enable adaptive cooling/heating, and fine-tune hysteresis to avoid short cycling.
Compatibility matters: confirm your controls, sensors, and boiler interface seamlessly, and prioritize open standards for future upgrades.
Regular calibration keeps performance accurate, while remote access supports monitoring, fault detection, and energy-saving opportunities.
Groundworks and Planning: Timelines and Practical Hurdles
Planning timelines and delays shape when you can start groundworks, so you’ll want realistic schedules and contingency buffers from the outset.
Groundwork hurdles—permits, site access, utility searches, and contractor availability—translate into cost implications and potential overruns.
Prioritise clear scoping, risk assessment, and structured approvals to keep your project on track and within budget.
Planning Timelines and Delays
What timelines typically shape groundworks and planning, and where do delays most often creep in? You’ll find planning timelines are driven by permit approvals, contractor schedules, and utility access windows.
Delays commonly arise from permissions bottlenecks, design changes, and weather-sensitive milestones, plus coordination between trades. To navigate this, map critical-path tasks, buffer essential dates, and communicate early with stakeholders.
- Define regulatory milestones and expected approval windows
- Align contractor start dates with utility and inspection slots
- Build in weather-related buffers for ground and exterior works
- Monitor changes in scope and update project timelines promptly
Groundwork Hurdles and Costs
Conduct thorough site surveys to identify soil composition, rock depth, groundwater, and access limits, then align plans with local planning requirements and permits.
Cost considerations include excavation, soil stabilization, haulier access fees, and disposal rates for contaminated or bulky waste. Factor mobilisation, equipment rental, and potential trenching setbacks into contingency allowances.
Select contractors with proven coordination experience between demolition, groundwork, and insulation retrofit to minimize rework.
Document benchmarks, track changes, and maintain near-real-time cost and timeline updates to preserve project momentum.
Financing Options: Grants, Loans, and Value for Money
Financing options for energy upgrades range from grants and subsidized loans to flexible repayment terms, and they’re the quickest path to lowering upfront costs while maximizing long-term savings. You’ll evaluate options by total cost, interest, and payback period, ensuring value for money as you pursue Renewable technology improvements. Budget planning becomes a core filter to avoid overcommitment while aligning with energy savings guarantees.
- Grants and subsidies: non-repayable funds that reduce project price, improving payback.
- Interest-rated loans: low-rate schemes that match your revenue timing and loan terms.
- Cashback and tax relief: short-term boosts that enhance overall value.
- Pay-as-you-save models: installer-managed funds offsetting bills with improved efficiency.
Prioritize options that deliver predictable savings, transparent terms, and verifiable performance to maintain clarity and precision.
Choosing Trustworthy Installers and Guarantees

You should verify installer accreditations from reputable bodies and confirm current status before proceeding.
Transparent guarantees matter—ensure scope, duration, and remedies are clearly stated in writing.
Seek independent installation references to corroborate performance and reliability of the chosen installers.
Verifiable Installer Accreditations
Choosing a verifiable installer accreditation is essential to guarantee you get guaranteed workmanship and legitimate warranties. You’ll want independent recognition that confirms skills, safety, and compliance with current standards for renewable energy and smart home projects.
- Verify credential scope, ensuring it covers your specific system type and installation method.
- Check expiry dates and renewal requirements to keep accreditations current.
- Confirm ongoing competency via approved training and continuing education.
- Ensure the accreditor offers dispute resolution and robust warranties aligned with contractor work.
With accredited installers, you reduce risk and improve performance, knowing workmanship meets defined benchmarks. Look for installers connected to recognized schemes and documented quality assurances.
This builds confidence, supports long-term system reliability, and simplifies future maintenance and upgrades.
Transparent Guarantees Offered
Transparent guarantees matter because they define what you can expect after installation and how issues are resolved. When you choose installers, look for clearly stated terms covering workmanship, material quality, and system performance.
A robust Home warranty should specify coverage duration, limits, and claim procedures, so you know where you stand if a fault arises. Compare what’s included for primary components versus ancillary parts, and verify transferability if you sell.
Reputable providers publish escalation paths, response times, and fault diagnosis methods, reducing uncertainty after completion. Confirm guarantees align with relevant standards and that prerequisites, such as proper commissioning and code compliance, are documented.
Transparent guarantees enable you to assess risk, budget confidently, and hold installers accountable throughout the life of the upgrade.
Independent Installation References
- Cross-verify credentials, certifications, and regulatory compliance with independent bodies.
- Review past projects focusing on energy audits and measurable outcomes.
- Confirm material compatibility, especially with insulation materials and recommended installation methods.
- Verify aftercare, guarantees, and transferability of warranties across system components.
Keep notes on contractor responsiveness, claim handling, and response times.
Compare proposed energy performance improvements against baseline data.
Demand detailed QA plans, including testing protocols and commissioning, to guarantee installations meet stated efficiency targets.
Real UK Homeowner Case Studies: Before and After
Real UK homeowner case studies reveal how energy-efficient upgrades perform in practice, showing measurable before-and-after results across buildings, budgets, and timelines. You’ll see retrofit projects compare baseline energy use with post-upgrade consumption, highlighting heat-loss reductions, improved insulation, and smarter control strategies.
In homes, you’ll observe shorter payback periods when you combine heat pumps with efficient appliances and demand control. Case studies emphasize project scope clarity, supplier lead times, and commissioning steps that prevent costly overruns.
You’ll note that improvements scale from single rooms to entire dwellings, with tangible comfort gains and lower bills. Where applicable, integrations include Home automation for Occupancy-based controls and Renewable materials to minimize embodied energy while preserving indoor air quality.
Results are reproducible, transparent, and benchmarked against regional climate data.
Maintenance Habits to Maximise Year-Round Efficiency
Maintaining energy efficiency isn’t just about upgrades; it hinges on consistent, disciplined habits that keep systems operating at peak performance year-round. You’ll sustain efficiency by routine checks, targeted adjustments, and timely maintenance actions that reduce energy waste and extend asset life.
- Schedule annual energy audits to reveal performance gaps and verify insulation materials integrity.
- Inspect insulation materials for gaps, moisture, and settling; reseal or upgrade where needed to maintain grade-rated performance.
- Replace filters, tighten ductwork, and calibrate thermostats for accurate readings and reduced drag.
- Review renewable system components and storage interfaces to ensure optimal heat capture and minimal losses.
Adopt these habits, document results, and align with professional guidance to maintain consistent efficiency across seasons.
Prioritise Upgrades: A Practical 6-Step Decision Framework
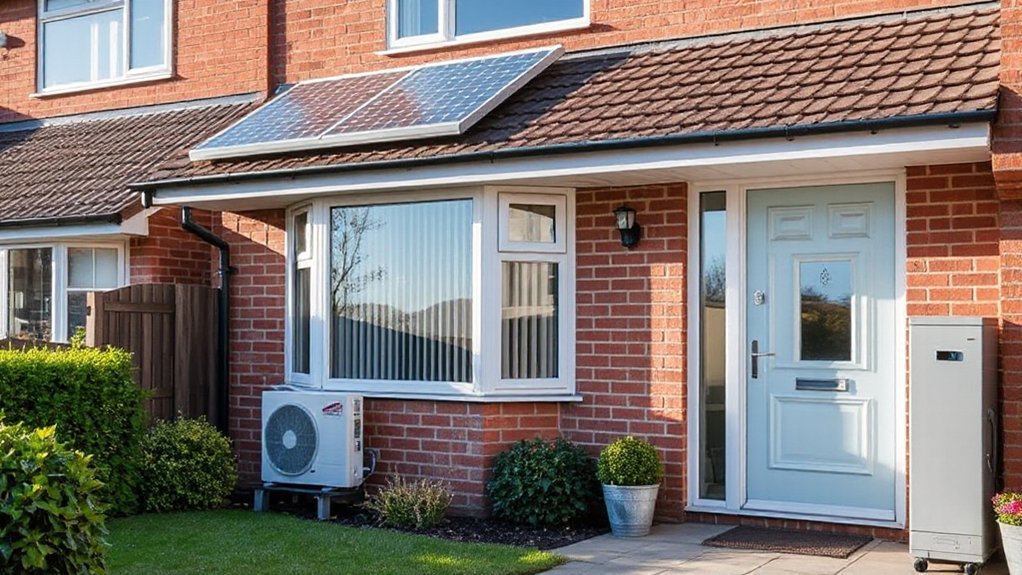
To prioritise upgrades effectively, use a practical six-step decision framework that guides you from needs assessment to implementation.
Step one, identify energy demand and comfort gaps via energy audits, documenting seasonal fluctuations and system performance.
Step two, benchmark costs and savings with realistic payback periods to align budget with impact.
Step three, evaluate technical feasibility, prioritising high-return measures like appliance upgrades and insulation where gaps exist.
Step four, model risk and reliability, factoring disruption, maintenance, and retrofit compatibility.
Step five, sequence actions by impact and ease of installation, avoiding concurrent trades where possible.
Step six, establish monitoring and verification, confirming post-implementation savings.
This framework keeps decisions evidence-based, action-oriented, and scalable, ensuring upgrades deliver durable efficiency gains while empowering ongoing optimisation.
Frequently Asked Questions
How Soon Will Upgrades Start Reducing My Energy Bills?
Upgrades start reducing your bills within weeks to months after completion, depending on the system and usage. Take advantage of Renewable incentives and implement insulation techniques now to maximize savings and ROI over the next heating seasons.
Can I Combine Multiple Upgrades for Greater Savings?
Yes—you can combine upgrades for greater savings. Start with symbolism: a lock and key, revealing efficiency. You’ll benefit from smart technology and insulation improvements, upgrading together minimizes gaps, enhances performance, and compounds energy reductions across systems you rely on daily.
Are There Downsides to Heat Pump Suitability for My Home?
Yes, heat pumps may be unsuitable if your home lacks adequate insulation or suitable space; consider insulation benefits first, then evaluate alternative heating options, ensuring correct sizing, performance, and potential reliance on electricity tariffs to avoid inefficiencies.
What Is the Typical Payback Period by Upgrade Type?
Payback periods vary by upgrade, pump, and project scale; typically, you’ll see 5–12 years. You’ll compare costs, evaluating cost comparison, and you’ll gain long term savings from efficiency gains and incentives, strengthening your decision.
How Do I Choose a Trustworthy Installer?
Choose a trustworthy installer by checking installer reputation, references, and certified credentials; verify warranty coverage, demand written estimates, and confirm aftercare. Compare trade bodies, guarantee proper insurance, and review contract minutiae before signing to avoid surprises.
Conclusion
You stand at a crossroads, a ship in a quiet harbor. Your home is the hull; energy upgrades are the ballast that steadies it. Loft, walls, and floors become sails catching savings, while trusted installers are your seasoned crew. Through maintenance, your vessel remains efficient voyage after voyage. Prioritise, plan, and act—each upgrade trims ballast, each grant charts a safer course. Reach calmer shores of comfort and lower bills, where sustainable living feels like natural weather.
About the Author