
Turning a builder-basic space into a boutique feel is about precision, not overhaul. You’ll start by shaping flow, light, and texture, then layer in cohesive finishes and smart storage that don’t scream “renovation.” With a focused plan—lighting that sets mood, durable materials, and restrained color—your home gains character without the chaos. Ready to see how small changes can redefine every room and still stay under budget? Keep going.
Key Takeaways
- Start with a solid foundation by assessing layout, traffic flow, natural light, and essential systems (HVAC, insulation) before cosmetic changes.
- Layer lighting with ambient, task, and accent elements, using dimmers and coordinated color temperatures to set room-specific moods.
- Select cohesive cabinetry, hardware, and countertops, prioritizing low-maintenance finishes and durable edges for a polished look.
- Create cohesive color with layered neutrals, restrained accents, and repeatable hues across rooms to unify the space.
- Optimize storage with vertical shelving, hidden compartments, pull-out organizers, and multifunction furniture to maximize efficiency.
Start Here: Assess Your New Build Baseline and Priorities
Before you pick finishes or spec out fixtures, take stock of your new build’s baseline and priorities. You’ll map functional zones, measure light, and note any irregularities early, so upgrades align with real needs—not assumptions.
Start with architectural style: identify your signature look and confirm future fixtures echo that vibe, avoiding fashion-driven misfires.
Assess outdoor landscaping needs alongside interior flow; consider how doors, windows, and sightlines connect interior rooms to the yard.
Prioritize performance basics—HVAC layout, insulation, and acoustics—before cosmetic choices, then layer aesthetics.
Define non-negotiables like storage, accessibility, and resale value.
Create a short list of musts and a separate wish list, ranking by impact and budget.
This disciplined baseline keeps decisions precise, strategic, and stylish, guiding efficient upgrades that feel intentional rather than iterative.
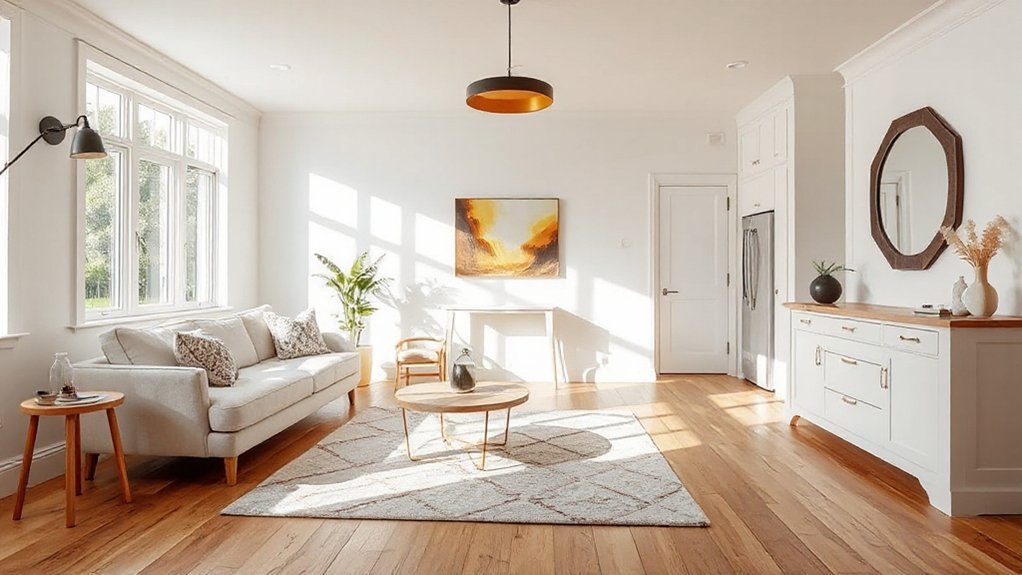
Layered Lighting That Elevates Mood in Every Room
Layered lighting is how you sculpt mood and function room by room, not just illuminate a space. You design zones: ambient glow for whole-room cohesion, task lights at desks and counters, and accent beams that highlight art or architecture.
Use dimmers to modulate intensity—your mood shifts with the hour, not the switch. Position layers to avoid glare while preserving depth, with ceiling wash, under-cabinet tasks, and focused sconces.
Keep color temperature coordinated: warmer tones for gathering areas, cooler for workflows. Choose scalable fixtures that grow with your needs, from recessed spots to sleek wall lamps.
This strategy delivers mood lighting that feels intentional, not incidental, turning a builder-basic layout into a boutique backdrop for daily life.
Add Warmth Fast: Texture and Material Tweaks
Texture warms spaces at a glance, transforming cold shells into inviting rooms with tangible presence. You’ll layer surfaces—soft textiles, tactile woods, and subtle metals—to boost coziness without overcrowding the scale.
This approach unifies Materials for Coziness with Texture That Warms Spaces, creating Richness through deliberate, strategic tweaks.
Texture That Warms Spaces
- Prioritize textural contrast with fabrics and surfaces to guide the eye and feet.
- Layer cozy accents like chenille throws, boucle cushions, and nubby rugs for instant warmth.
- Mix matte and subtle gloss finishes to add depth without glare.
- Introduce natural fibers (cotton, wool, linen) in key focal points for lasting appeal.
This approach stays lean and purposeful, elevating spaces through touch, sight, and atmosphere.
The result is a refined, boutique feel—cozy yet sophisticated—without clutter or noise.
Materials for Coziness
Warmth arrives fast when you lean into tactile contrast and material weight: soft textiles meet structured surfaces, and natural fibers anchor the room with their breathing texture. You’ll upgrade with purpose: choose cozy textiles like plush throws, boucle cushions, and wool rugs to layer warmth without shouting.
Pair these with sturdy, low-sheen surfaces—timber coffee tables, linen drapery, or leather accents—that read grounded and refined. Favor warm color palettes: caramel, taupe, ochre, and moss, applied in large swaths or strategic accents to cultivate cohesion.
Keep contrasts deliberate: matte walls against glossy trim, soft upholstery against sleek casegoods. Prioritize tactile variety over clutter; aim for a curated chorus of textures that feels human, inviting, and easy to live in every day.
Layered Surfaces, Richness
Layered surfaces aren’t about clutter; they’re about calibrated warmth you can feel in seconds. You’ll instantly grasp how textural layering and surface enhancement sharpen the room’s tone, without overhauling structure. Here’s your quick playbook:
- Pair a matte wood or concrete base with a satin or velvet accent for contrast.
- Layer fabrics in varying weights—leather, wool, linen—to create depth.
- Introduce metallic or ceramic finishes sparingly to catch light and echo color.
- Tactile rugs and wall treatments that invite touch, balancing acoustics and visuals.
Result: a cohesive, luxe feel that reads deliberate, not cluttered. This approach keeps your space stylish, strategic, and welcoming, with warmth that’s felt, not forced.
Smart Storage That Really Works in New Builds
Think through space-saving hacks that fit your floor plan, not just a catalog listing. You’ll lean on built-in organization solutions that streamline daily routines and keep clutter low.
Let’s tailor smart storage to your home’s layout, so every inch serves a purpose.
Space-Saving Hacks
Can you squeeze more function into every square foot? You’ll unlock space with sharp, smart moves that feel premium, not cramped. Use verticality, Multi-use furniture, and hidden compartments to keep rooms breathable and busy spaces calm. Creative storage and Lighting design collaborate to reveal order without glare or clutter.
- Deploy wall-mounted shelves that float above eye level, freeing floor space.
- Choose ottomans and benches with hidden compartments for quick, flat-pack storage.
- Integrate pull-out organizers in closets and cabinets for rapid access.
- Install slim, integrated lighting along shelves and under cabinetry to guide, not glare.
These tactics stay clean, scalable, and stylish, turning streamlined vibes into real, practical advantage.
Built-In Organization Solutions
Smart storage is the backbone of a calm, efficient new build. Built-In Organization Solutions streamline daily life, so you’ll never hunt for essentials again.
You’ll plan compact zones with integrated shelving, drawers, and racks that maximize every square inch. Focus on built-in solutions that reduce clutter while preserving flow, using vertical stacks and hidden compartments to keep surfaces clean.
Prioritize modular components that adapt as needs shift, ensuring long-term Organizational efficiency. Install adjustable pull-outs in cabinets and a workspace with smart cable management to prevent tangled cords.
Choose doors and finishes that blend with your interior, maintaining a cohesive aesthetic. With deliberate layout and durable hardware, you’ll enjoy smoother routines and a neater, more intentional home.
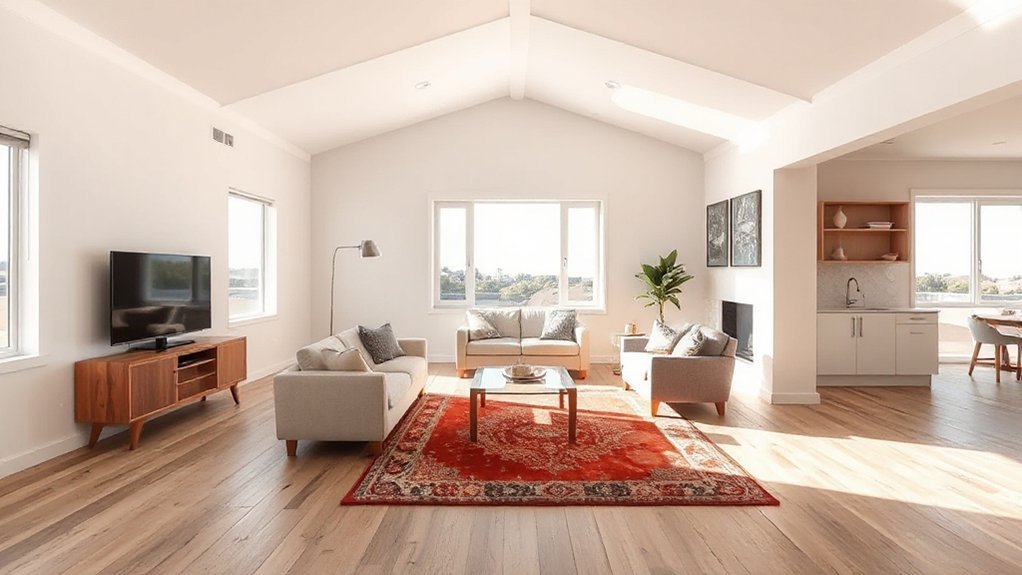
Layout Tweaks to Maximize Space and Flow
To maximize space and improve flow, start with a clear, open layout that guides traffic naturally: place kitchens, dining, and living areas on a single, contiguous plane so doorways align with main paths and sightlines.
- Open floor planning first: group related zones to reduce hallways and dead ends.
- Traffic flow mapping: visualize movement, keeping high-traffic routes unobstructed.
- Scale and sightlines: ensure sightlines connect key zones, not cluttered corners.
- Flexible adjacencies: design multipurpose nooks that adapt as needs change.
This approach keeps spaces breathable and cohesive, reducing wasted footprint. You’ll notice better natural light distribution, simpler furniture arrangement, and a more intentional vibe.
Open floor, traffic flow aren’t just concepts—they’re practical guides that elevate daily living and scale gracefully with your lifestyle.
Boutique Kitchen Details on a Builder Budget
You can elevate a builder-budget kitchen by smartly layering cabinet finishes, selecting hardware with impact, and choosing countertops that balance cost with style.
Each choice should reinforce a cohesive look while staying within your budget. Start with a focused plan: pick one finish, one hardware style, and one countertop material to anchor the design.
Cabinet Finishes Layering
Cabinet finishes layer in three smart moves: choose a cohesive palette, add texture with contrast materials, and plan for durable, easy-to-maintain surfaces.
- Pick a unified color story that spans uppers, lowers, and islands to avoid visual clutter.
- Introduce finish textures—matte vs. satin, wood grain, or glass—insets to create depth without bulk.
- Mix materials thoughtfully (oak, laminate, metal accents) so cabinet layering reads curated, not busy.
- Prioritize low-maintenance coatings and water-friendly edges for long-term wear.
With these steps, you’ll achieve a boutique vibe on a builder budget. Focus on consistency, deliberate contrasts, and lasting finishes to elevate every meal moment.
Hardware Selection Impact
Hardware details can make or break a builder-budget kitchen, so choose pulls, knobs, and hinges that reinforce your cohesive palette while delivering smooth, confident operation. You’ll influence perceived quality more than you might expect, because hardware signals intention and finish consistency.
Prioritize reliable hardware selection from reputable brands with proven material durability, not just aesthetics. Match finishes to cabinetry and lighting to avoid jarring contrasts, and opt for minimalist profiles at high-traffic zones to minimize wear.
Consider soft-close mechanisms for effortless daily use, and verify installation tolerances to prevent sticking or misalignment. Budget smartly by investing in a few statement pieces that read cohesive across the space, while reserving incremental upgrades for hardware around drawers and uppers.
End result: durable, precise, and stylish performance.
Countertop Material Choices
- Marble countertops for timeless elegance, but seal and care are crucial.
- Quartz options offering low maintenance and consistent pattern, great for busy kitchens.
- Laminate reimagined with bold patterns or veining for high-end look at a fraction of the price.
- Solid surface blends that mimic stone while providing seamless integration with sinks and backsplashes.
Aim for contrast with cabinetry, guarantee edge profiles feel refined, and choose a durable finish that withstands daily use.
Cohesive Color Schemes You Can Achieve Without Major Renovation
Color harmony is within reach without ripping out walls: you can lock in a cohesive look by layering neutrals, then punctuating with intentional accent colors and texture. You’ll pursue Palette coordination across rooms, aligning lighting, fabrics, and surfaces to a shared mood.
Begin with a neutral base—cream, taupe, or cool gray—then introduce one or two calm accent hues to anchor the space. Vary finishes and opacities to add depth without shouting. Use color in small doses: cushions, art, and shelving can shift the vibe without remodeling.
Create flow by repeating the same accent hue in adjacent rooms, or mirror a primary wall color in accessories. Finally, test palettes under natural light at different times of day to confirm durable harmony. Color harmony remains practical, stylish, and scalable.
Budget-Friendly Statement Fixtures and Hardware
A budget-friendly update can make a bold impact without rewriting the entire space. You can elevate your new build with strategic picks that read high-end without the price tag. Focus on bold contrasts, clean lines, and cohesive finishes to create focal moments. Here are your moves:
1) Choose statement fixtures with strong silhouettes to anchor kitchens and baths.
2) Pair hardware accents in a consistent metal tone for a unified look.
3) Swap drawer pulls and cabinet handles for instant texture and depth.
4) Add a standout faucet or lighting fixture to cue luxury without overhauling rooms.
These choices deliver a polished vibe, maximizing impact per dollar while keeping install simple and fast.
DIY Upgrades That Boost Resale Value
Looking to maximize resale value fast? You can target high-ROI upgrades that buyers notice right away. Prioritize curb appeal with smart outdoor landscaping that requires minimal upkeep but adds visual impact. A tidy walkway, drought-tolerant planting, and modern lighting set the first impression without overpowering the exterior.
Inside, boost energy efficiency through LED fixtures, smart thermostats, and improved insulation in accessible areas. Replace dated interior doors and hardware with clean, contemporary styles to elevate perceived quality while limiting cost.
Focus on spaces buyers value most: an open kitchen, refreshed baths, and ample storage. Add a dedicated laundry nook with efficient machines and smart controls.
Document upgrades for buyers to review; clear data reinforces value without sounding boastful.
How to Maintain Your New Build’s Fresh Look
To keep your new build looking fresh, establish a simple, proactive maintenance routine that prioritizes high-visibility, high-impact areas. You’ll protect value by keeping finishes pristine, seals tight, and systems efficient, with a focus on Outdoor landscaping and energy efficiency.
- Schedule quarterly exterior checks to nip peeling paint, clogged gutters, and mulch issues in the bud.
- Inspect weatherstripping and seals on doors and windows to preserve energy efficiency and curb drafts.
- Maintain outdoor landscaping with tidy borders, healthy plants, and mulch to reduce erosion and water use.
- Clean high-traffic interiors regularly, choosing durable cleaners that won’t dull finishes while preserving a boutique look.
Frequently Asked Questions
How Do I Measure Return on a Small Upgrade?
You measure ROI on a small upgrade by calculating its cost analysis against projected value. Start with total installation and material costs, then estimate increased resale price or rent.
Subtract ongoing costs and your baseline, yielding net gain. Consider time on market and risk, too.
Use investment strategies like sensitivity testing to see how shifts in price affect returns. Compare scenarios, track actual figures, and adjust plans to maximize perceived value and financial impact.
Which Upgrades Boost Resale Value the Most?
What boosts resale value most? Upgrades that scream luxury finishes and energy efficiency. You’ll see the biggest payoff from high-end fixtures, curated millwork, and spa-like baths.
Pair these with airtight insulation, efficient HVAC, and smart systems. You invest smartly when you prioritize timeless design and durable materials.
You’ll stand out in any market because buyers crave comfort and lower operating costs. Ready to upgrade strategically? Insights here guide you toward smarter, value-driven choices.
Can I Upgrade After Moving in Without a Contractor?
Yes, you can upgrade after moving in without a contractor. Do DIY lighting first, using plug-in lamps or battery LEDs to avoid wiring.
Then refresh with paint color on walls and cabinets, keeping tones cohesive with your furniture.
Plan, measure, and set a budget, tackling one area at a time.
Prioritize impact, like brighter task lighting and a bolder accent wall, to transform the space quickly and stylishly without hassles.
What Are Easy, Non-Destructive Ways to Refresh Ceilings?
Ceiling refresh is within reach: you can refresh ceilings with non-destructive tweaks. Start with a single metaphor: think of your ceiling as a canvas waking up.
Use ceiling textures like light popcorn or subtle knockdowns, or go smooth with a thin skim coat if you’re comfortable.
Add lighting enhancements—LED strips or new fixtures—to cast drama. You’ll up brightness, hide seams, and redefine space without a full remodel.
How Do I Avoid DIY Mistakes That Ruin a New Build?
You’ll avoid DIY mistakes by planning first and sticking to it. Start with thorough renovation planning, map out timelines, budgets, and step-by-step tasks.
Know your limits, and schedule trades for complex work. Use quality materials, document changes, and confirm measurements before cutting.
Expect setbacks, so build contingencies. Track progress weekly, adjust as needed, and resist attractive, impulsive fixes.
Anticipate DIY pitfalls, learn from experience, and keep your project focused on lasting results.
Conclusion
You’ll finish with a fortified, fashionable home you’ll feel proud to flaunt. Layer light, lean into texture, and fuse finishes for a cohesive, curated vibe. Pick practical, pretty storage, so spaces stay sleek and serene. Tweak layout for flow, then trust timeless hues and tasteful hardware to tie it together. Budget-conscious, bold, and beautifully balanced, you’ll savor a space that feels uniquely yours—thoughtful, trimmed, and totally transformative. Your boutique-build becomes your best-built haven.


