To prepare a rental property between tenancies, set clear turnover requirements and a tight deadline, then map tasks with owners and dates. Start with a quick yet thorough cleaning, followed by a deep clean of high-touch surfaces, appliances, and floors. Run seven safety checks—smoke/CO detectors, wiring, gas lines, exits, and handrails—and document everything. Update notices, refresh move-in reports, and capture a detailed property condition. Align expectations with the new tenant now; more tips await if you keep going.
Set Tenancy Turnover Requirements and a Tight Timeline
Set clear turnover requirements and a tight timeline to minimize vacancy and maximize your rental income. You’ll define essential tasks, assign owners, and set realistic deadlines to keep moves smooth.
Begin with tenant preferences in mind, noting any requests that affect turnaround—from preferred move-in dates to reception of keys.
Establish a standardized checklist for cleaning, repairs, and inspections, ensuring consistency across every turnover. Align this with your lease renewal cadence so you know when to prompt interest, extend offers, or refresh marketing.
Schedule pre-inspection windows to catch issues early, reducing last-minute delays.
Communicate timelines clearly to current and incoming tenants, reinforcing accountability.
A disciplined approach protects property value, speeds occupancy, and supports informed, timely lease renewal decisions.
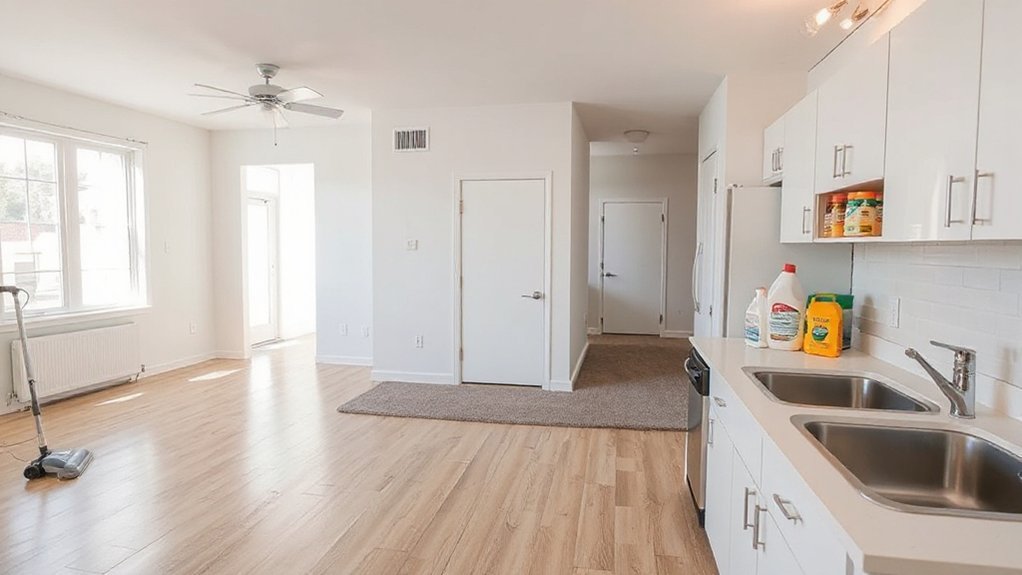
Quick, Thorough Cleaning Checklist for Turnover
Start with a quick surface clean to remove footprints and dust, then move into a thorough deep clean to tackle hidden grime and sanitize every surface.
As you prep for move-out, follow these steps to guarantee nothing gets overlooked, from cabinets to appliances.
This checklist blends quick wins with deep-clean rigor across the key areas: quick surface clean, thorough deep clean, and move-out prep steps.
Quick Surface Clean
To prepare a quick surface clean between tenants, you’ll tackle high-impact areas first—kitchen counters, stovetop, appliances, and bathroom fixtures—then finish with sweeping, mopping, and a quick vacuum of floors and passages.
You’ll apply deliberate Cleaning techniques to remove smudges, fingerprints, and grease without overdoing moisture. Wipe surfaces with a streak-free cloth, then use a light touch on cabinet fronts to preserve finishes.
Target chrome fixtures, faucet aerators, and stovetop burners with measured, fast passes. For safety and speed, choose surface disinfectants that are effective yet dry quickly, limiting dwell time.
Finish with a brisk floor pass, plus entryway and hallway tidying to present a fresh, move-in ready impression. Precision over theatrics keeps turnover efficient and landlord confidence high.
Thorough Deep Clean
A thorough deep clean moves beyond quick touch-ups to guarantee every surface gleams and every corner is fresh for the next tenant. You’ll elevate sanitation standards through methodical detail, not shortcuts, ensuring consistent results across rooms and fixtures.
Key steps to execute:
1) Target every high-contact surface with an approved disinfectant, paying close attention to switches, door handles, and railings.
2) Strip, clean, and sanitize appliances inside and out, leaving seals and gaskets spotless for odor-free operation.
3) Revisit floors and soft furnishings, deep-cleaning carpets or hard floors and treating upholstery to remove stains and residue.
Deep cleaning delivers a confident turnover, meeting sanitation standards and safeguarding tenant well-being.
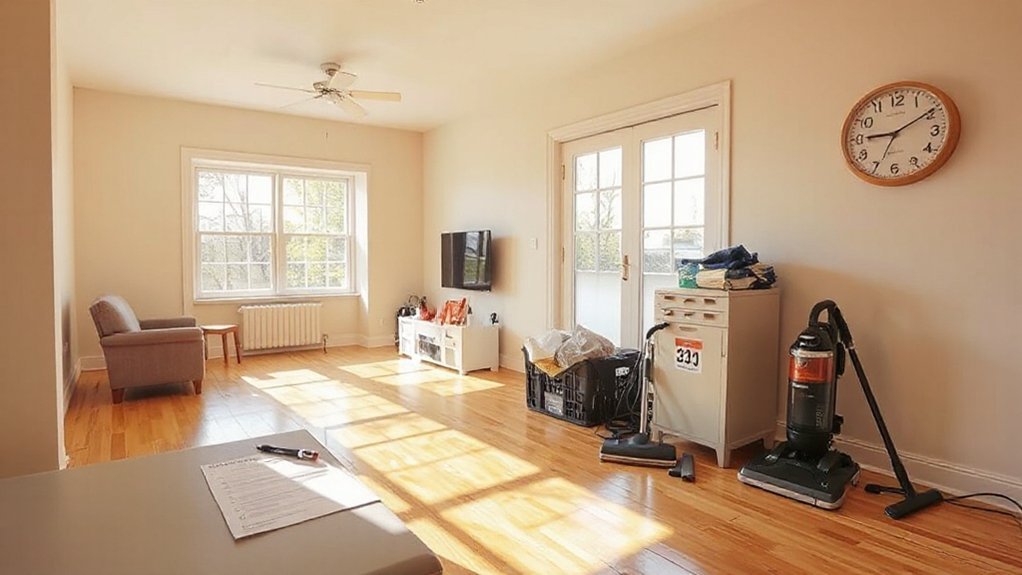
Move-Out Prep Steps
Move-out prep moves fast but stays thorough: this quick, thorough cleaning checklist keeps turnover on schedule without sacrificing detail. You start by emptying rooms, then dusting from top to bottom, wiping sills, and vacuuming corners to capture hidden debris.
Next, focus on hard surfaces: spray-and-wipe countertops, appliances, and fixtures, paying attention to streaks and fingerprints. Don’t neglect bathrooms—scrub tile grout, polish chrome, and sanitize toilets and vanities.
Return doors, frames, and baseboards to a pristine finish; touch up paint as needed. Address odors with ventilation and a light deodorizer. Photograph each space for record-keeping, especially near move-out inspections.
Remind tenants of Security deposits expectations and guarantee final charges align with Lease agreements. Final walk-through confirms no missed details and smooth turnover.
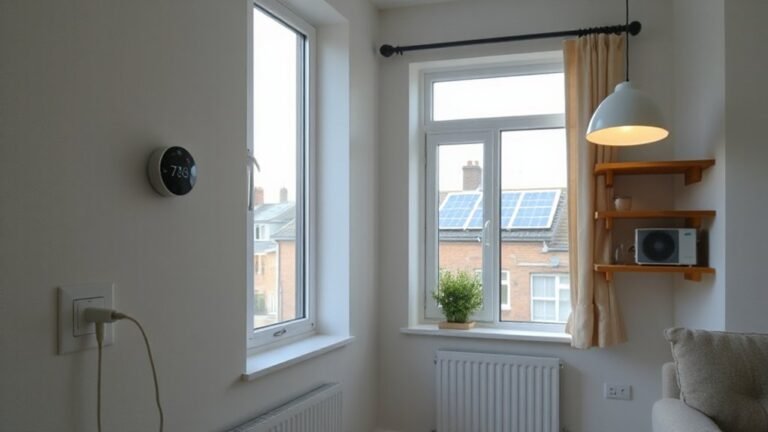
Seven Safety Checks and Compliance Steps Before Move-In
Before placing new tenants, run through seven essential safety checks and compliance steps to prevent issues down the line. You’ll ensure a solid start by prioritizing both security hazards and legal compliance. Focus matters quickly, and keep the property ready for inspection and occupancy.
- Inspect wiring and outlets for wear and proper grounding.
- Verify smoke and carbon monoxide detectors are functional and up to date.
- Confirm gas lines, furnaces, and heaters are serviced and vented correctly.
Additional steps to complete thereafter include checking stairs, handrails, and exits for clear access, updating tenant disclosures, and confirming local ordinances are met.
Maintain concise records of all verifications to support transparency and accountability.
Document the Property Condition With a Move-In Report

Documenting the property condition at move-in sets a clear baseline for the tenancy and protects both sides from later disputes. You’ll start with a thorough Move in inspections checklist, noting every fixture, appliance, surface, and amenity.
Photograph or video key areas, timestamped and labeled, to complement the written record. Use objective descriptions: “scratches on wall,” “firmly closing door,” “no water leakage,” and “operational light switches.” Include measurements where relevant, like window dimensions or closet space, to avoid ambiguity.
After completion, compile a concise Property documentation summary and obtain signatures from both landlord and tenant. Store copies securely, with dates, for future reference.
A precise move-in report streamlines handovers, reduces miscommunication, and supports fair, documented tenancy transitions.
Update and Refresh Essentials Renters Notice First
You’ll update the Renters Notice first, ensuring it clearly states timelines, responsibilities, and any changes in policy.
Refresh the Essentials Checklist so tenants can confirm items promptly, keeping everyone aligned on expectations.
Keep communication timely and precise, so questions get answered quickly and the property stays on track between tenancies.
Update Renters Notice
Updating the Renters Notice is a quick, essential step you can complete in minutes: refresh dates, terms, and contact details so tenants have the latest information. You’ll guarantee clarity and reduce questions on move-in or move-out days, avoiding confusion around responsibilities.
- Confirm current rent, due date, and renewal windows
- Update property rules, maintenance contacts, and notice methods
- Verify insurance requirements and lease renewal instructions
Keep the notice concise and scannable, with a prominent renewal notice where applicable. Mention renters insurance expectations and how to document compliance, so tenants know what’s required before signing or renewing.
Replace outdated phrases with direct language, and align the document with your lease renewal process to prevent misinterpretation. An accurate notice supports smoother turnover and reduces last-minute inquiries, boosting tenant confidence and property professionalism.
Refresh Essentials Checklist
Next, refresh documentation: reprint notices, keep digital copies, and verify signatures.
Move into Property upgrades planning, prioritizing cost-efficient improvements that boost appeal without delaying tenancy.
Schedule inspections to document condition, photograph changes, and align repair timelines with move-out expectations.
Integrate tenant screening steps for new occupants, confirming references, income, and background checks are complete before showing the property.
Create a tight calendar with milestones, dependencies, and contingency buffers to maintain momentum and minimize vacancy.
Finish with a concise communication plan for all stakeholders.
Timely Property Communication
- tenant communication: confirm expectations, contact methods, and response times.
- maintenance scheduling: publish, update, and coordinate repair windows with owners and vendors.
- update cadence: establish routine notices for rent changes, lease extensions, and move-in/move-out timelines.
This approach minimizes confusion, supports accountability, and speeds occupancy turnover while protecting your property’s integrity and your peace of mind.
Precision in wording saves time and reduces friction across the tenancy shift.
Fix Wear and Tear Versus Cosmetic Updates: What’s Worth It
When a rental comes back in between tenants, you’ll want to separate what’s necessary to fix wear from what’s purely cosmetic. Start with a quick assessment of high-traffic areas, fixtures, and safety basics: doors, locks, smoke detectors, and flooring squeaks.
Address wear and tear that impacts usability or compliance first, budgeting for durable fixes you won’t have to redo soon. Then evaluate cosmetic updates that lift appeal without overhauling the space. Focus on fresh paint in neutral tones, clean grout, and refreshed hardware, but skip major remodeling unless the cost per unit increase is compelling.
Prioritize simple, cost-efficient improvements that stretch tenancy value. Document decisions with photos, receipts, and a clear scope of work to guide the next turnover efficiently.
Clarify Expectations With the New Tenant to Reduce Issues

Clear expectations set the tone for a smooth handover and fewer misunderstandings. You establish clarity early to prevent disputes later, connecting tenant screening and the lease agreement to practical outcomes. Be explicit about responsibilities, timelines, and inspection standards so everyone aligns quickly.
- Define duties: who handles repairs, how fast responses occur, and what constitutes normal wear.
- Set inspection milestones: pre-move-in, mid-term, and final checks, with documented photos.
- Align payment terms: rent due date, late fees, and security deposit handling.
Use these steps to frame communications and reference them in the lease agreement. Keep conversations documented, confirming decisions in writing. This reduces surprises and streamlines handover, letting you focus on a smooth transition rather than firefighting issues after move-in.
Tenant screening remains a gatekeeper, while clear expectations protect your investment.
Minimize Vacancy Costs With a Practical Turnover Schedule
A practical turnover schedule minimizes vacancy costs by aligning cleaning, repairs, inspections, and marketing into a tight, predictable timeline. You map each task to a specific day, so you avoid overlaps and delays.
Prioritize landlord responsibilities first—deep-cleaning, odor control, and systems checks—before listing photos and showings. Schedule repairs during the least disruptive windows, and confirm materials or contractor availability to prevent stoppages.
Communicate clearly with tenants to coordinate move-out timing, ensuring access for inspections and cleaning.
Track progress with a simple checklist and shared calendar so all parties stay aligned.
Balance tenant responsibilities, such as returning keys, basic cleanliness, and reporting issues promptly, with your oversight.
A disciplined routine minimizes vacancy, stabilizes cash flow, and preserves property value between tenants.
Frequently Asked Questions
How Long Should Each Turnover Step Realistically Take?
Turnover steps should take about 24–72 hours total, depending on unit size. You’ll pace Cleaning protocols tightly and Maintenance scheduling efficiently, allotting 6–12 hours for deep clean, 4–8 hours for repairs, and 2–6 hours for inspections.
Which Tools Save the Most Time During Turnover?
Grabbing the right tools, you speed up turnover like Hermes with a toolbox. Landscaping improvements and pest control strategies save time, seal outcomes, and reduce callbacks; you delegate efficiently, automate where possible, and cut delays while staying precise.
What Are the Common Hidden Costs in Turnover?
Hidden costs in turnover often surprise you: Landlord responsibilities include thorough property inspections, initial repair buffers, cleaning, and missed utility reconciliations, plus repainting wear. You should budget for inspection-driven fixes and timely documentation to avoid disputes.
How to Prioritize Safety Upgrades vs. Cosmetic Fixes?
Prioritize Safety inspections first, then Cosmetic enhancements. You should address any hazards, code gaps, and smoke/CO alarms, then polish visuals. Prioritization keeps tenants safe while delivering appealing spaces, blending practicality with tasteful improvements.
How to Communicate Timelines to Tenants and Contractors?
You set clear expectations for tenant communication and contractor coordination, outlining start and finish dates, progress updates, and contact points; you document changes promptly, confirm schedules in writing, and adjust timelines transparently to minimize delays and miscommunications.
Conclusion
You’ve set tight turnover timelines, you’ve cleaned like a pro, and you’ve prepped safety checks so new tenants can move in with confidence. Document everything with a move-in report, refresh essentials, and separate wear from cosmetic fixes. Clarify expectations now to dodge later conflicts, and run a lean schedule to minimize vacancy costs. Stay disciplined, stay adaptable, and treat this like a well-rehearsed performance—except the anachronism here’s your compass: don’t let antiquated processes slow you down. Move in, smoothly.