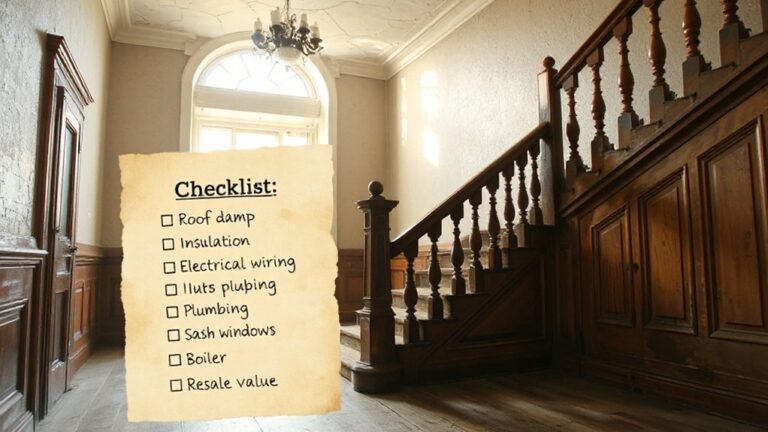
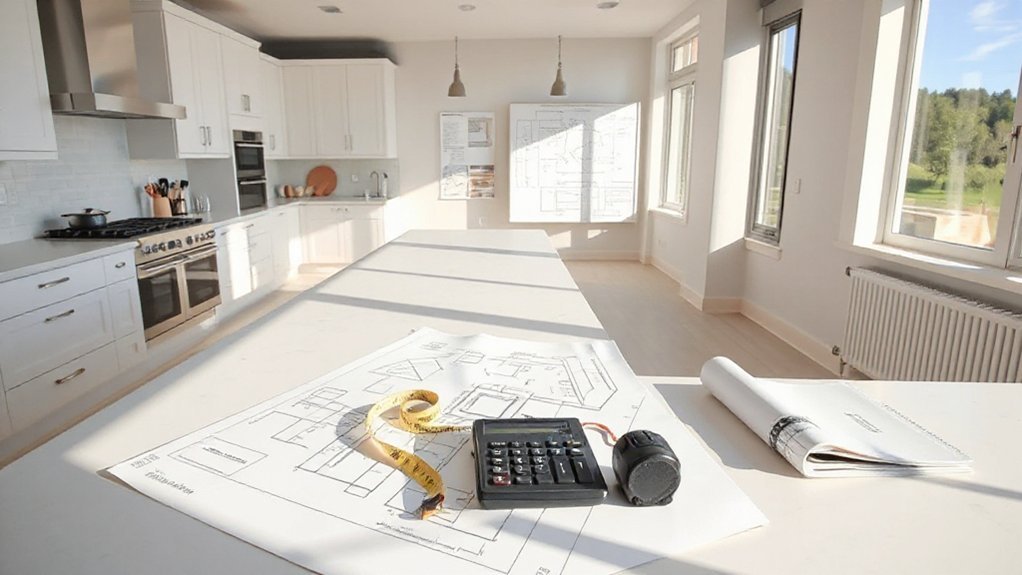
A cost calculator guide for expanding a kitchen footprint helps you plan smartly from the start. You’ll define scope, timeline, and baseline costs, then add a 10–15% contingency for surprises. Map structural, plumbing, and electrical needs, plus permits and inspections, so nothing slips through cracks. Use a room-by-room template to track unit costs, quantities, tax, delivery, and changes. Regular updates keep quotes current and overruns visible. If you want more clarity, you’ll discover practical steps and templates you can apply immediately.
Why Expand Your Kitchen: Goals and Outcomes
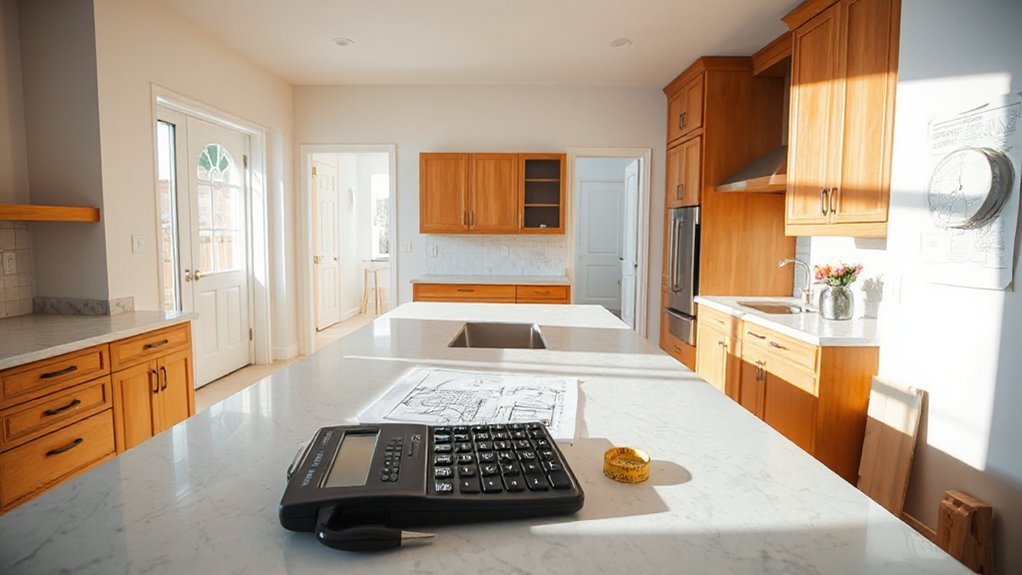
Expanding your kitchen makes daily routines smoother and cooking more enjoyable. You’ll define clear goals, then translate them into a layout that supports how you live. Ask yourself what functions you need most—more prep space, a dedicated zone for casual meals, or better flow between fridge, sink, and range.
Your outcomes hinge on efficiency, accessibility, and comfort, not just square footage. Consider Kitchen design principles that reduce steps and minimize clutter, like a practical work triangle and smart storage.
Lifestyle considerations matter, too: timing for family meals, entertaining, or remote work. A purposeful expansion aligns with daily rituals, boosts usability, and enhances enjoyment.
When goals are explicit, design choices stay focused, budgets stay on track, and you’ll stay motivated to use the new space.
What Expanding Really Costs: Core Elements
Costs for expanding a kitchen aren’t just about a bigger footprint. Core costs hinge on structure, services, and finishes you’ll actually notice daily. Framing, foundation work, and permits set the stage, but you’ll feel the impact in utility upgrades—wired circuits, plumbing reroutes, and efficient HVAC adjustments.
Rough-in and insulation choices affect comfort and bills long after completion. Finishes matter too: cabinets, countertops, and flooring shape usability and aesthetics. Budget for labor subcategories—demolition, carpentry, tile setting, and final touchups—since each adds time and risk.
Appliance selection drives both upfront cost and operating efficiency, so compare models for energy use and lifecycle costs. Don’t overlook kitchen decor decisions that influence perceived value and function.
Align these core elements with your needs and timeline for a durable, cohesive result.
Set a Realistic Budget for Your Kitchen Expansion
To set a realistic budget for your kitchen expansion, start with a clear scope and a realistic timeline, then map costs against it. You’ll want a precise baseline: define square footage, layout changes, and key fixtures.
Establish a contingency—typically 10%–15%—to cover surprises without derailment. Prioritize decisions that drive value, then quantify them in dollars per item, such as cabinetry, appliances, and lighting.
Compare design trends and material options to forecast long-term maintenance and resale appeal, not just upfront price. Source multiple quotes and document assumptions to prevent scope creep.
Track cash flow weekly, updating forecasts as plans firm up. Align budget with a phased plan if cash flow is tight.
Finally, review your targets against market prices monthly to stay on course.
Permits, Fees, and Inspections: What You’ll Pay
Permits, fees, and inspections can catch you off guard if you don’t plan ahead, but you can minimize surprises with a clear checklist. You’ll pay for permit processing, not just the stamp, so factor staff time and county fees into your budget.
Check your local permit regulations early, since requirements vary by jurisdiction and project scope. Permit timelines hinge on submission quality and plan review cycles, so include a buffer for revisions.
Expect inspection processes to occur at key milestones—framing, electrical, plumbing, and final occupancy. Track each step, from application to final sign-off, to avoid project stalls.
Keep copies of approvals and inspection reports accessible, and communicate any changes promptly to your permit officer. Prioritize documentation, timelines, and cost contingencies for smoother execution.
Assessing Structural Changes: Walls, Beams, and Layouts
With permits in motion, you’ll next verify that your kitchen expansion fits with the existing structure. Evaluating structural changes means mapping walls, beams, and possible layouts to avoid surprises later.
Begin with a clear plan: which walls must stay, which can move, and where openings will sit to support the new footprint. Conduct a load bearing analysis to determine how loads transfer through the framing and foundation, guiding where reinforcements are required.
Structural reinforcement decisions affect costs and timelines, so document every change and keep approvals current. Consider temporary supports during any demolition or wall removal to protect the adjoining spaces.
Finalize proposed dimensions against your current structure, then align layout shifts with your contractor’s sequencing to minimize disruption and maximize efficiency.
Prioritizing Plumbing and Electrical Upgrades Early
You’ll want to lock in plumbing and electrical upgrades early to prevent costly rework later. Prioritize essential runs, outlets, and gas or water access now, so crews can align the footprint with fixtures and appliances.
This upfront focus saves time and money by reducing mid-project changes and design compromises.
Early Plumbing Priorities
Early plumbing and electrical work set the foundation for a smooth kitchen expansion, so prioritize basic supply lines, drainage, and power connectivity early in your planning. By mapping main kitchen feeds now, you reduce rework later and lock in cost estimates before walls go up.
Focus on reliable water supply routing, trap placement, and venting that supports future layouts. Consider accessible shutoffs and cleanouts to simplify maintenance.
When selecting fixtures, balance durability with eco friendly materials and ease of repair. Plan trap sizes and slope to minimize clogs, and prelocate drains for islands or peninsulas.
Early coordination with cabinetry and appliance regions prevents conflicts and speeds permitting.
- Identify core supply lines and shutoffs for quick access
- Preplace drains, vents, and cleanouts for future layouts
- Choose vintage fixtures where appropriate without sacrificing reliability
Electrical Upgrades First
Electrical upgrades should come first to support a smooth kitchen expansion and avoid rework later. Prioritize electrical work before framing or finishes so outlets, lighting, and appliance circuits align with your new layout.
Map circuits to planned zones: cooking, refrigeration, small appliances, and task lighting. Choose high-quality conduits, breakers, and load calculations to prevent nuisance trips and future upgrades.
Consider energy efficiency with LEDs, smart controls, and efficient outlets to reduce phantom loads. Align electrical design with industrial design aesthetics, concealing wiring while keeping access for service.
Schedule rough-ins during early construction to minimize drywall cuts and costs. Document load requirements and future-proof for countertop devices and pantry electronics.
This early focus reduces risk, guarantees code compliance, and supports reliable performance as you scale the kitchen footprint.
Cabinetry and Storage: Designing the Core Footprint
Cabinetry and storage form the core footprint of a kitchen expansion, so start by aligning cabinet layout with workflow and appliance placement. You’ll optimize reach, reduce steps, and keep zones cohesive for prep, cook, and cleanup.
Consider custom cabinetry to tailor heights, pull-outs, and corner solutions, maximizing usable space without clutter. Choose storage solutions that prioritize accessibility, labeling, and maintenance, so every item has a home.
Plan adjustable shelves and deep drawers for bulk goods, and integrate soft-close mechanisms to minimize noise and wear. By detailing sizes, you’ll avoid costly revisions later.
Balance aesthetics with function, ensuring materials resist humidity and heat. Now sketch layouts with sightlines to doors and windows, then refine to minimize dead space and maximize product flow.
- Align workflow with cabinet layout
- Prioritize custom cabinetry features
- Integrate efficient storage solutions
Appliances and Ventilation: Size, Fit, and Efficiency
When sizing and placing appliances, prioritize fit with your cabinet footprint and ventilation paths to prevent heat buildup and guarantee easy access for maintenance. You’ll want to match appliance dimensions to the available opening, accounting for clearance for doors and drawers.
Consider energy priorities: choose high appliance efficiency models to reduce operating costs and heat load.
Plan ventilation design that integrates with your hood, range, and exhaust routes without creating dead zones or backdraft risks.
Allow for service clearance behind and beside units so future repairs don’t require partial dismantling of cabinetry.
Budget for dedicated circuits and proper GFCI where needed, then verify alignment with adjacent appliances to avoid awkward gaps.
Finally, confirm that venting routes stay unobstructed, efficient, and compliant with code.
Flooring, Walls, and Finishes: A Cohesive Look
Flooring, walls, and finishes tie your kitchen’s look to its function, so start with a cohesive baseline: choose durable, easy-to-clean materials that handle traffic, moisture, and heat. You’ll layer textures and colors to guide flow, minimize seams, and simplify maintenance. Select surfaces that tolerate spills and scrapes, then add decorative accents to personalize without sacrificing durability.
Prioritize sustainable materials where possible, and verify warranty coverage for high-traffic areas. Plan color and pattern gradual shifts to reduce visual noise while maintaining cohesion across zones. Keep surfaces smooth where you prepare, and consider toe-kick height and backsplash overlap for damage resistance.
Your goal is a balanced, timeless palette that supports appliances, lighting, and storage strategies.
- Durable basics with cohesive colorways
- Decorative accents that don’t overwhelm
- Sustainable materials, easy upkeep, and repairability
Lighting: Plans That Elevate the Expanded Kitchen
As you expand the kitchen, lighting becomes a defining tool for function and mood, tying together the durable finishes from your flooring and walls with new work zones and seating areas. You should map lighting design to task zones: bright, focused task lighting at counters and islands, softer ambient glow over dining nooks, and dimmable layers for atmosphere.
Prioritize fixture placement that minimizes shadows on prep surfaces while avoiding glare for guests. Integrate under-cabinet LEDs to illuminate edges and enhance color rendering of finishes.
Consider a central ceiling fixture or layered recessed lighting for even coverage, plus wall sconces for texture and depth. Plan controls that let you adjust scenes quickly, reducing energy waste and supporting daily rhythms.
This approach keeps expansion practical, precise, and inviting.
Contingencies and Change Orders: Planning for the Unexpected
Budget for contingencies upfront so you’re not caught short when unseen issues arise, like supply delays or hidden structural needs.
Change orders can shift costs quickly, so track scope changes and approvals in real time to preserve your overall budget.
This discussion starts by comparing contingency budgeting basics with how change orders impact the project timeline and funding.
Contingencies Budgeting Basics
Contingencies aren’t optional extras; they’re essential safeguards against cost creep and schedule delays. You’ll build a practical cushion into your kitchen-expansion budget to absorb surprises without stopping work.
Start by setting aside a contingency percentage tied to project risk, not whimsy. Higher risk—updates to structural work, unknown utilities, or permit tweaks—gets more padding. Track reserves separately from your line-item costs so you can see real progress.
- Establish a tiered contingency: base, mid-project risks, and high-risk events
- Document triggers for drawing from reserves and define approval limits for contractor negotiations
- Review and adjust quarterly, aligning your cushion with actual spend and schedule shifts
Expect unexpected delays; stay disciplined, communicate early, and keep contingency use transparent.
Change Order Impacts Overview
Change orders can quietly rewrite your project’s map, so you’ll want a clear picture of their impacts on contingencies and timing. In short, change orders tighten schedules and inflate costs unless you manage them proactively.
Start by detailing the exact scope shift, then quantify the added days and dollars, so you can adjust your contingency reserve with precision. Track upstream dependencies—design decisions, trade approvals, and supplier lead times—to avoid cascading delays.
Consider design aesthetics early, so tweaks don’t trigger costly rework or material downtime. For material durability, confirm warranties and compatibility with existing systems, preventing future failures that drive extra changes.
Establish a formal review loop, assign responsibility, and require written approvals before work proceeds, ensuring change orders add value rather than derail your timeline and budget.
Timeline and Sequencing: Phases That Save Money
To save money on expanding your kitchen, map out the project in clear phases and sequence tasks so critical work—like plumbing and electrical rough-ins—happens before finish work. You’ll reduce rework, capture better contractor bids, and limit disruption by aligning dependencies early.
Prioritize design decisions that affect structure, utilities, and permits, then schedule finishes around those fixed constraints. When you consider design trends, pick durable, easy-to-clean options that stay current longer, and choose eco-friendly materials that lower long-term costs.
Build a sequencing plan that buffers for inspections and material delivery windows, so delays don’t cascade. Track milestones, so you know when to lock in postponements or accelerate trades.
- Phase alignment
- Early approvals
- Sustainable material choices
Phase-by-Phase Budget Template by Room
How can you map a kitchen expansion budget room by room to avoid surprises and keep costs on track? You break the project into a phase-by-phase template, assigning each room a clear budget and milestone.
Begin with demolition and structural work, then progress to rough-ins, insulation, and framing, ensuring you flag any material substitutions early.
Move to cabinetry, countertops, and appliances as a separate slot, so you can compare options without cross-contaminating scopes.
Include lighting, finishes, and flooring in their own phase to surface hidden costs upfront.
Track labor, permits, and contingency in every room, with unit costs and quantity estimates updated weekly.
This approach supports decisions shaped by Kitchen decor preferences and Cooking styles, while maintaining tight control over the overall timeline and cash flow.
Trade-Offs: Save Without Sacrificing Quality
Balancing cost with quality in a kitchen expansion means you’ll make targeted trade-offs rather than sweeping cuts. You’ll prioritize value, not vanity, by selecting materials and features that deliver durability and function at a reasonable price.
Seek mid-range options that mimic premium looks through finishes, hardware, and layout efficiency, rather than chasing luxury upgrades for every line item. Consider long-term savings from better insulation, moisture management, and easy maintenance.
Embrace material sustainability when possible, choosing durable, repairable components that resist wear.
Align choices with your cooking habits, storage needs, and resale value to maximize impact without bloating the budget.
- Prioritize durable finishes and hardware that mimic premium aesthetics
- Choose energy-efficient, well-sealed systems to lower ongoing costs
- Integrate sustainable materials without compromising performance or style
How to Compare Local Contractors and Quotes
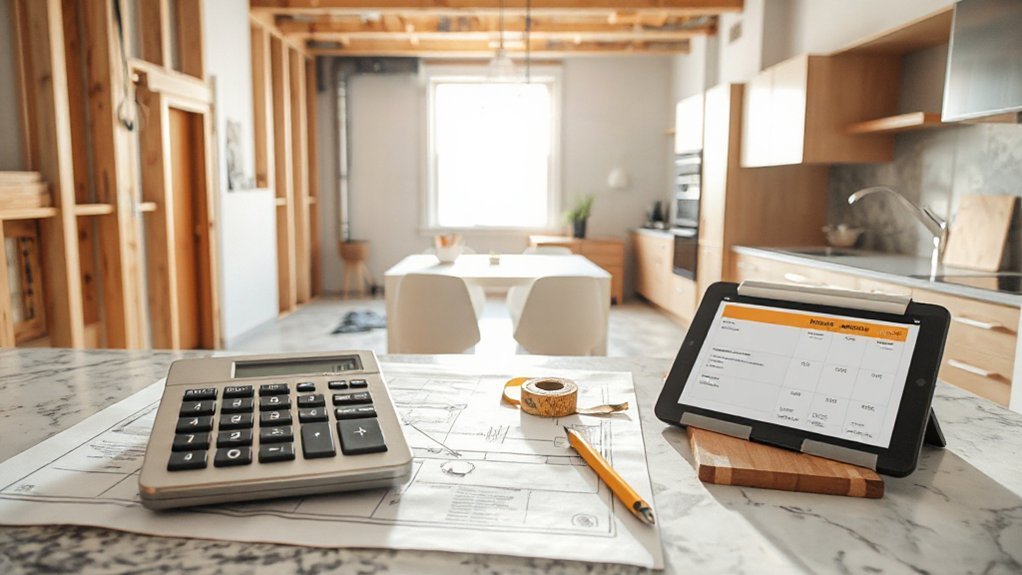
When you’re comparing local contractors and quotes, start by verifying credentials and track record before you weigh price. Check licenses, insurance, and recent project photos or references to confirm consistency and quality.
Request itemized bids that clearly separate labor, materials, permits, and contingencies, then compare apples to apples rather than total sums. Look for how each contractor handles material sourcing—whether they use reputable suppliers, lead times, and warranty terms—so you know what you’ll actually receive.
Ask about design trends alignment, ensuring proposals reflect current aesthetics and functional planning for your space. Examine project timelines, payment schedules, and change-order processes to avoid surprises.
Finally, gauge communication responsiveness and problem-solving mindset, which often predicts on-site execution success beyond the initial quote.
Tools and Templates: Your Personal Cost Calculator Sheet
Create a practical, ready-to-use sheet that lets you estimate, track, and compare costs for every kitchen-expansion task. Your personal calculator sheet keeps vendors honest, helps you spot overruns early, and supports clear decisions.
Build it with sections for task, unit cost, quantity, tax, delivery, and contingency. Use formulas to summarize totals by phase, and color-code status to flag risks.
Include a column for design trends and eco-friendly materials to align choices with value and sustainability. Track provenance, warranties, and removal costs to avoid surprises at install.
Update every week, so you stay current on quotes and material shifts. This sheet becomes your disciplined budgeting partner, not a hurdle.
- Design trends alignment and material sourcing
- Contingency and change-order tracking
- Eco-friendly materials and lifecycle costs
Frequently Asked Questions
How Long Does a Kitchen Expansion Typically Take?
You typically plan for 6 to 12 weeks, depending on scope. You’ll confirm design trends and material selection early, then allow for permits and scheduling. You’ll coordinate trades, manage delays, and keep communication clear throughout the project.
What Hidden Costs Commonly Arise During Expansion?
Hidden fees sneak in, but you’ll adjust—permit delays hit you soft, not harsh. You’ll spot hidden fees and permit delays, plan contingencies, communicate early, and keep timelines realistic while safeguarding budget and comfort during your kitchen expansion.
How Can I Space-Plan for Future Changes?
You should design with future changes in mind by prioritizing Design flexibility and modular layouts. Allocate adjustable zones, plan for flexible storage solutions, and leave room for plumbing or electrical tweaks, ensuring seamless upgrades without compromising current usability.
Do Expansion Costs Vary by Region or Climate?
Yes, expansion costs vary by region and climate. Regional pricing and Climate impact influence labor, materials, and permitting. You’ll see higher costs in extremes, with insulation, ventilation, and foundation considerations driving regional differences for your kitchen footprint.
What Financing Options Work Best for Renovations?
Yes—consider personal loans or a home equity loan for lower rates, then blend design trends with smart material choices to maximize value. You’ll lock in favorable terms if you compare lenders early and map your renovation budget.
Conclusion
You’ve mapped the costs, weighed the trade-offs, and pictured the end result in your kitchen’s expanded glow. Stay disciplined with your budget, track every line item, and let phase milestones guide you rather than guesswork. Think of your quotes as compass points, not final destinations. The goal isn’t perfection, but a functional, inviting space that stays on track and on cost. Your plans will rise like bread—steady, patient, and ready to transform your everyday cooking.
About the Author